

To find the perfect font for your Illustrator project is of utmost importance.
Luckily, Illustrator comes with a wide variety of pre-installed fonts and for most projects, one of these fonts will probably do.
From time to time, however, you might want to add even more fonts to fully satisfy your font needs and to get your project to the next level.
So how do you unlock even more fonts in Adobe Illustrator?
Well, there are two different ways to import fonts into illustrator.
The first way is to activate more fonts directly from within Adobe Illustrator. In this case we are talking about additional fonts that are part of Adobe’s very own font library (these fonts are provided directly from Adobe but these are not preinstalled so we need to activate/download them before we can actually use them).
The second way to use new fonts in Adobe Illustrator is to first download fonts on the internet and then import them to Adobe Illustrator.
In this tutorial, however, we will focus on the first method and so you will learn how to download and activate more Adobe fonts directly within Illustrator.
If you are interested in the other method, read our article on “How to download and import fonts into Illustrator.”
How to activate fonts inside Illustrator
- Create a new Illustrator file.
- Find and equip the Type tool. (press T on your keyboard)
- “Click+drag” to create a textbox.
- “Click+drag” over your text to select it.
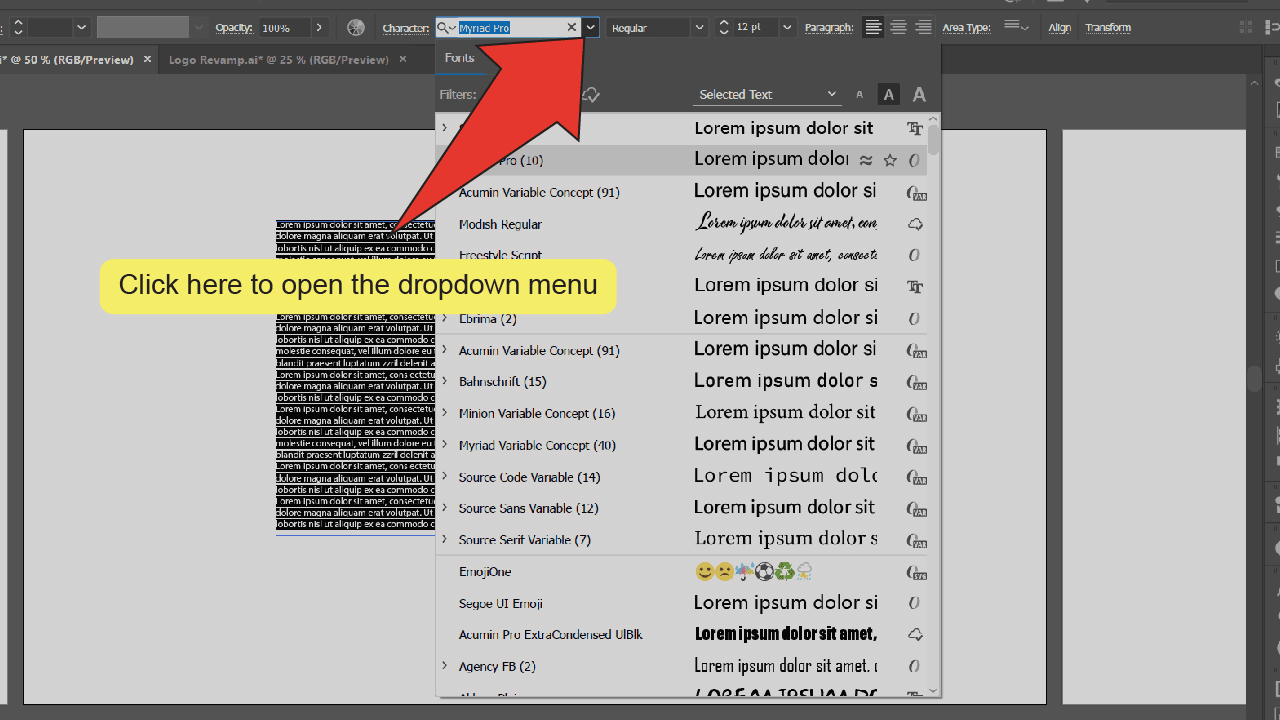
- Open the Character dropdown menu.
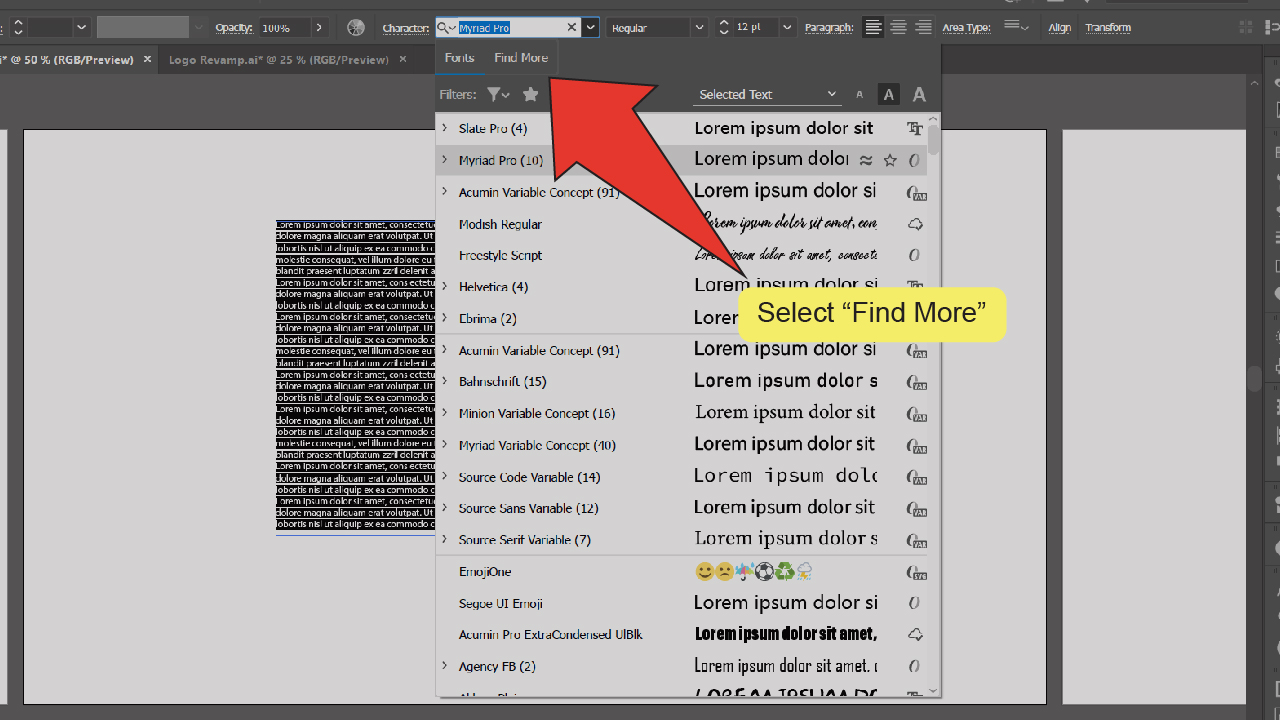
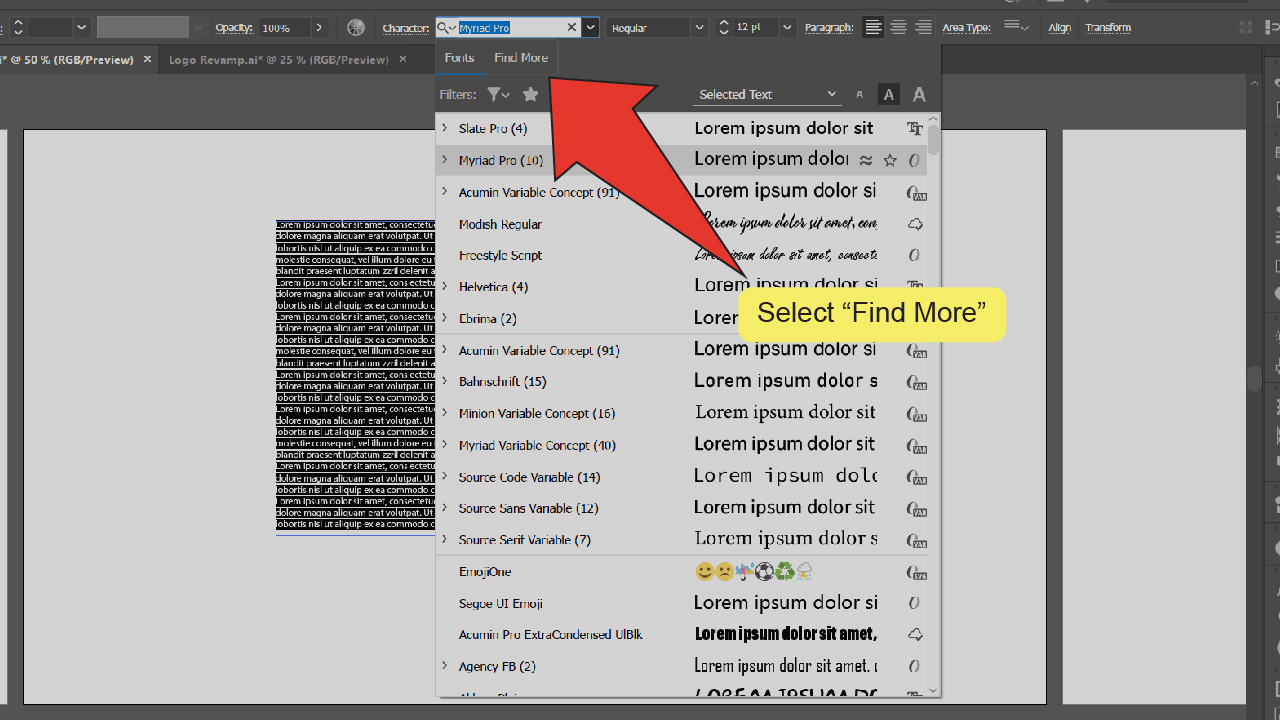
- Select “Find More”.
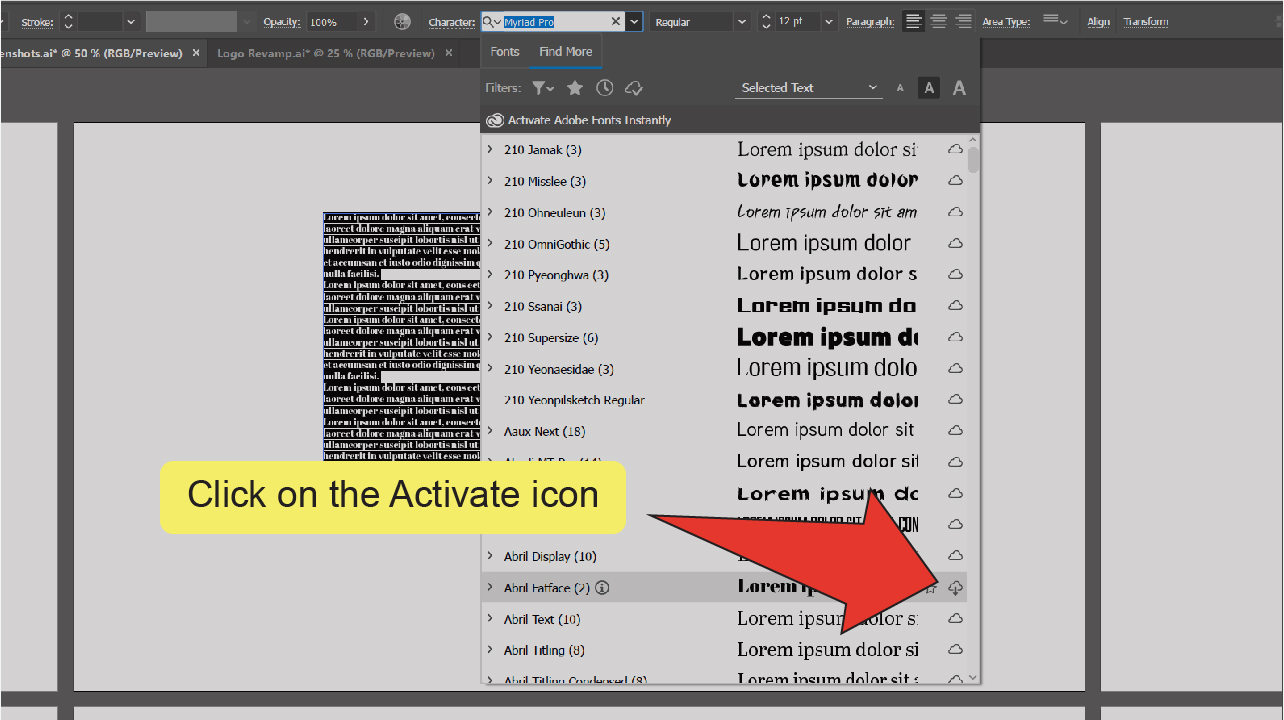
- Click the Activate icon.
- Click to apply your font.
- How to activate fonts inside Illustrator – Step-by-step Guide
Step 1:
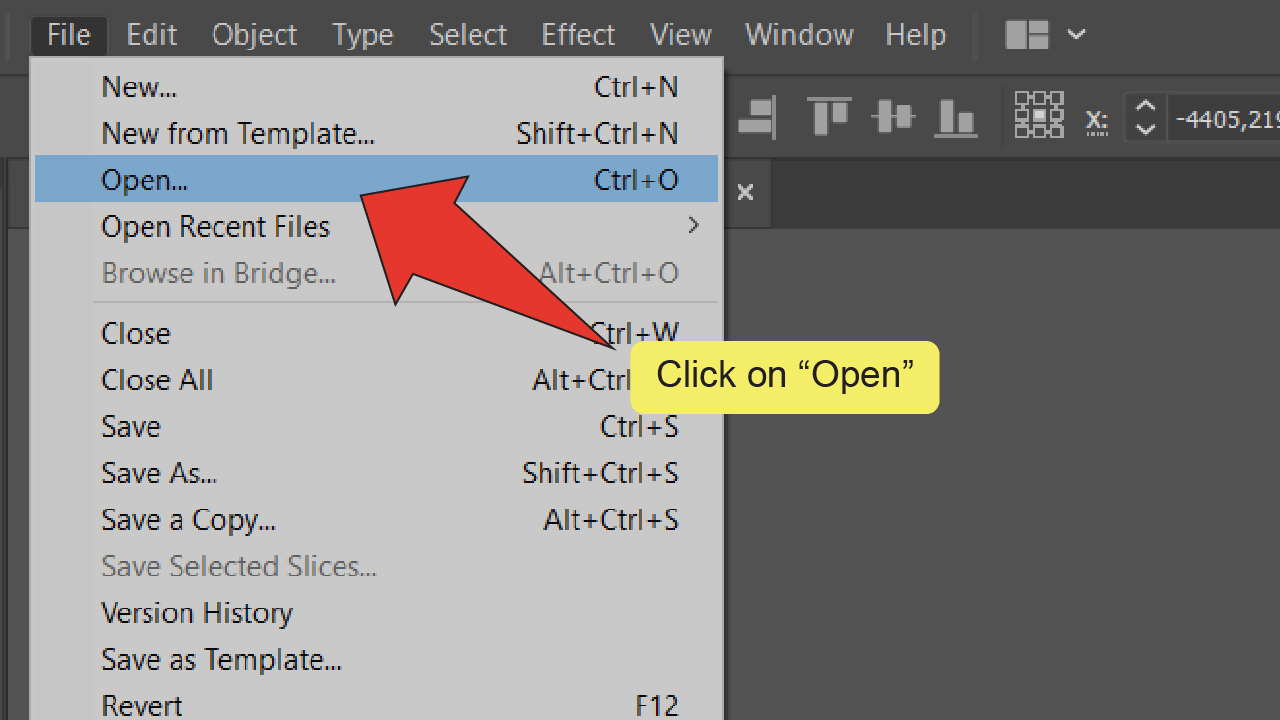
Open your Illustrator file. Open your document by double-clicking on its corresponding Illustrator file, or if Illustrator is already open, you can go to “File” on the top menu, and then “Open” and choose the file you want to open. To speed things up, you can also use the keyboard shortcut COMMAND+O (MAC) “Ctrl+O” (Windows).

Step 2:
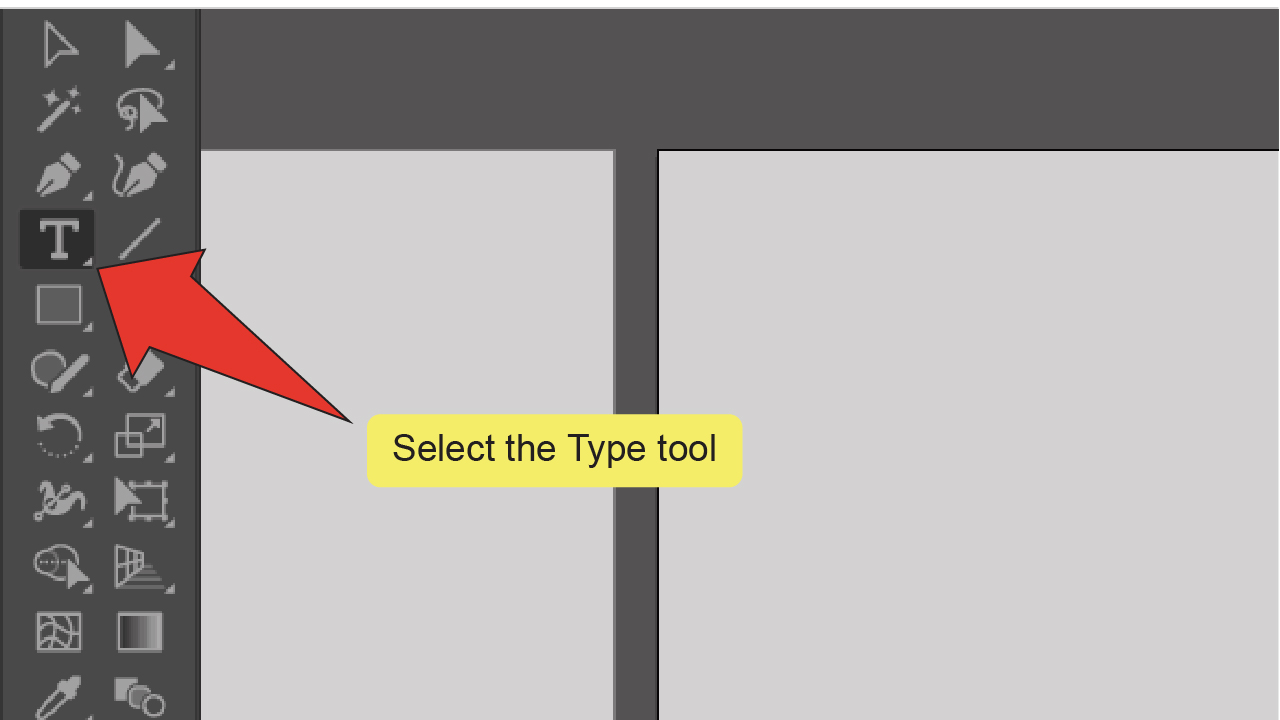
Find and equip the Type tool. Look for and select the Type tool, located on the toolbar on the left side of your screen. Alternatively, you can use the keyboard shortcut “T” to quick-select the tool.


Step 3:
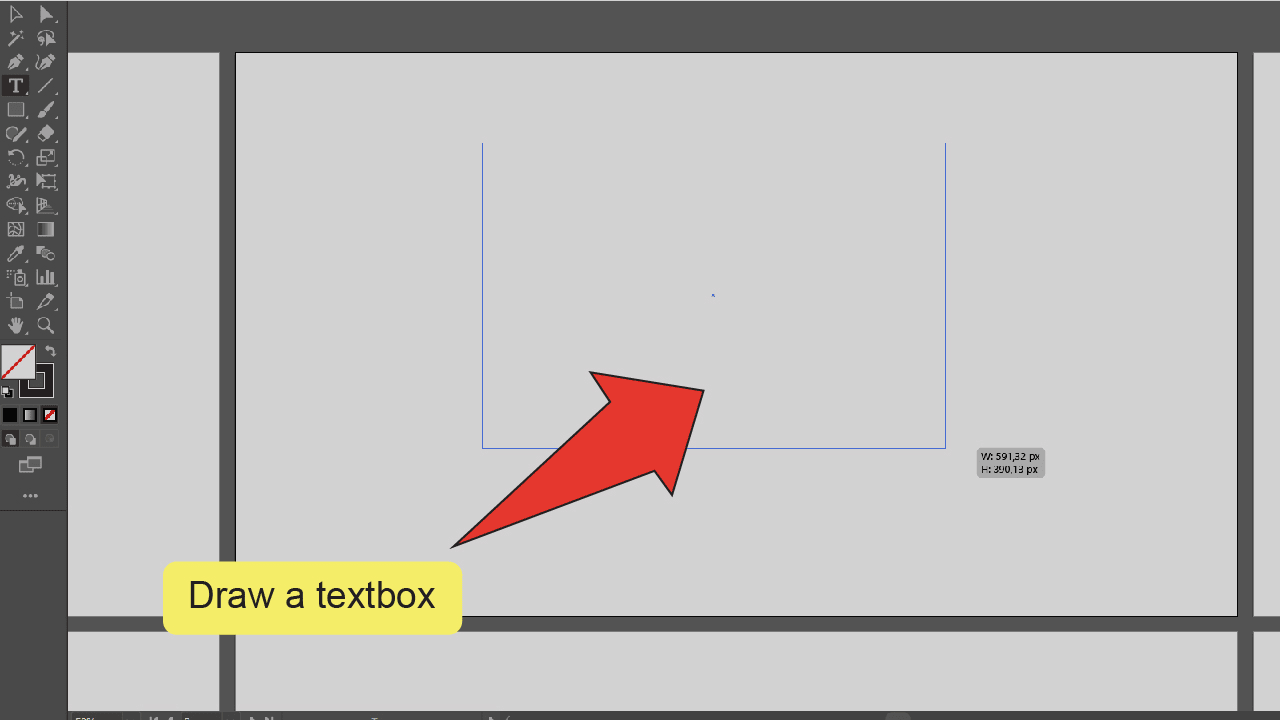
Draw a textbox. Click and drag your cursor on your artboard to draw a text box. The text box will automatically fill with random text and you can type something of your own from here.

Step 4:
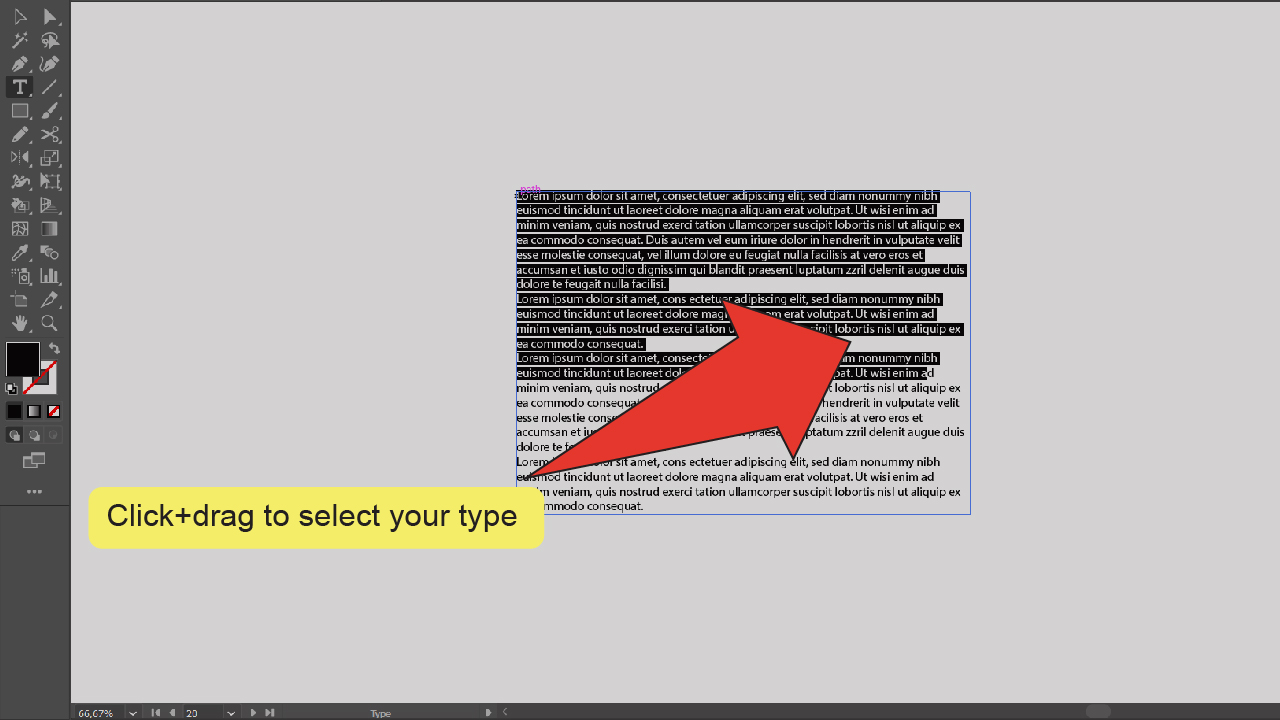
Select your text. With the type tool equipped, click and drag your cursor over all the text in your textbox starting at the top left and stopping at the bottom right. Make sure all your text is selected.

Step 5:
Open the Character dropdown menu. Open the dropdown menu next to the word “Character” at the top of your screen. In some cases, the character menu might also be located on the right side of your screen rather than at the top of your screen (depends on the layout that you have chosen).

Step 6:
Select “Find More”. On the dropdown menu, click on “Find More” to switch over to Adobe’s list of available fonts.
Step 7:
Activate a font. Scroll through the alphabetized list on this menu until you find a font you like, then just click on the Activate icon to add it to your list of fonts.

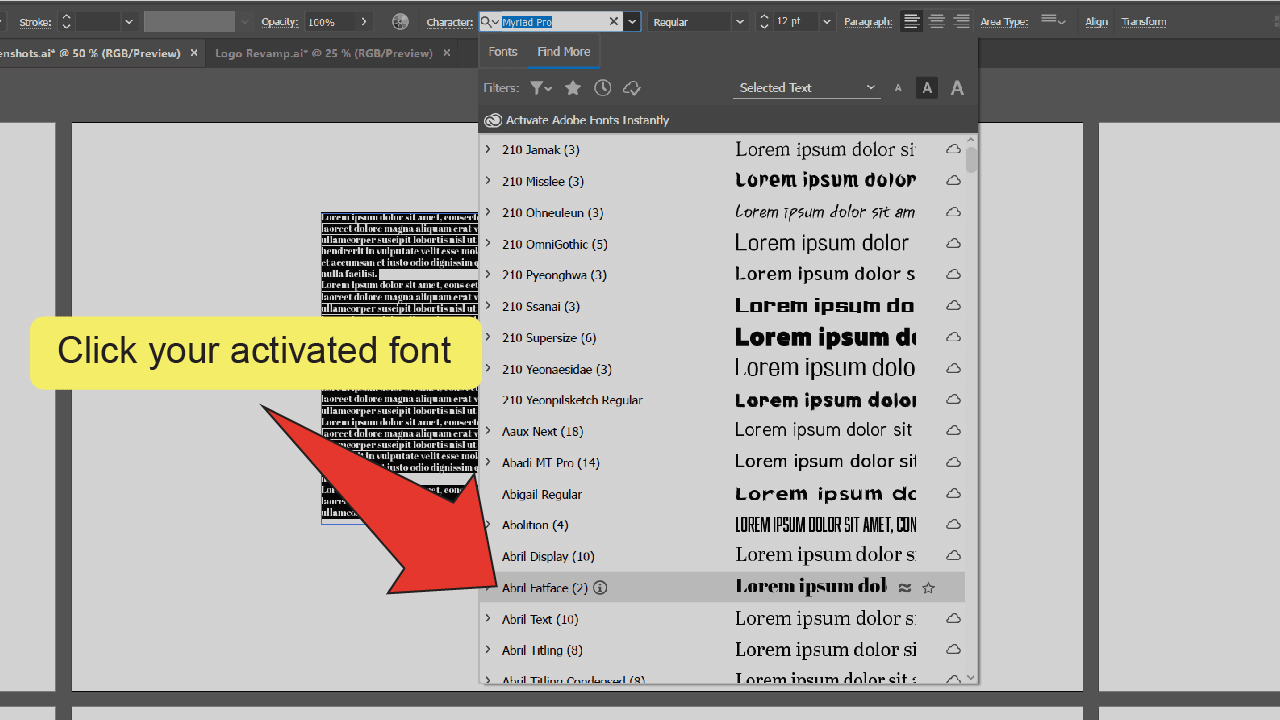
Step 8:
Apply your font. Once your font is activated, click on it to apply it to your type.


Hey guys! It’s me, Marcel, aka Maschi. On MaschiTuts, it’s all about tutorials! No matter the topic of the article, the goal always remains the same: Providing you guys with the most in-depth and helpful tutorials!

