Yikes, those colored bars that Instagram adds to stories make your photos look terrible.
The key to getting Insta-quality pics is to know the aspect ratios they use. 5:4 with an image size of 1080 x 1920 is the size of a photo for an Instagram Story image.
If you use any other image size, it places the photo in the center with colored bars above and below.
Not ideal so let’s fix that.
How to make pictures fit on Instagram without cropping
To make pictures fit on Instagram without cropping, you can use Canva or Snapseed. Snapseed has a Smart Expand feature for image resampling or filling the background in white. With Canva, just import, select an Instagram template, then adjust and customize the background and you are good to go.
Method 1: Using the Snapseed App
Image manipulation software is the pro route to go. PhotoShop is capable of this, but it is pricey for a non-commercial user. The free route is to use an app called Snapseed.
How this works is rather than cropping the image, you gradually expand the edges of your photo to replicate what is already there. It is a method to expand a background rather than crop it out of the picture completely.
Resampling an image adds pixels (and details) into a digital photo. It is different from resizing, which is essentially a zoom function.
To make pictures fit on Instagram without cropping with Snapseed, follow these steps:
Step 1: Download the Snapseed app

The Snapseed app is available free on the App Store and the Google Play Store.
Step 2: Tap on Open once installed
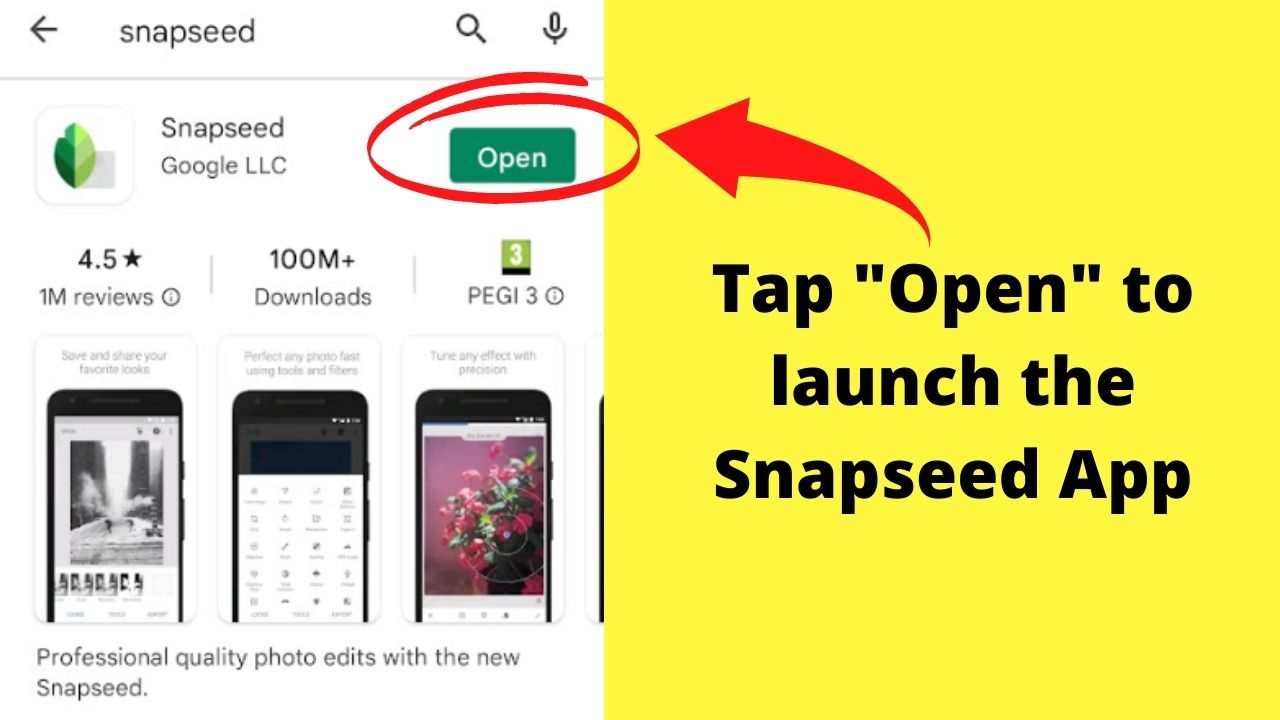
As soon as you launch the app, you will be prompted to open a photo.
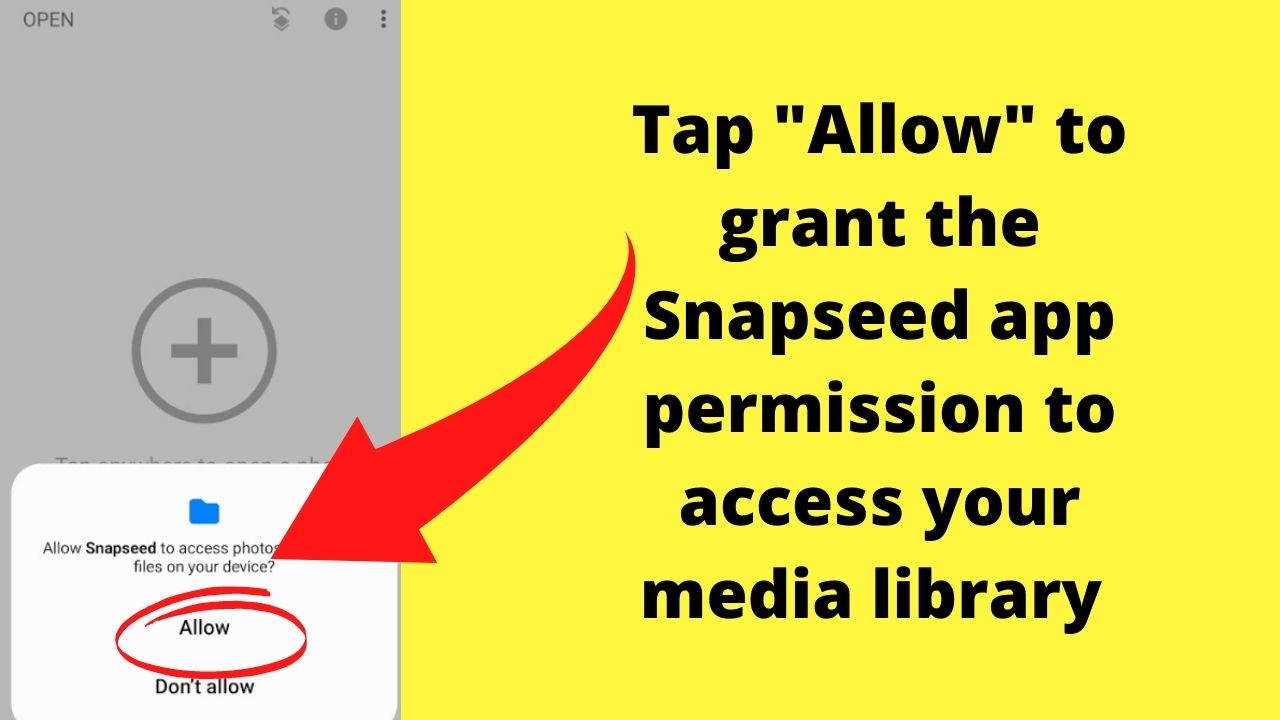
Step 3: Tap to add a photo and allow access to photos, media, and files
Step 4: Select the image you want to edit to fit Instagram

You can select an image from your device’s media gallery, downloads folder, files, Google Photos, or Google Drive.
Step 5: Tap on Tools and select “Crop”
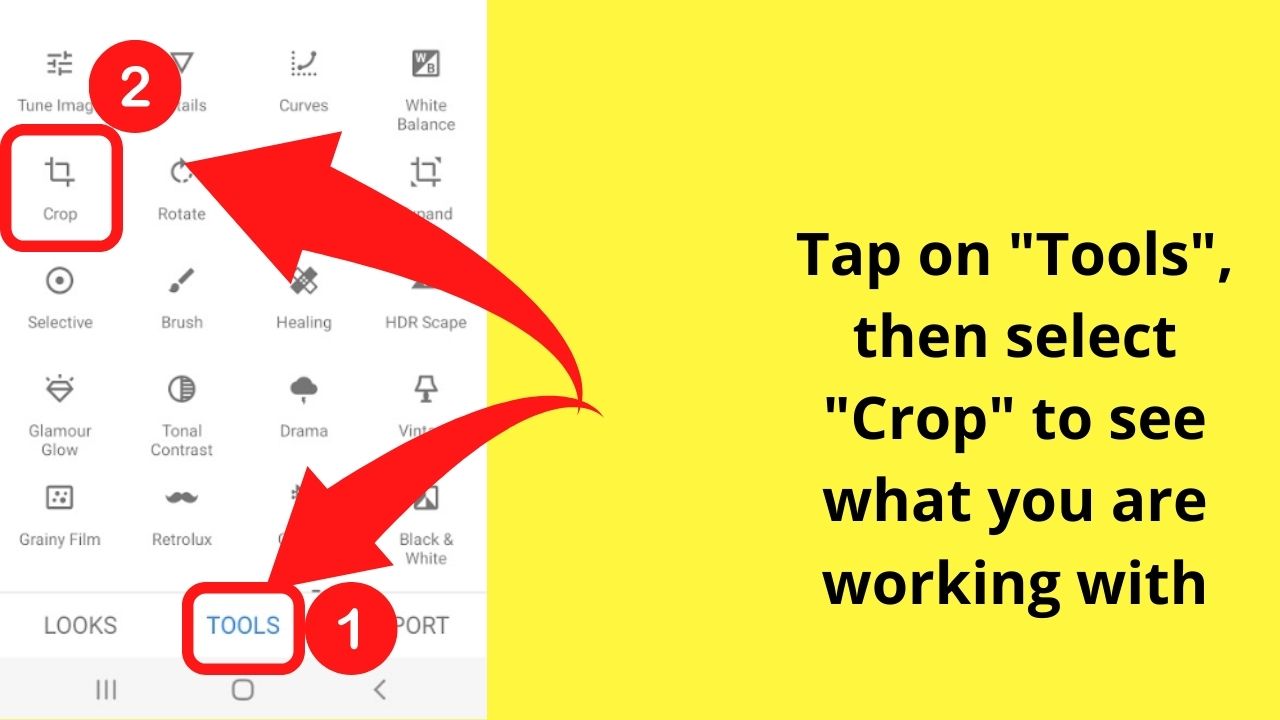
This is only to check what your aspect ratio is on the photo. Not to actually crop the image.
The crop tool in the Snapseed app lets you crop by aspect ratio. A square photo on Instagram uses an aspect ratio of 5:4. If you do not crop your image, the Instagram app will do it automatically. Unless you upload the exact image size.
In this instance, the photo has an aspect ratio of 16:9.
Step 6: Determine the perfect ratio
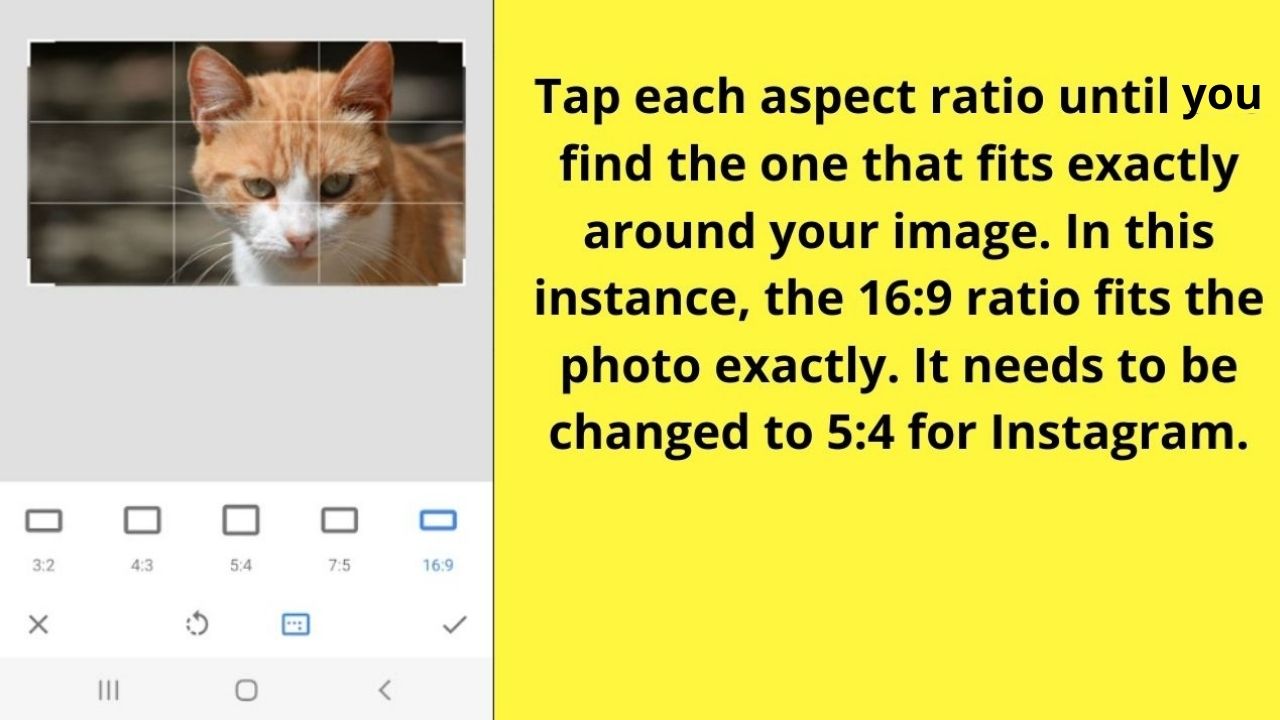
When this is added to an Instagram story, the result is colored bands above and below the image.

To avoid the Instagram app auto-cropping, you can crop at this stage if you need to. As an example, if the app is automatically cropping out the subject of the photo.
In this instance, we want to remove the colored bands above and below the photos.
The easiest way to do that is to resize the image to incorporate a white background.
If you have the time and the patience, you can expand the background to include scenery instead of a white background.
With the Snapseed app, what the expand feature is essentially doing is resampling parts of the image to expand the background by replicating what is already there. Both options are covered below, starting with the “smart” function.
Step 7: Tap Tools and Select “Expand” and use the “Smart” feature.
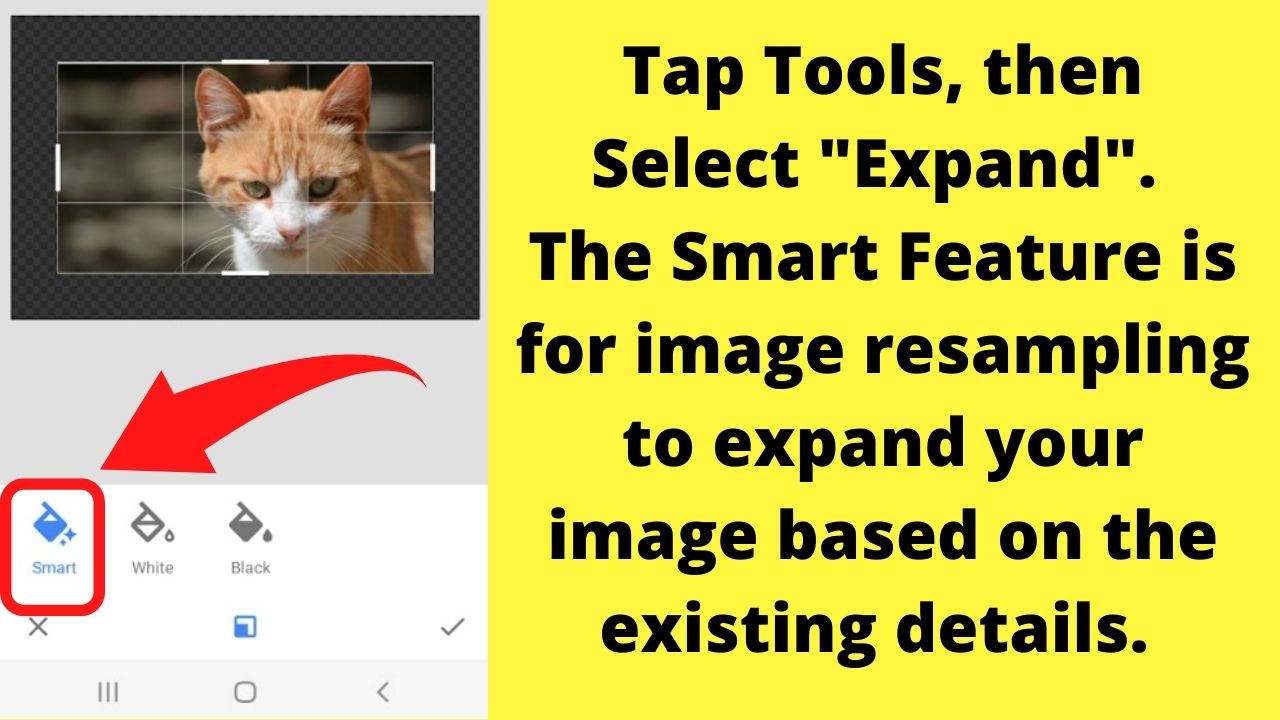
This is where the Snapseed technology plays a part in making your photos fit any size without cropping anything out. Instead, the app resamples parts of the image by expanding it.
It is kind of like copying a few pixels of the image at a time, then pasting it in. And it needs to be done gradually, saving after each expansion.
The reason is that if you drag to expand to cover the entire size of the background, it will be distorted as every detail in the photo is replicated.
Only drag a small amount at a time, tap the tick mark to save, then select “tools” and “expand” and repeat the process until you have the size you want.
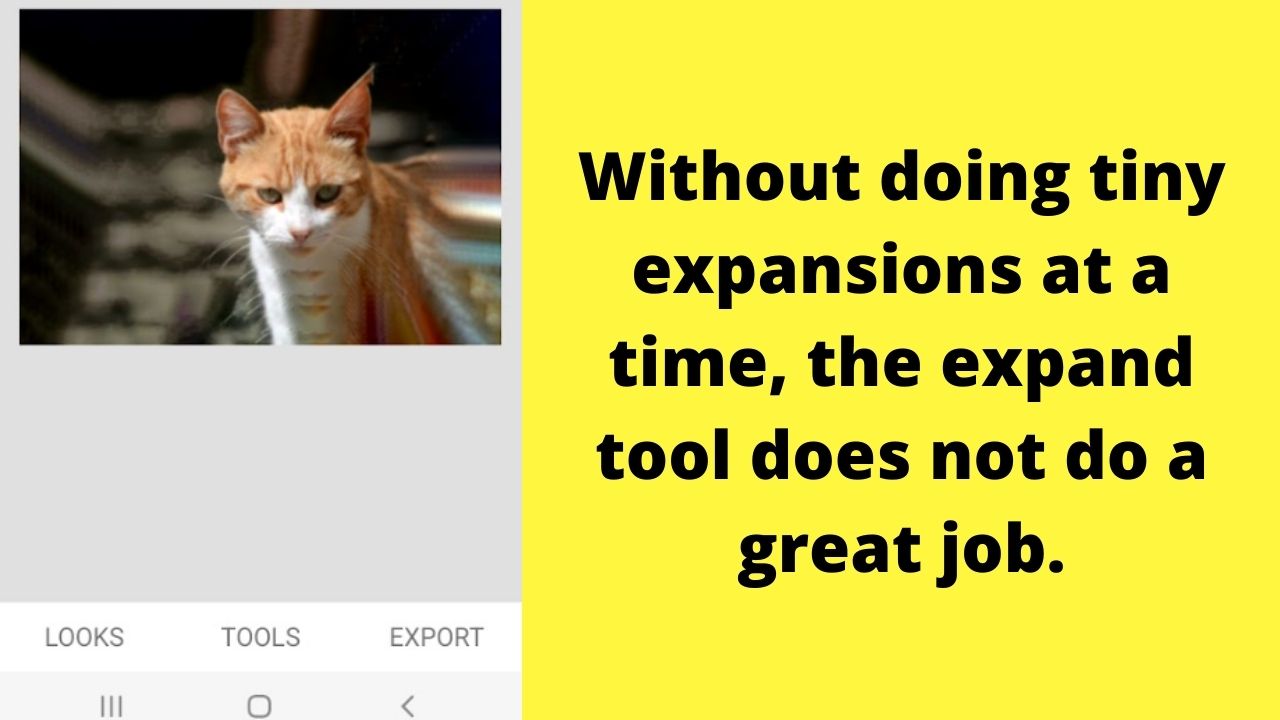
Trouble is, the more detailed the image is, the more obvious it will be in the resampled image that it has been edited.
In the image below, you can clearly see it is not a great resampling. The image is distorted.
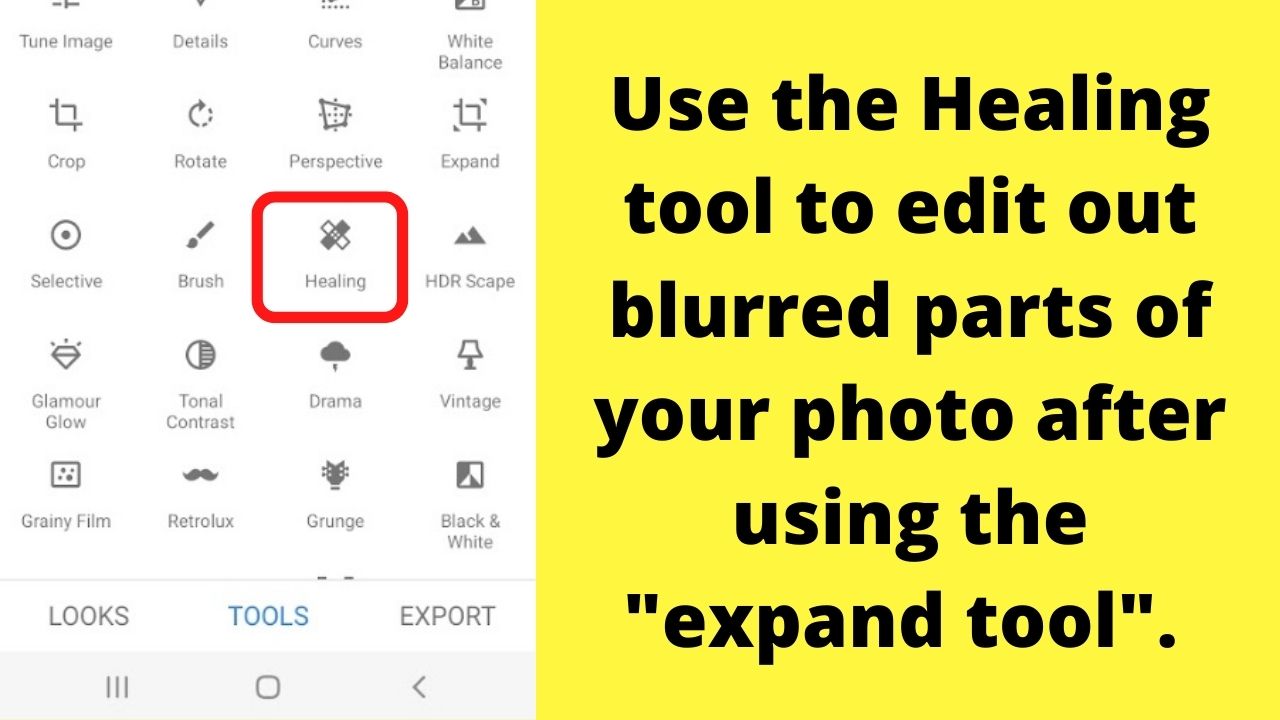
To correct this, tap on “Tools”, then this time, select the “healing” tool. This gives you a brush that will let you merge the pixels in the photo together to mask the blurriness.
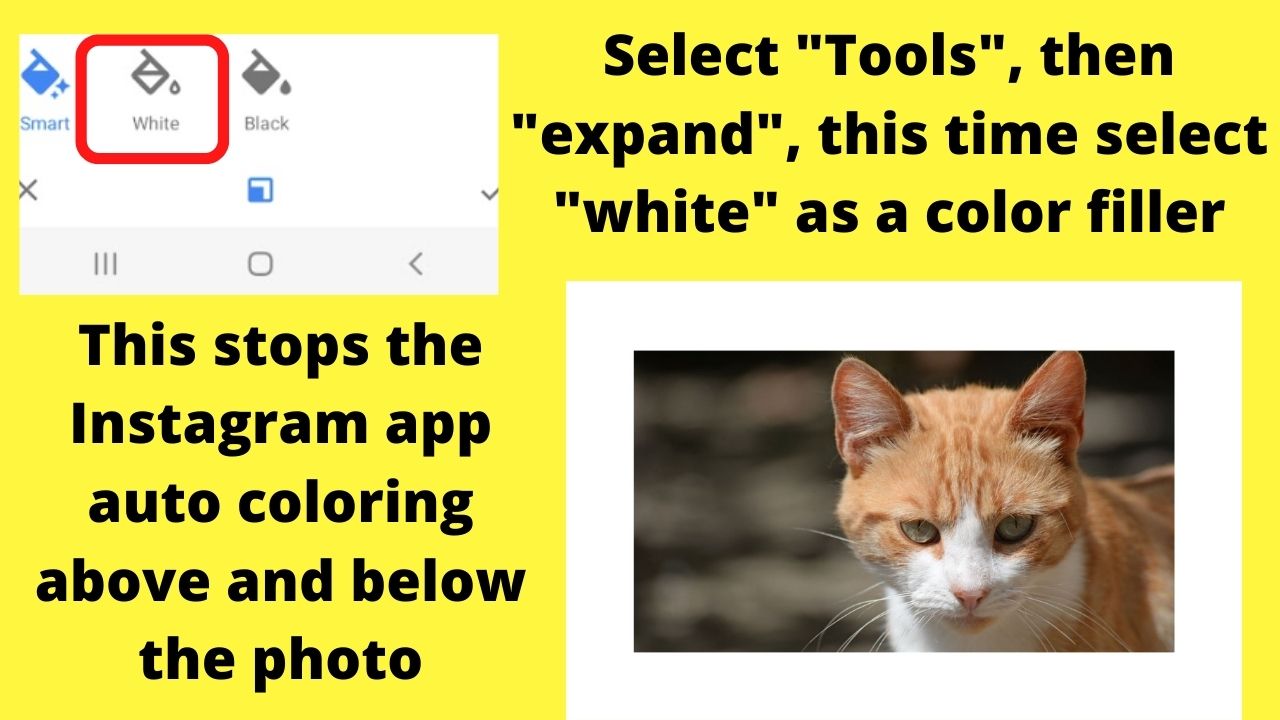
An alternative is to use the same “expand” feature, but this time using the “white” option instead of the “smart” feature.
This will let you replace the photo background that Instagram would add with a white background instead.
Once you add the photo to your Story, you can then add whatever stickers above and below the image to fill the photo out.

As you’ll know, Instagram is designed for vertical scrolling.
They want tall and narrow images. If yours is horizontal, the only workaround is to add a custom background to make your image fit, then fill in the white space with any of the stickers that fit your story.
Method 2: Using Canva to make square images fit Instagram Stories without cropping
Canva is the simpler method that involves no cropping, but instead, resizing.
It is ideal for making square photos fit on the vertical rectangular posts for Instagram Reels and Stories. It is available in the free version, although there are more backgrounds available for premium subscribers.
For this demo, the free version is being used.
To make pictures fit on Instagram without cropping with Canva, follow these steps:
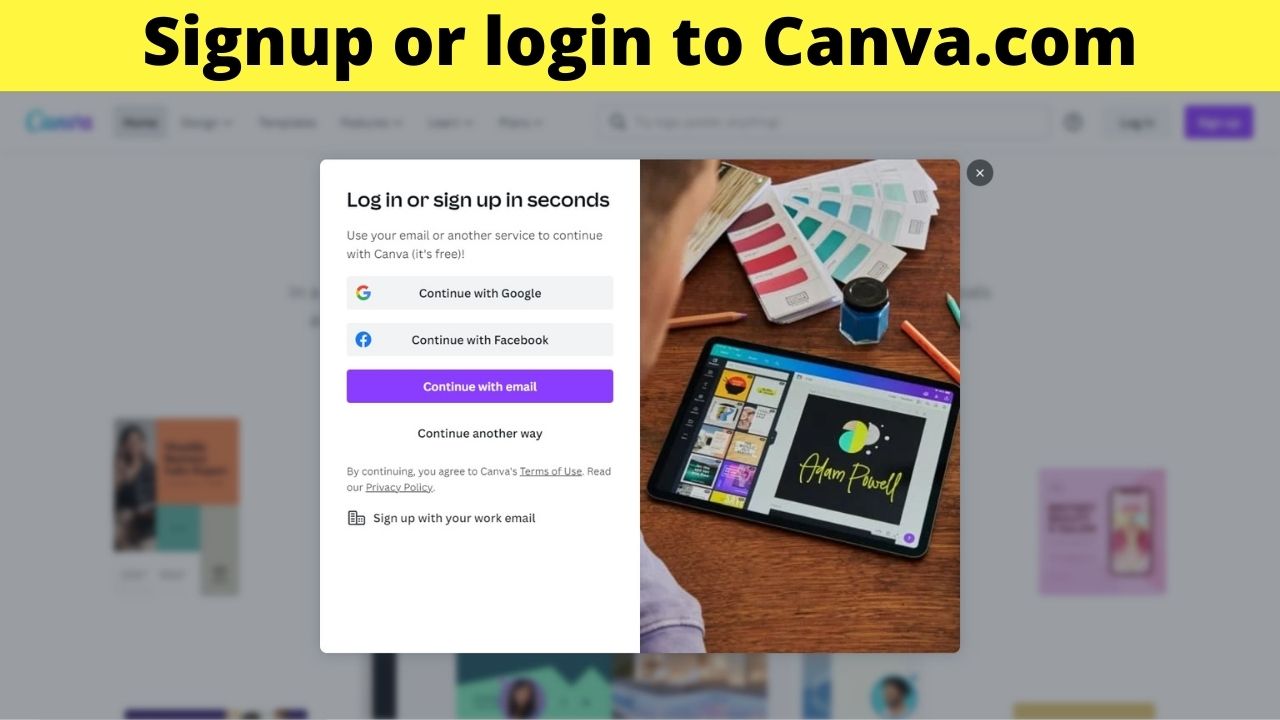
Step 1: Log into Canva.com (Create a free account if you don’t have one yet)
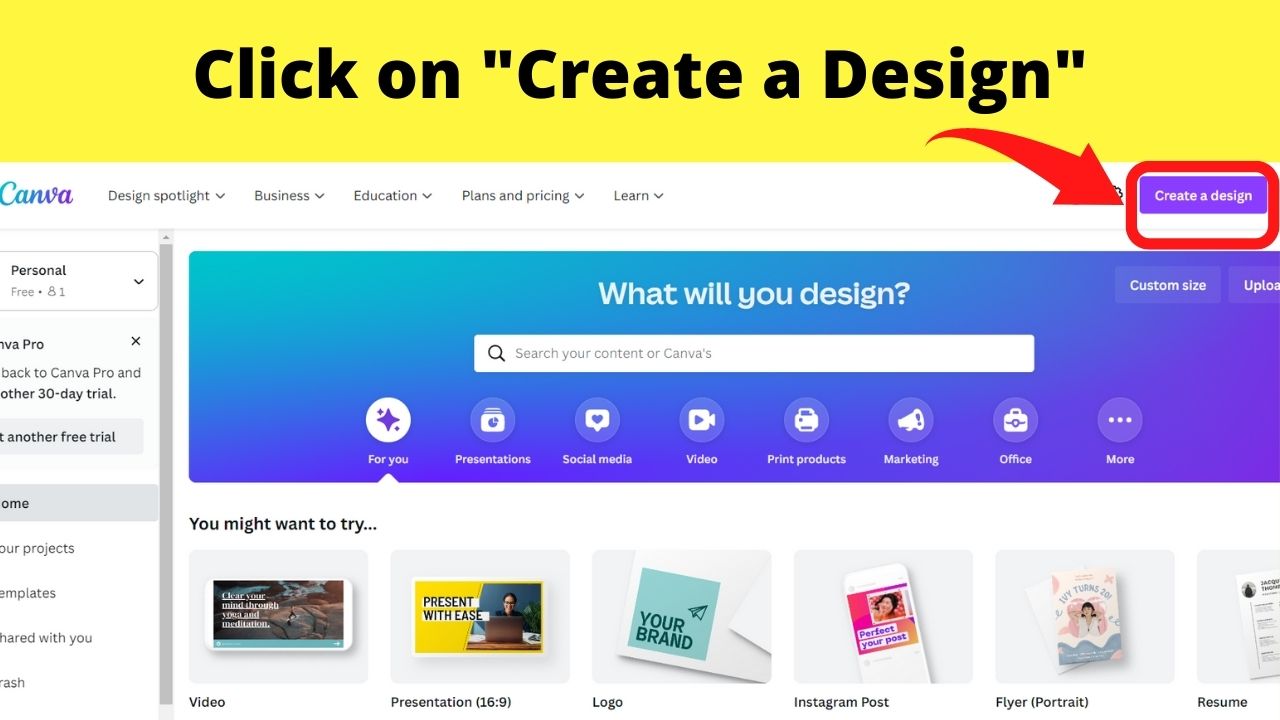
Step 2: Tap on the “Create a Design”
Step 3: Click the search bar and type “Instagram”
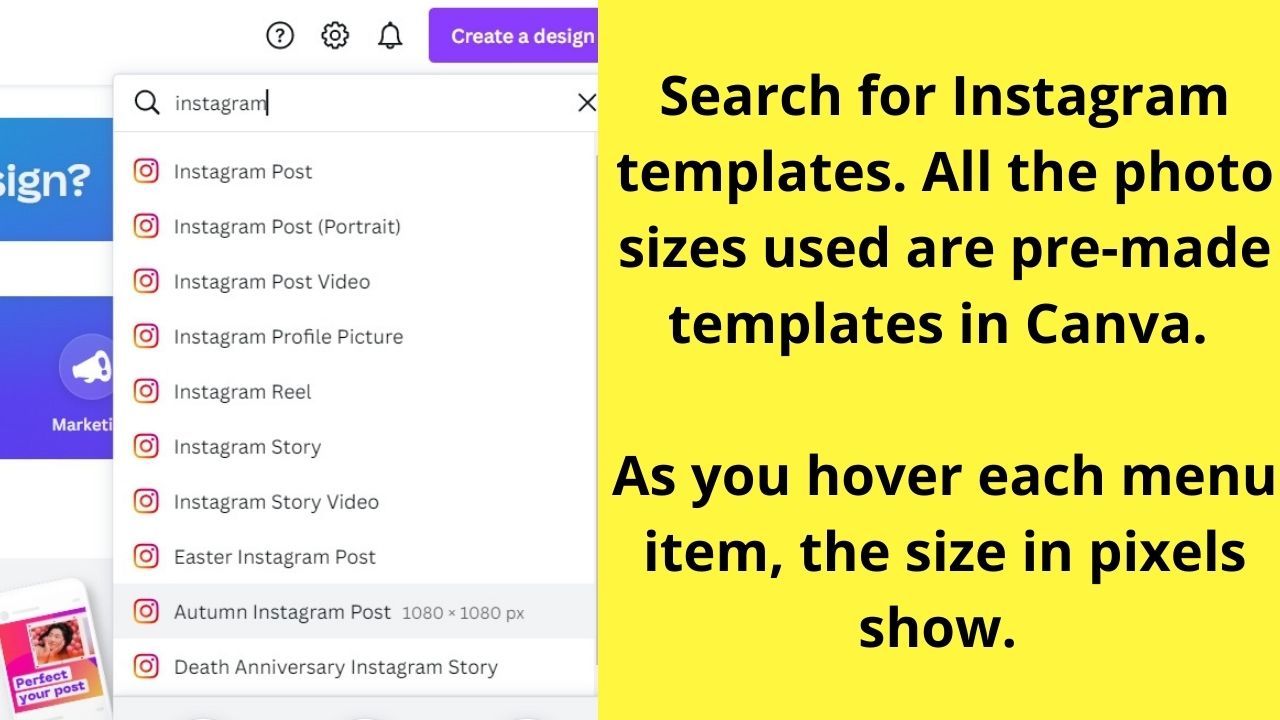
For an Instagram story, select the Instagram Story option for a template size of 1080 x 1920 px.
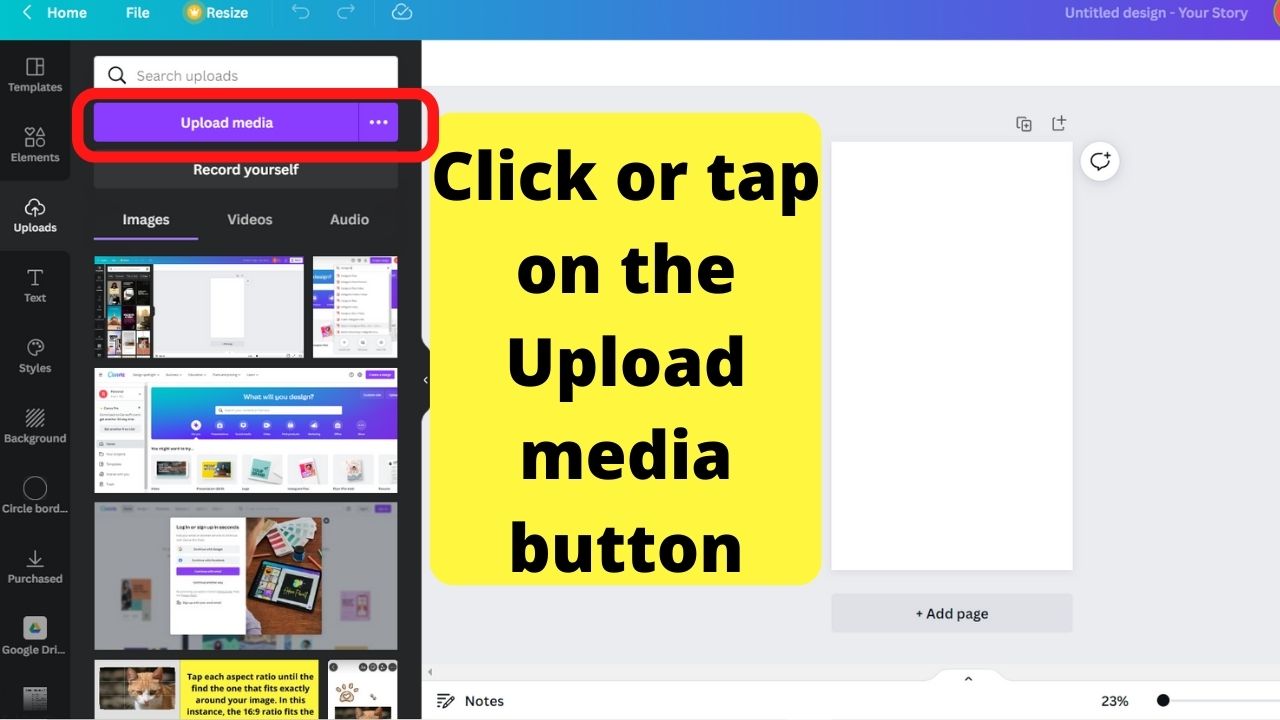
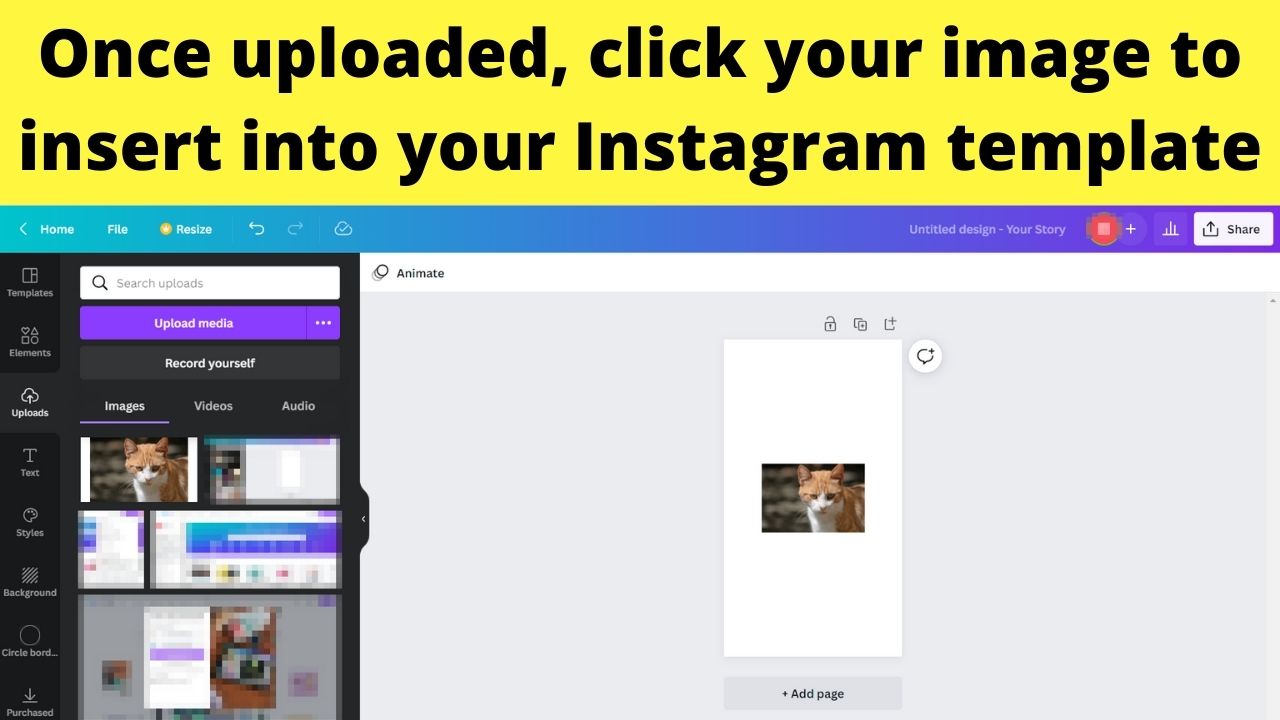
Step 4: Click on “Uploads”

Step 5: Click the “Upload Media” button and select the image you want to use
Step 6: Click the image to insert it into the design template
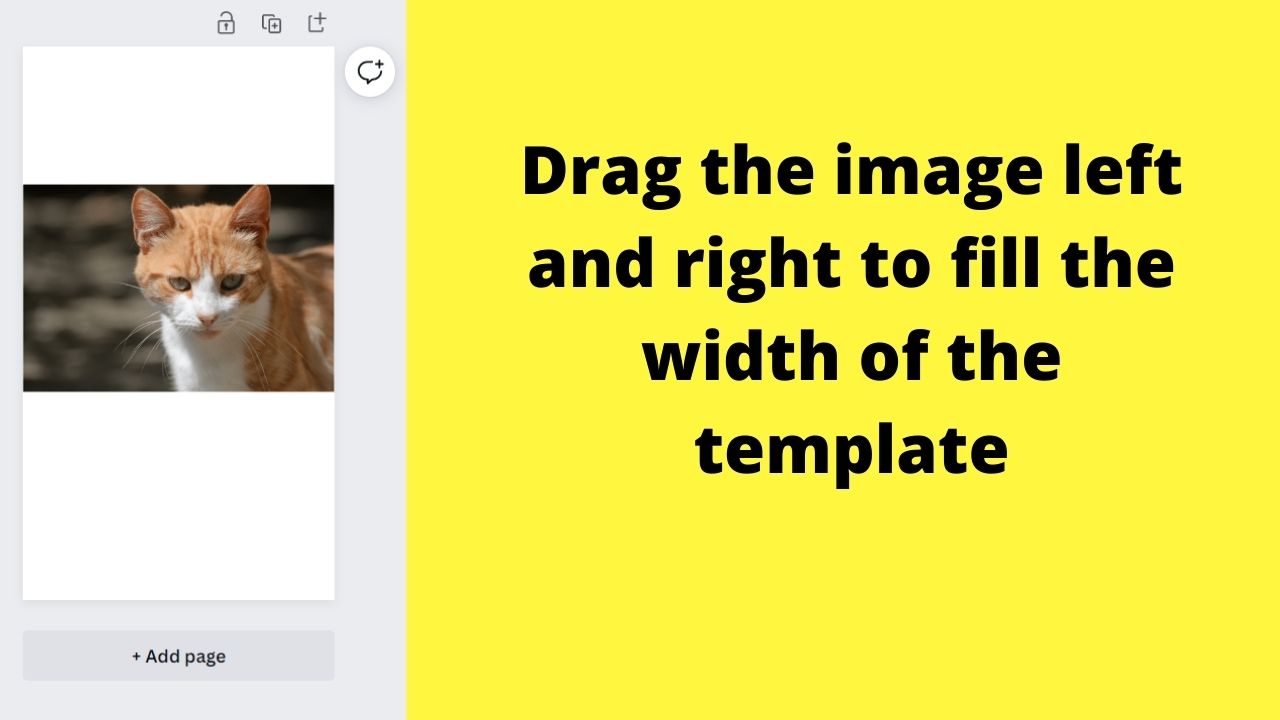
Step 7: Drag to resize
Step 8: Customize the background color
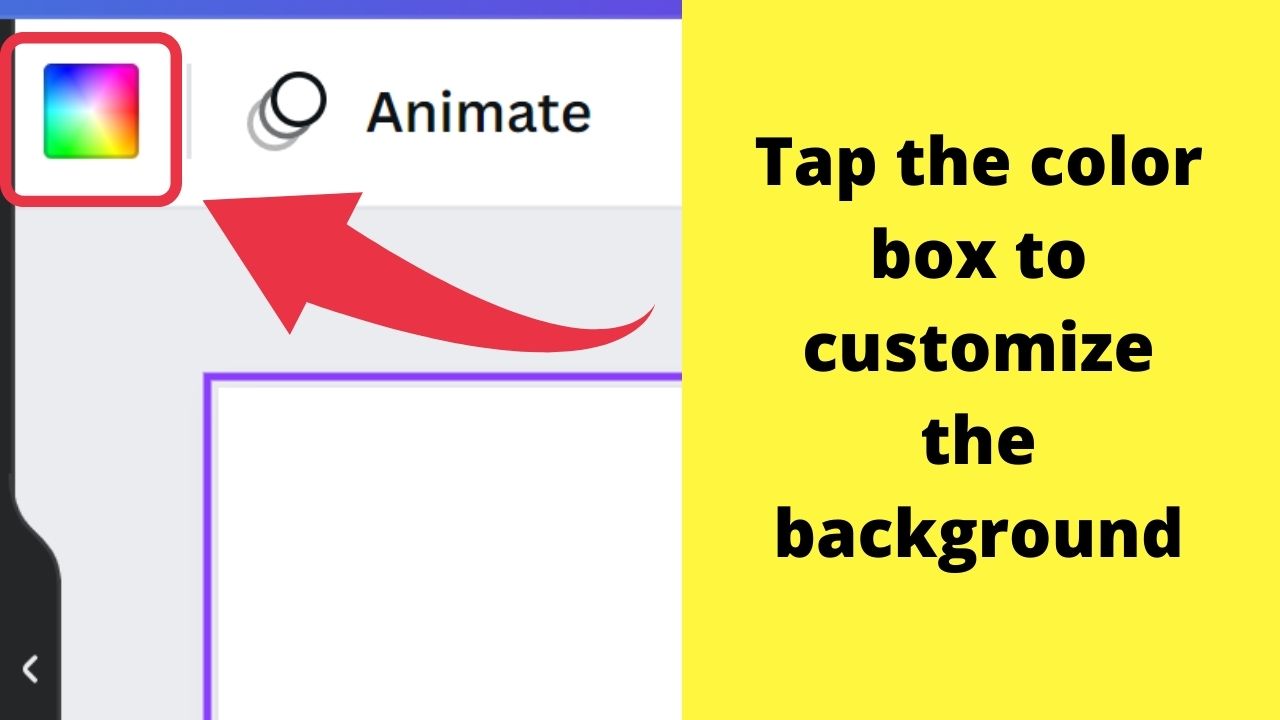
The background color is what the Instagram app would automatically customize if you uploaded the original-sized photo.
With the Canva template, you have full control over the colors and background images shown above and below the photos.
On the top right of your screen, click on the colored square to select a custom color.
Step 9: Add any elements for added effects
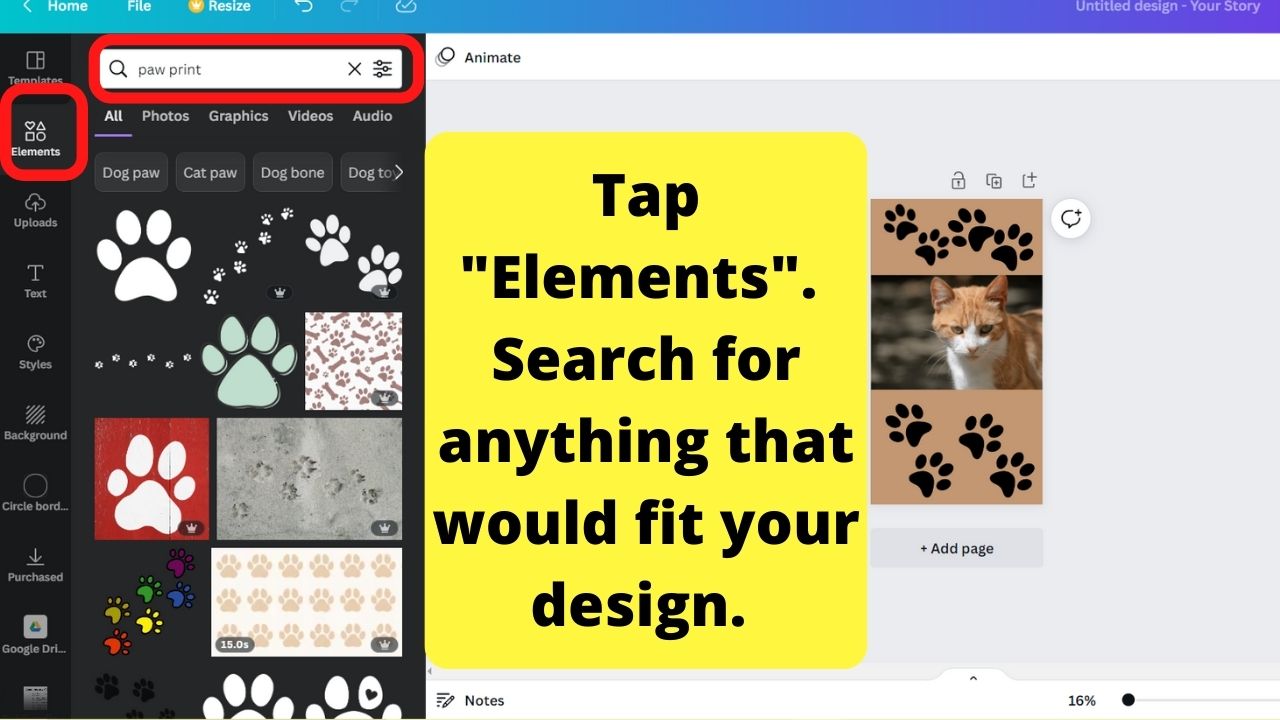
Click on the elements tab on the left sidebar, and search for any term that fits your images.
In this instance, since it is a photo of a cat, the term “paw print” was used to find free paw print icons to layer on top of the background.
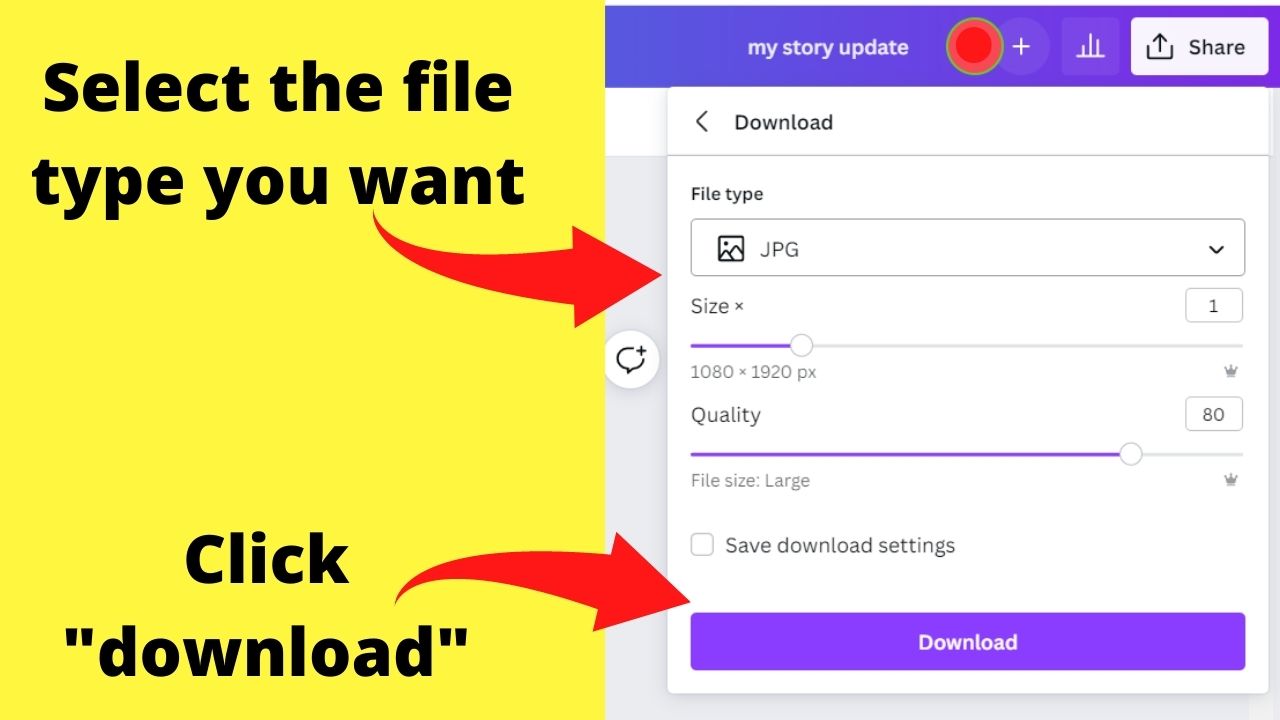
Step 10: Download your image
Once done, tap the share button on the top right of your screen, select “download” and choose a file type. JPG is good enough quality for Instagram.
Once done, launch your Instagram app and upload the edited photo as a story.
