

Stories on Instagram allow users to share photos of how their day has been or what they’ve been up to.
One simply needs to tap the “+” button or swipe the IG home page to right and choose “Story” to start uploading a photo.
But, there are times one picture isn’t enough to capture the beautiful day you had.
Especially if you’re on a trip, you probably have a gallery full of travel photos you want to share. And uploading them one-by-one daily simply can be tedious.
So, how can one put multiple pictures on an Instagram story?
How to Put Multiple Pictures on an Instagram Story
Tapping “Layout” in create mode is one way to put multiple pictures on an IG story. Another way is to layer the pictures. You can also press “Select” to post the images as separate stories. Lastly, you can make a collage on a third-party photo editor like Canva.
Most of the methods mentioned above can be done within the Instagram app.
If, however, you want more collage template options, you better use a third-party photo editor instead (online or app).
How to Put Multiple Pictures on an Instagram Story Using Instagram Layout Templates
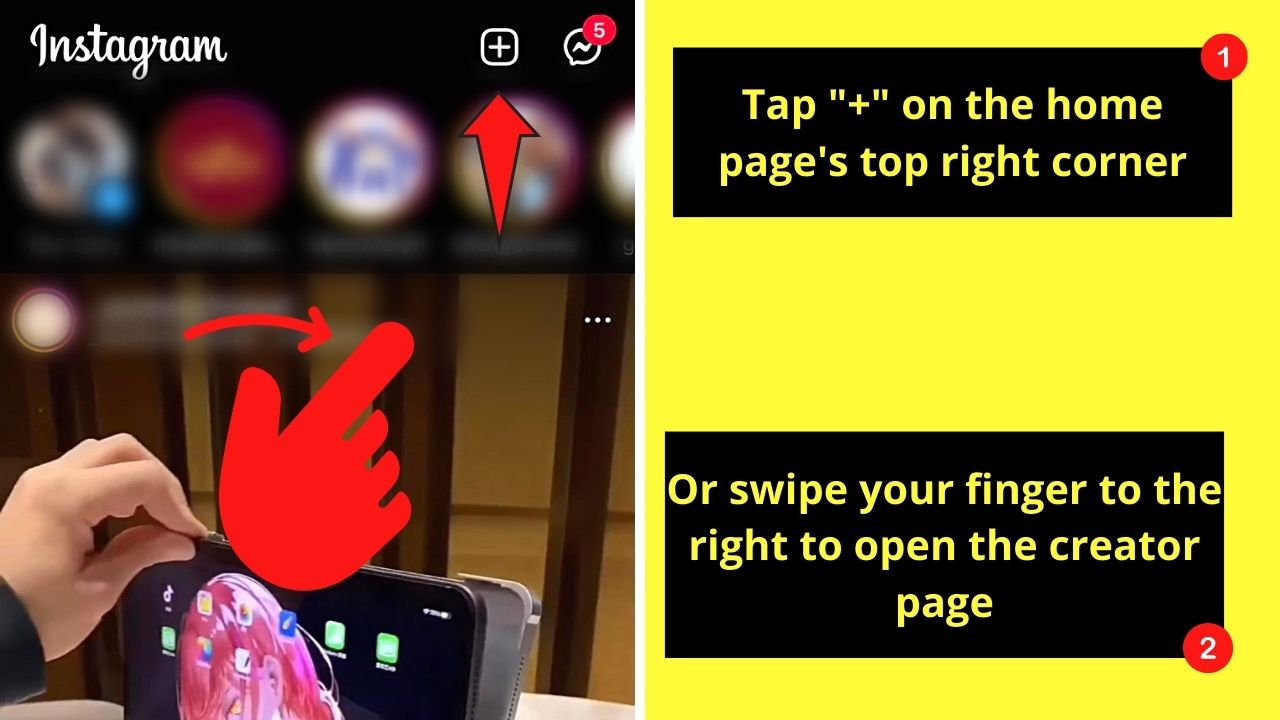
Step 1: Press “+” or swipe your finger to the right
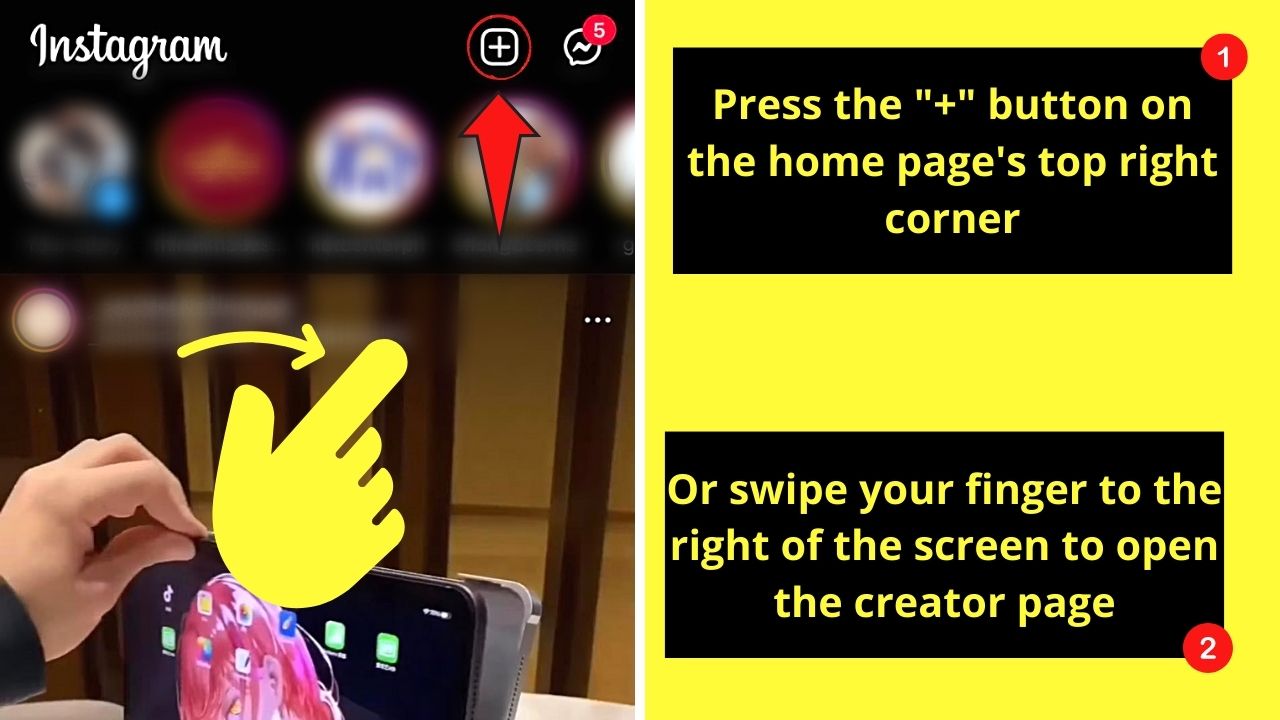

This move will take you to the “Story” create mode. Just make sure that “Story” is highlighted on the bottom menu.
Step 2: Tap the “Layout” icon

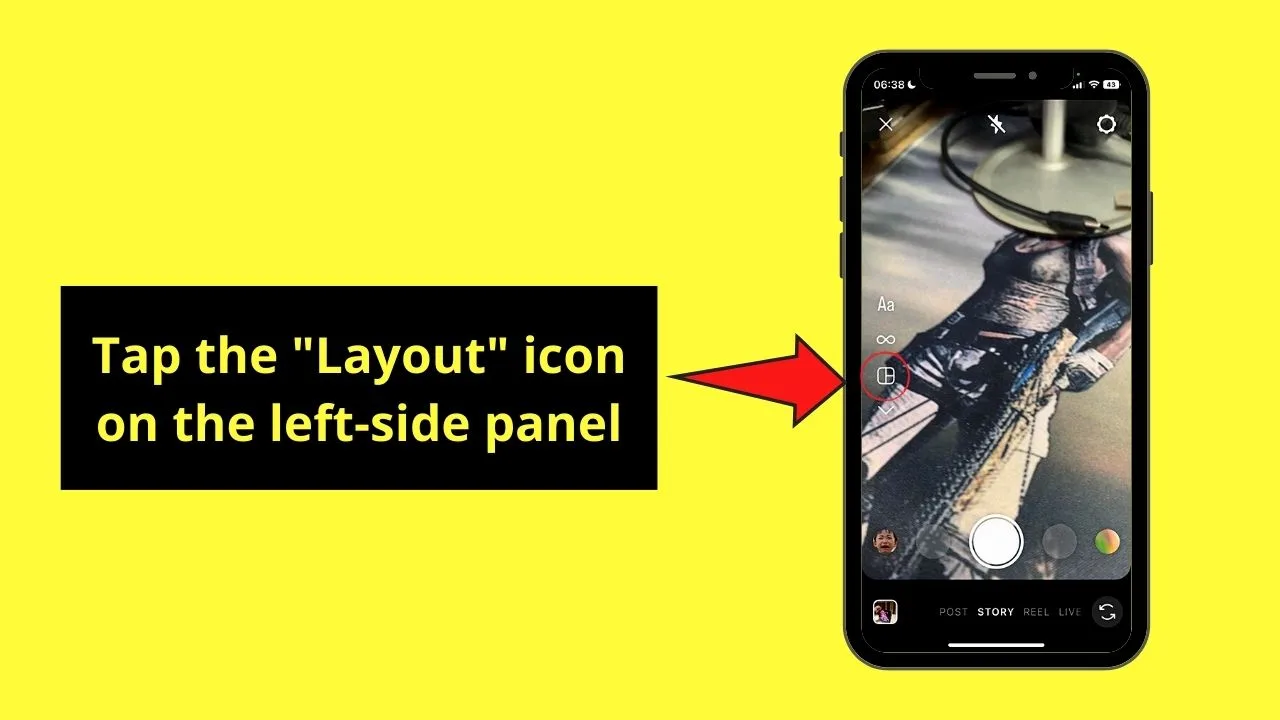
You’ll find this grid-like button on the left-side panel of the create mode page.
Step 3: Press “Change Grid” to change the grid layout

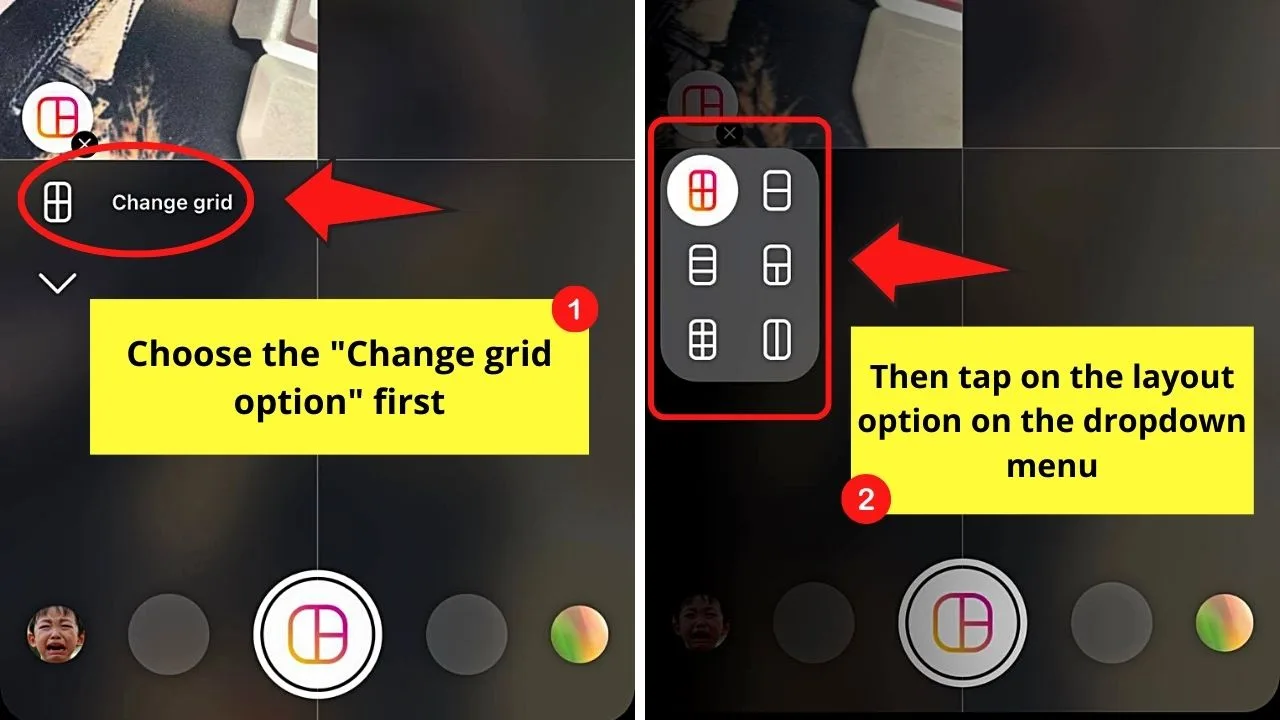
Simply tap on the grid choice you’ll want to use from the dropdown menu that appears.


Step 4: Add pictures to the grid layout
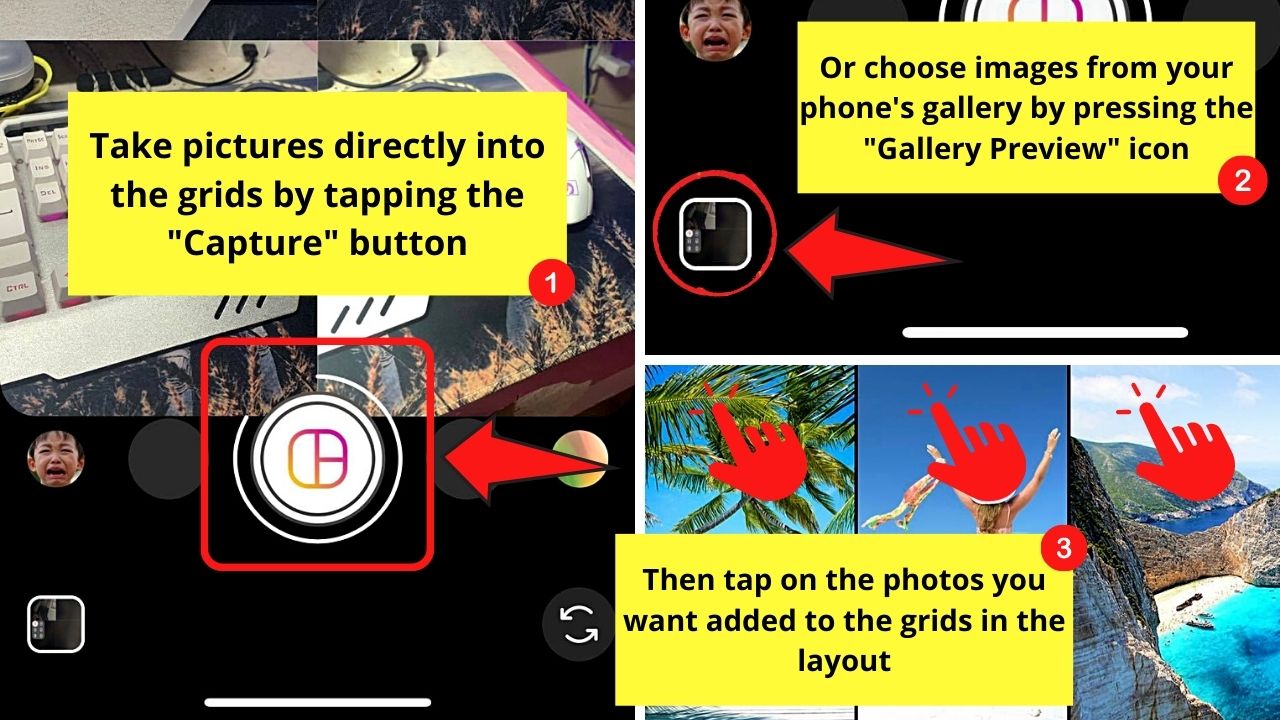

There are 2 ways you can do this step. One, you can directly take photos into the grids by pressing the white “Capture” circle.
Keep tapping the said circle until you have filled the grid with images.
Another way is to press the “Gallery Preview” icon on the lower left of the create page. Then, choose the number of photos from the gallery like the number of grids in the layout option you selected.
Step 5: Tap on an image on the grid and press “Delete”
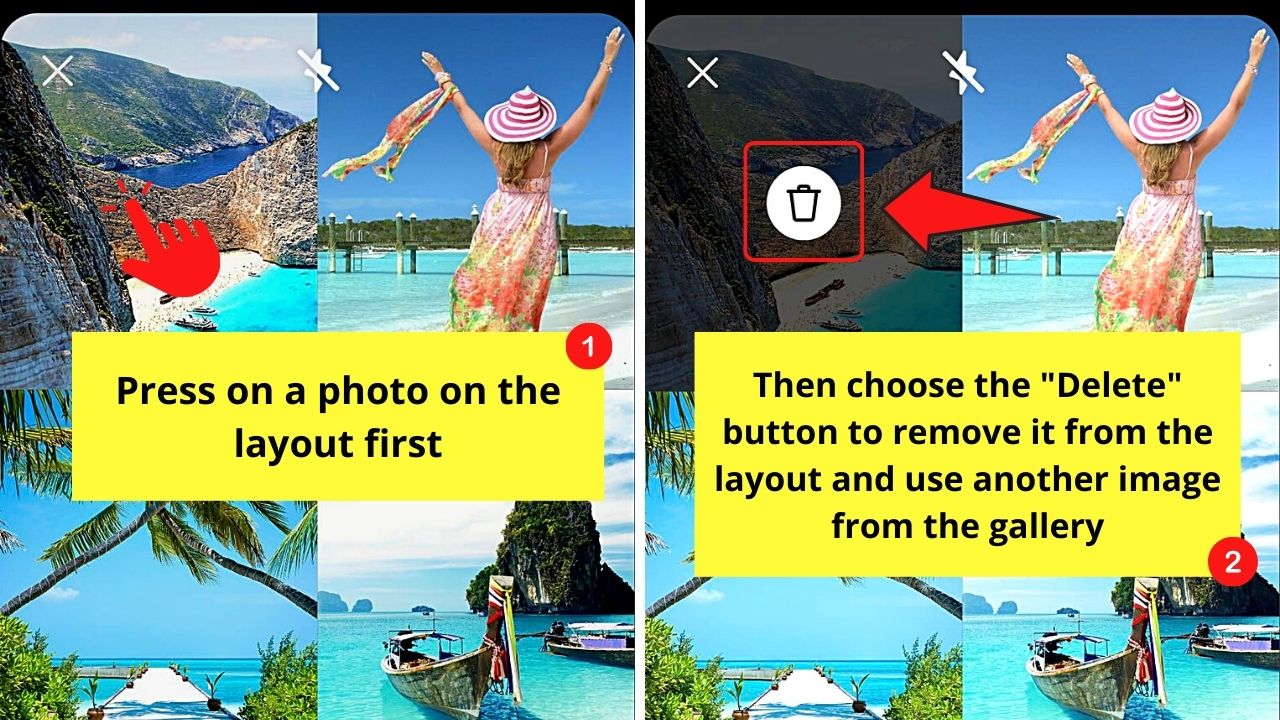

This step is optional if you feel that one of the photos you added isn’t the one you intend to use for your IG story.
This “Delete” icon takes the shape of a trash can in the middle of the picture, so all you have to do is press on it.
Then, capture another image or choose one from the gallery to replace the one you deleted.
Step 6: Press “✔”

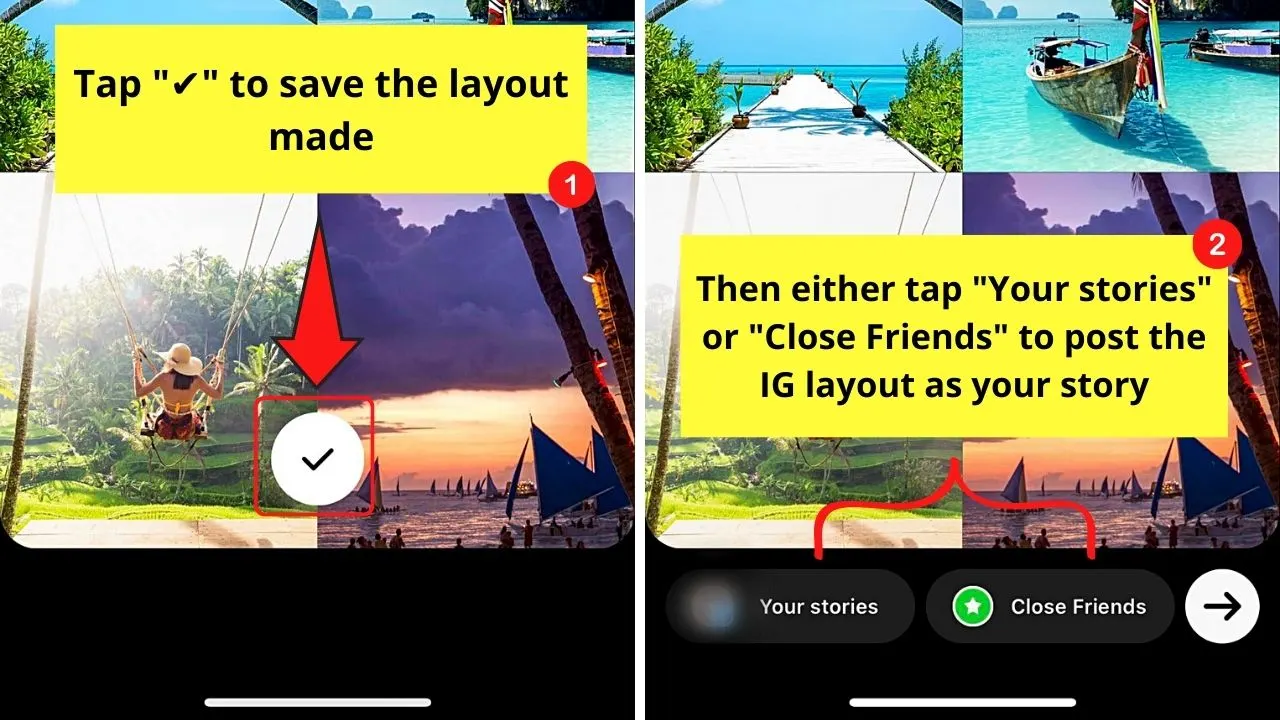
This step will confirm the photo layout you made. It will then redirect you to the Story creator page, where you can add lyrics or even music without a sticker.
You can even add text, stickers, or even effects to it before tapping “Your Story” as a public IG story or “Close Friends” to make it a CFS (Close Friends Story) only.
Now if you prefer a more fluid way of putting multiple pictures on your IG story scrapbook style, the second method is for you.
How to Put Multiple Pictures on an Instagram Story by Layering Multiple Pictures on an Instagram Story
There are 2 processes involved in this method: creating a photo background and adding the pictures. Both of these processes work on an Android device or an iPhone.
Creating a Photo Background on an Instagram Story
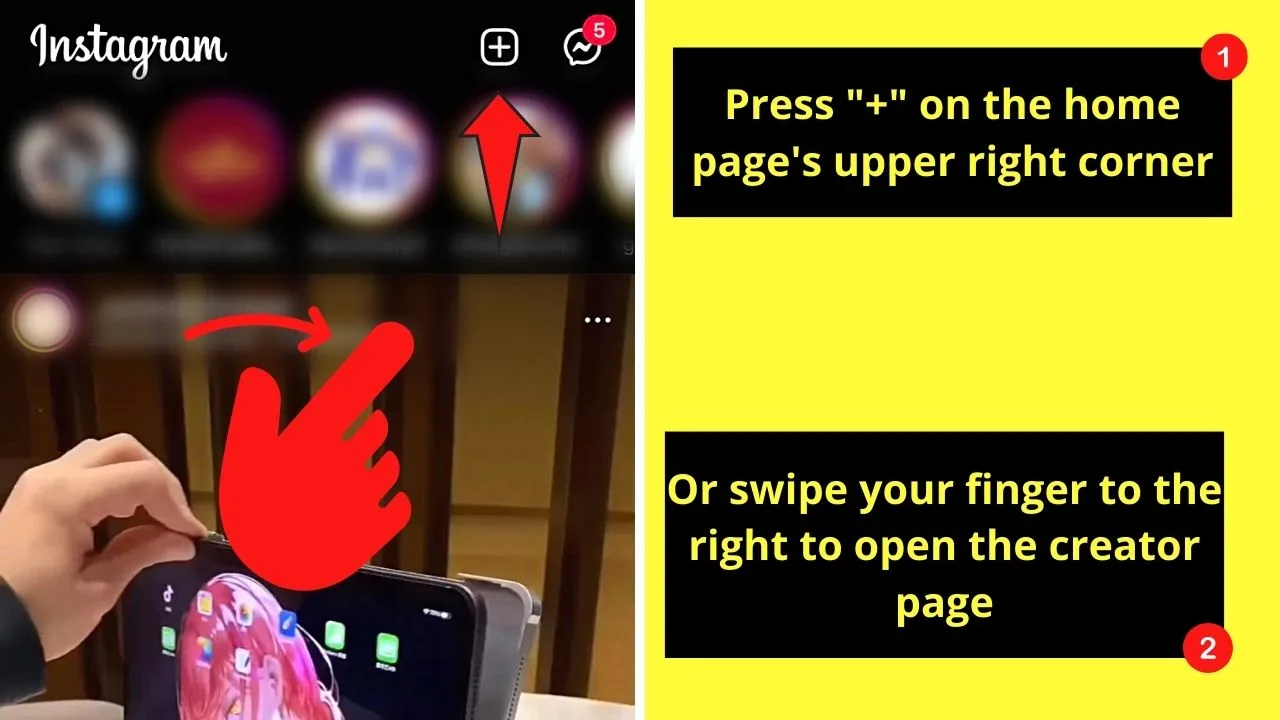
Step 1: Swipe your finger to the right or tap the “+” button on the home page

Either of these methods will take you to the creator page. Ensure though that you have selected “Story” on the bottom menu.
Step 2: Press “Capture”

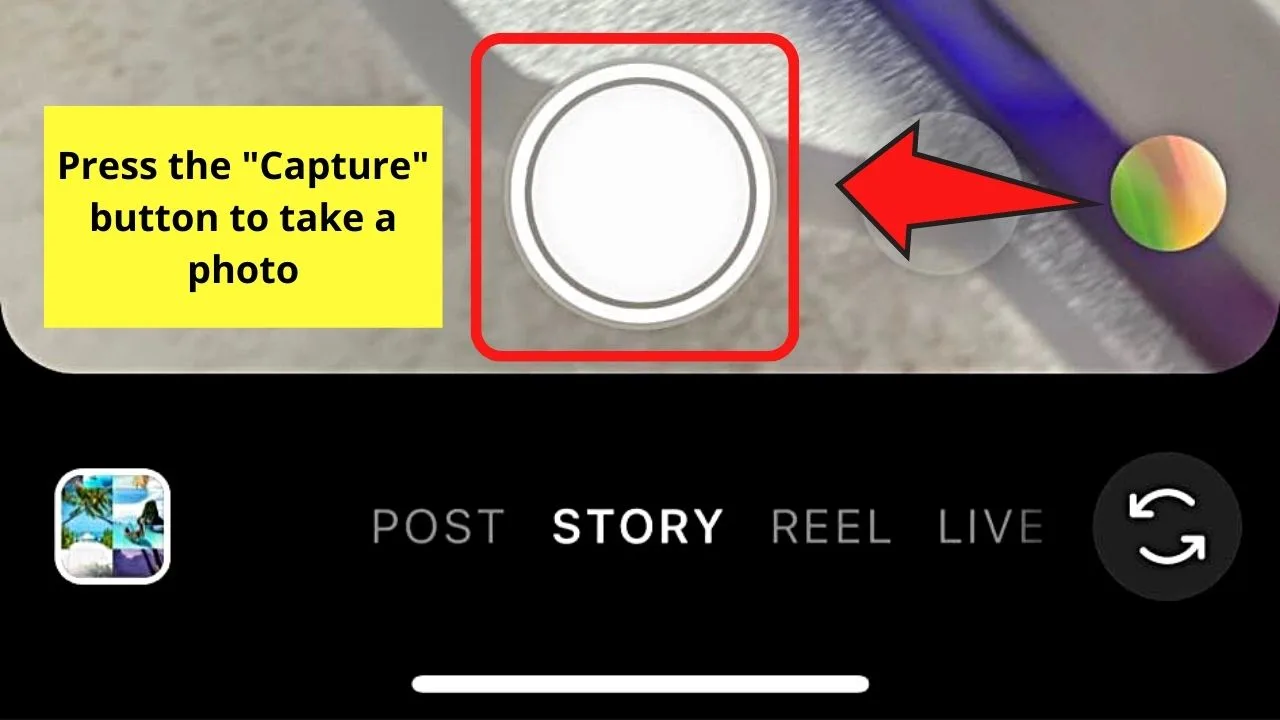
This button is a white circle in the middle of the story creator page. This then allows you to take another photo.
Step 3: Tap the meatballs menu


This button is found on the creator page’s upper right corner.
Step 4: Choose “Draw”

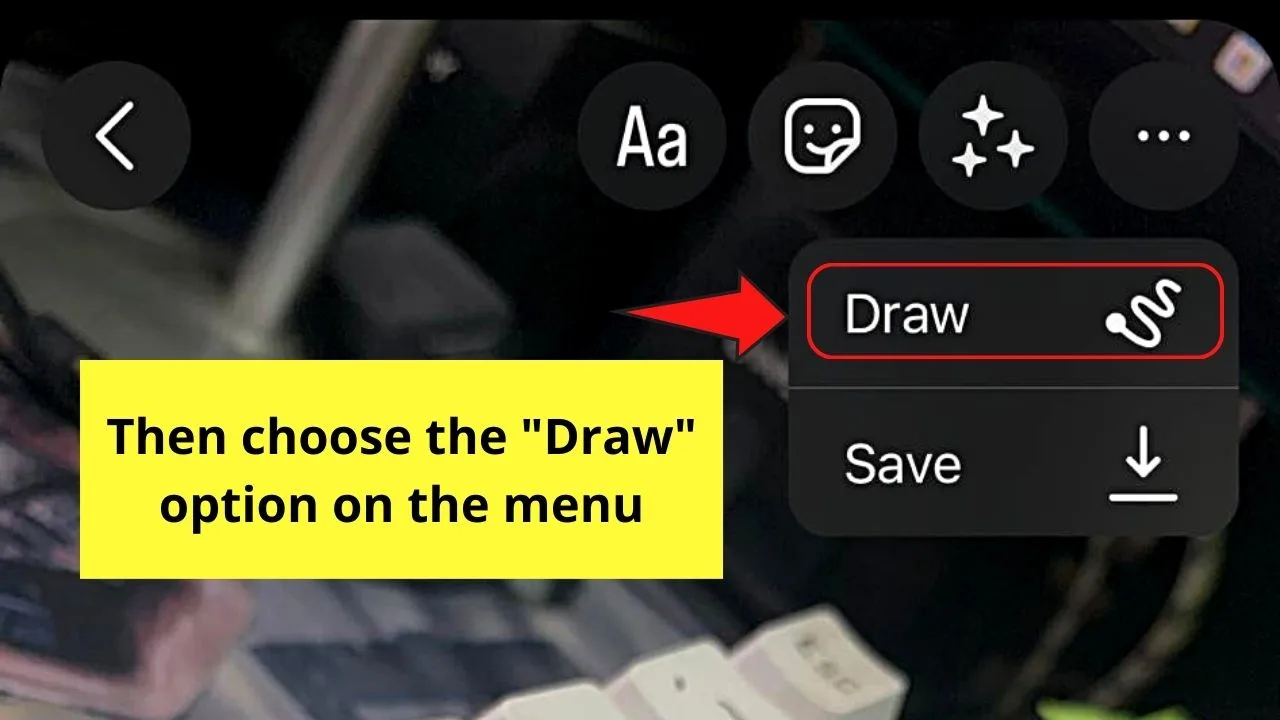
This icon appears as a curved line on the dropdown menu appearing after tapping the meatballs menu.
Step 5: Press “Done”
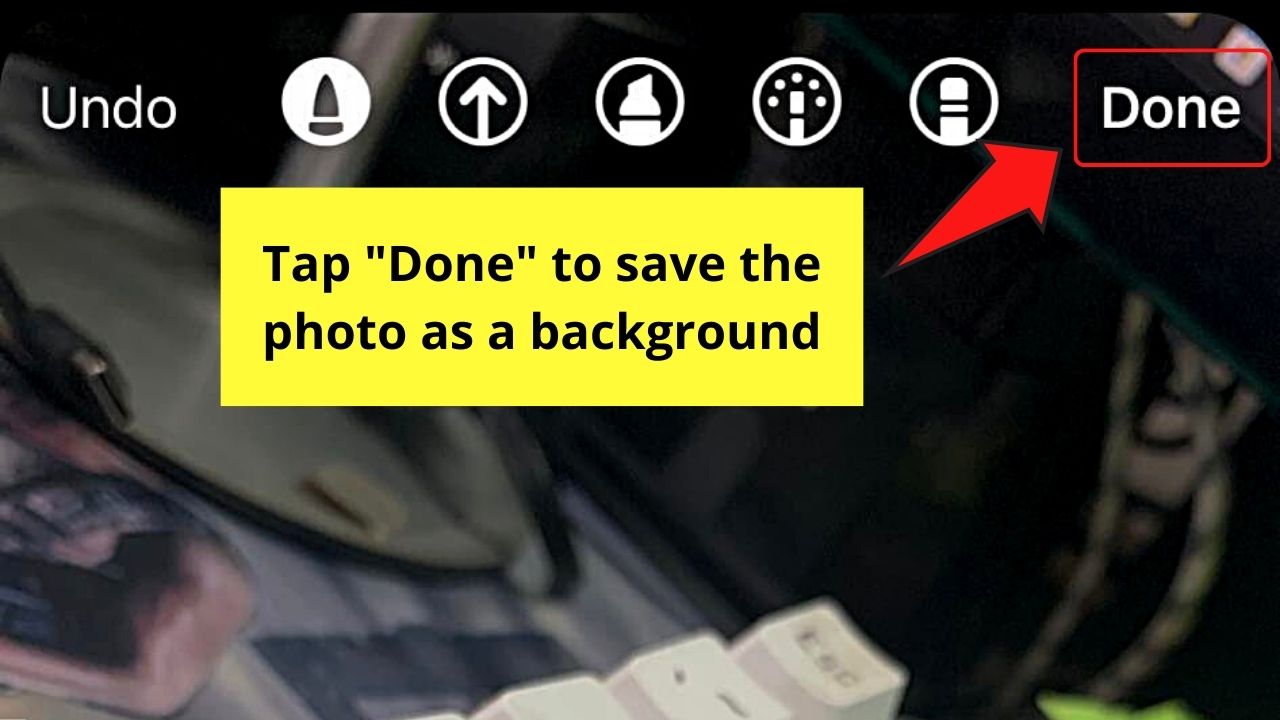
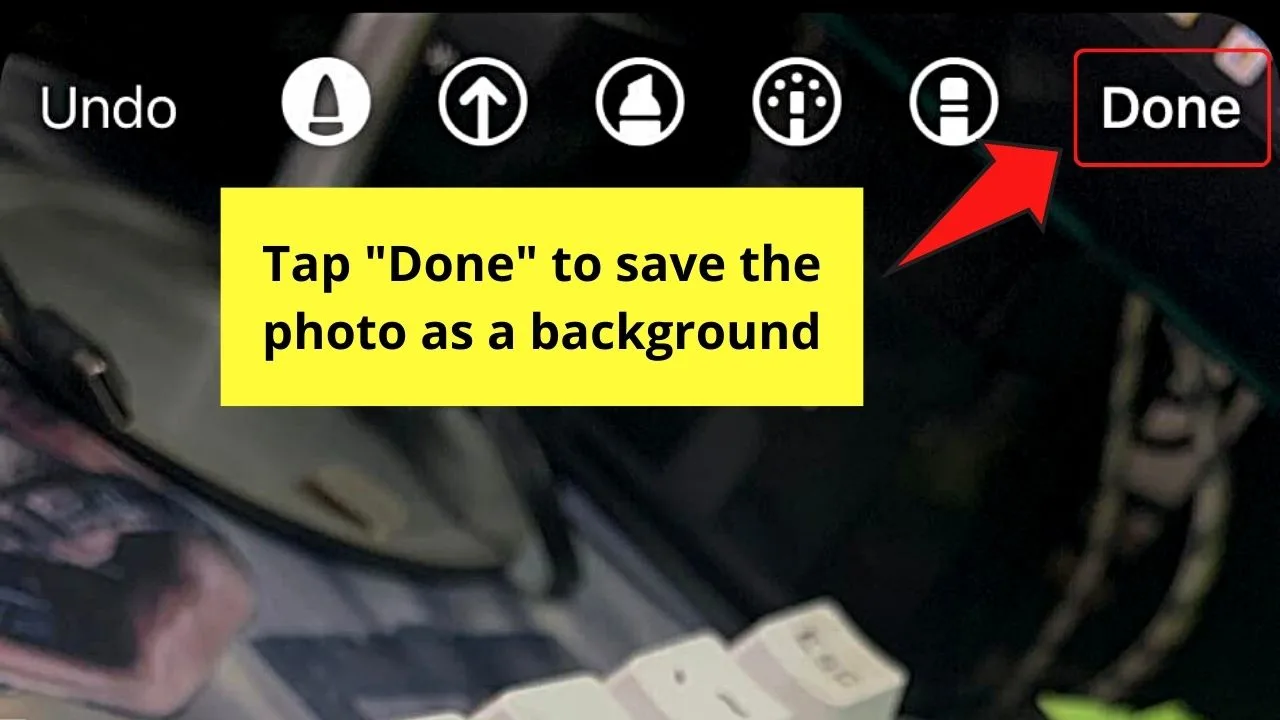
You don’t need to draw or scribble on the picture you took. Tapping the “Done” button will turn the photo you selected into a background.
This will then redirect you to the creator page, where you can proceed with the second phase of the process.
Layering Multiple Photos to your Instagram Story Photo Background
Step 1: Press the “Sticker” icon

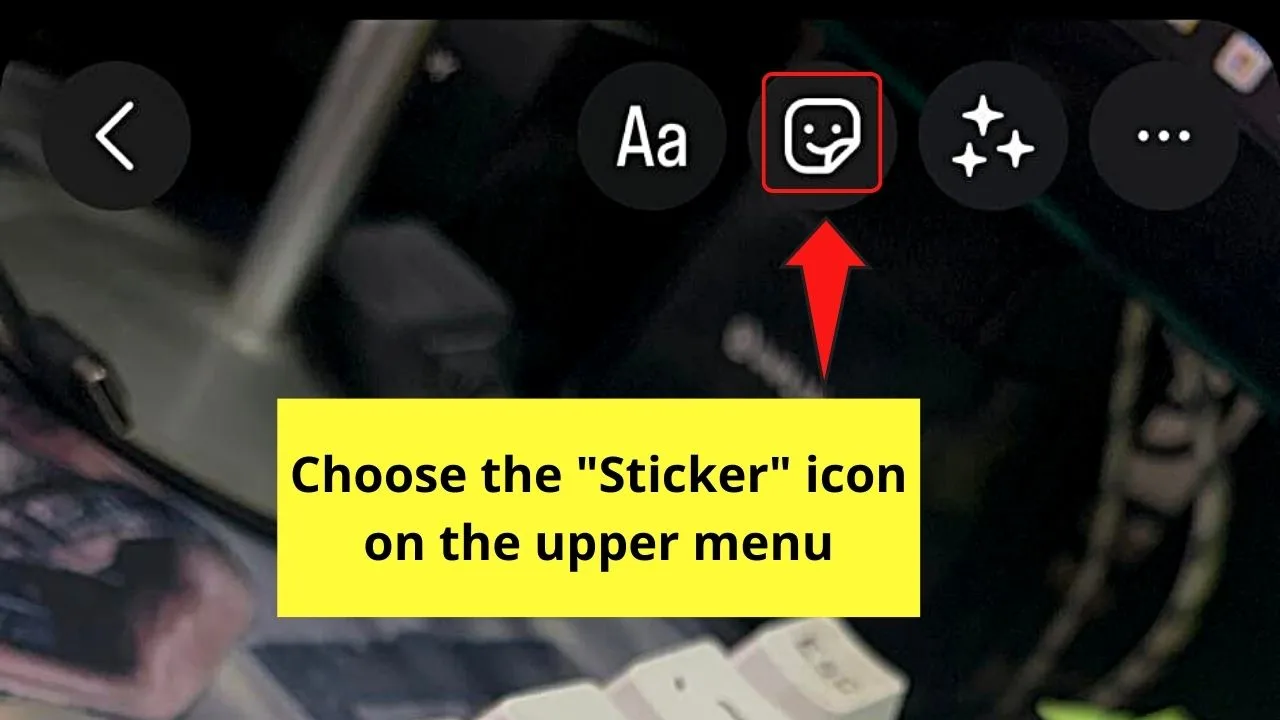
You’ll find this button on the upper menu of the creator page as a square-shaped smiley face.
If, however, you don’t find this option yet, check whether you are using the Instagram app’s updated version.
Step 2: Swipe up the sticker menu and tap the “Photo” sticker


This icon takes the shape of a circle with the “Gallery” icon splashed inside it. There’s also a blurred image of the latest image saved in your phone’s gallery.
Step 3: Tap a photo from your gallery and adjust its position
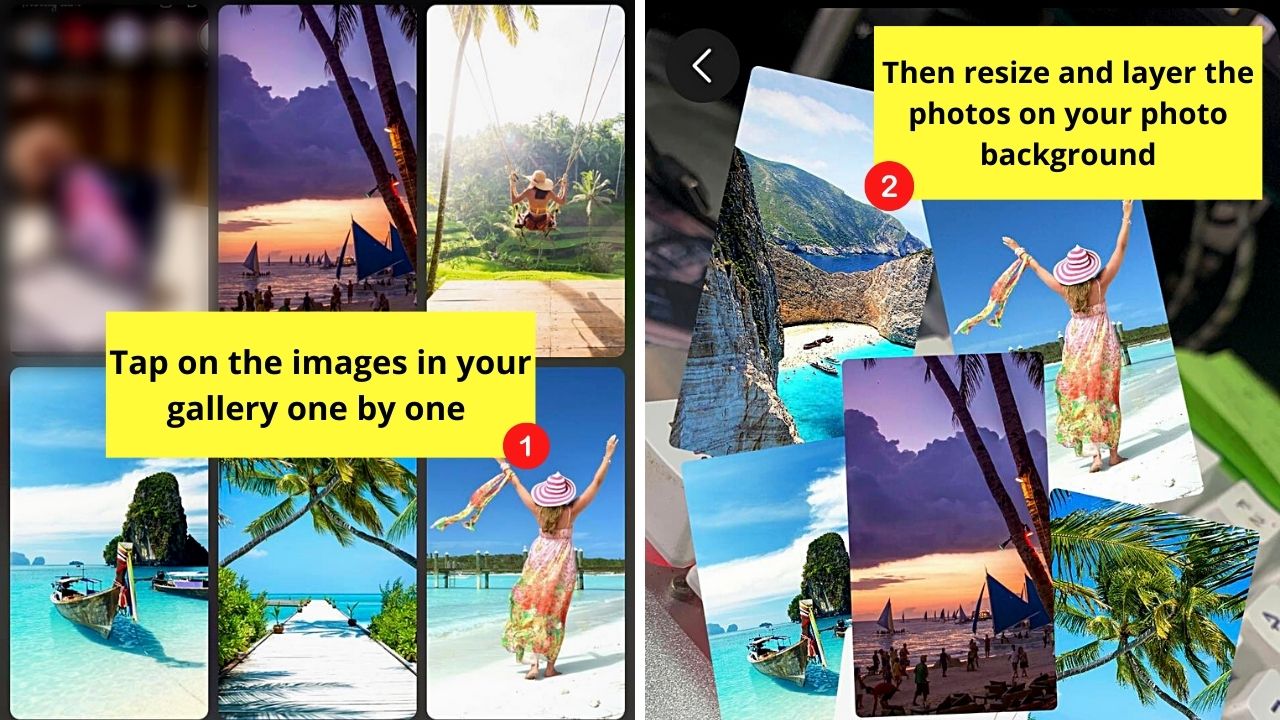

Repeat this step until you have added all the photos needed for your IG story.
Unfortunately, you can’t add the images from your gallery in one go. You’ll have to pick and adjust them individually on your photo background.
Step 4: Edit your Instagram story further

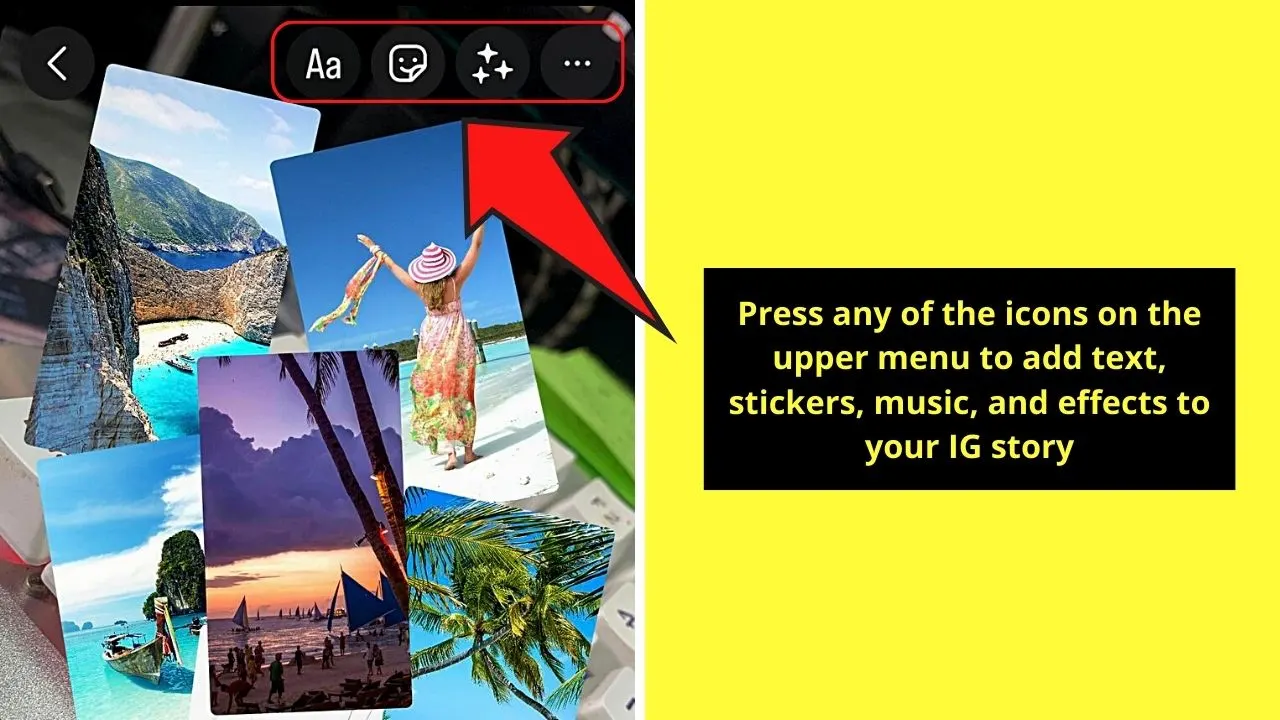
Then add music, lyrics, other stickers, or even text to your photo collage by tapping their respective icons from the upper menu.
Step 5: Choose your IG story’s audience

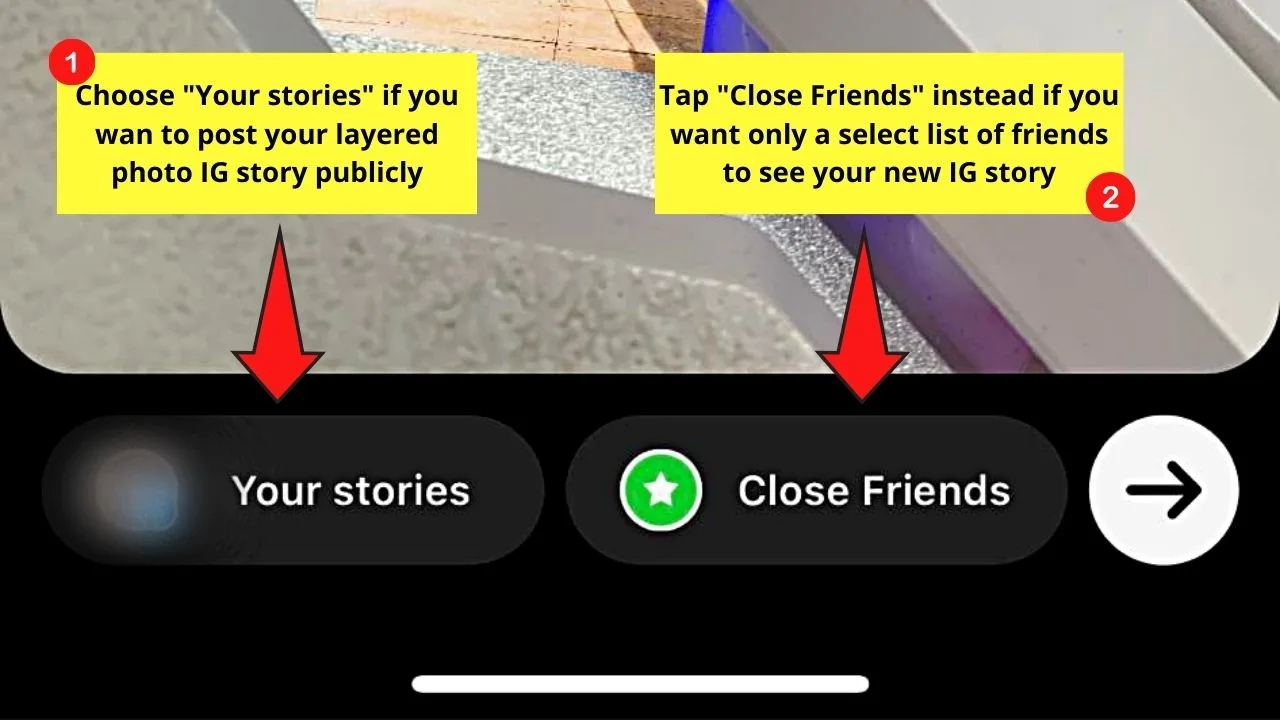
You can opt to post your IG story publicly by tapping “Your Stories.” If you prefer only your close friends see it, press “Close Friends” instead.
Your new IG story will automatically be saved and shared.
If, however, you prefer to add multiple photos as a story series, the third method is what you need.
Put Multiple Pictures on an Instagram Story by Creating an Instagram Story Series
Step 1: Open the Instagram story creator page

You can reach this page either by tapping “+” on Instagram’s home page or swiping the screen to the right.
Just make sure that “Story” is highlighted on the bottom menu of the creator page.
Step 2: Press the “Gallery Preview” icon
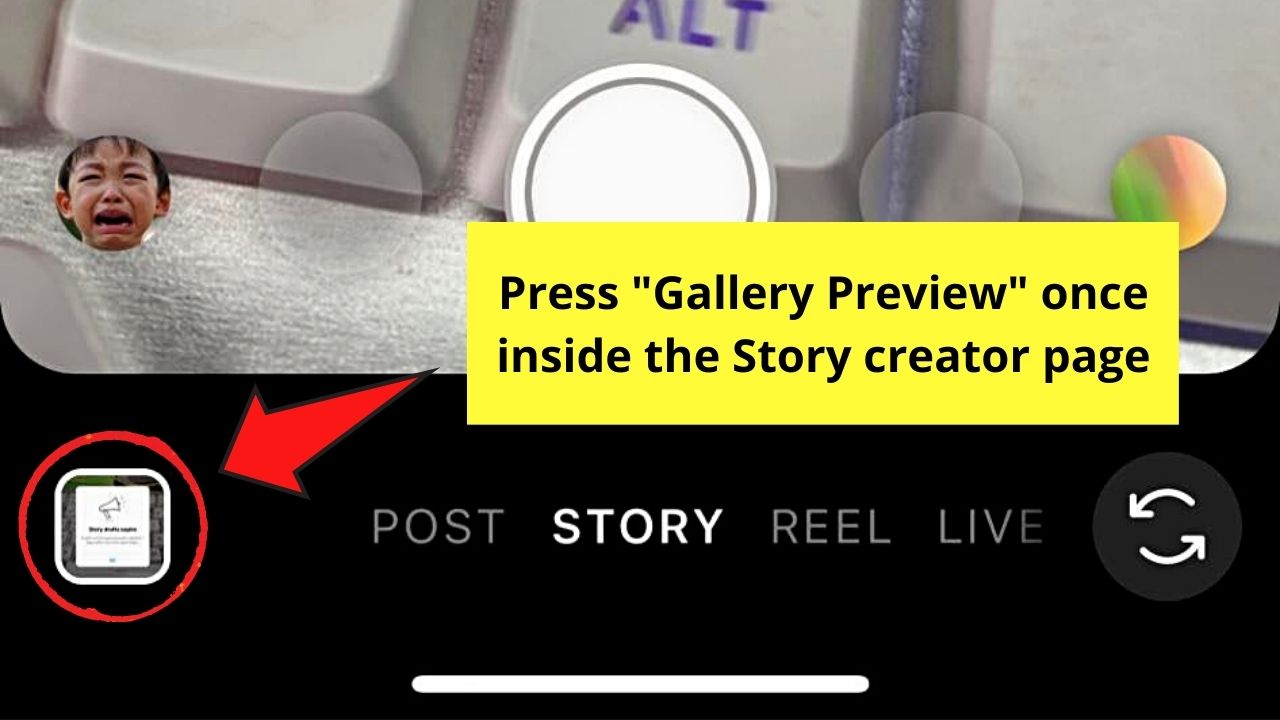
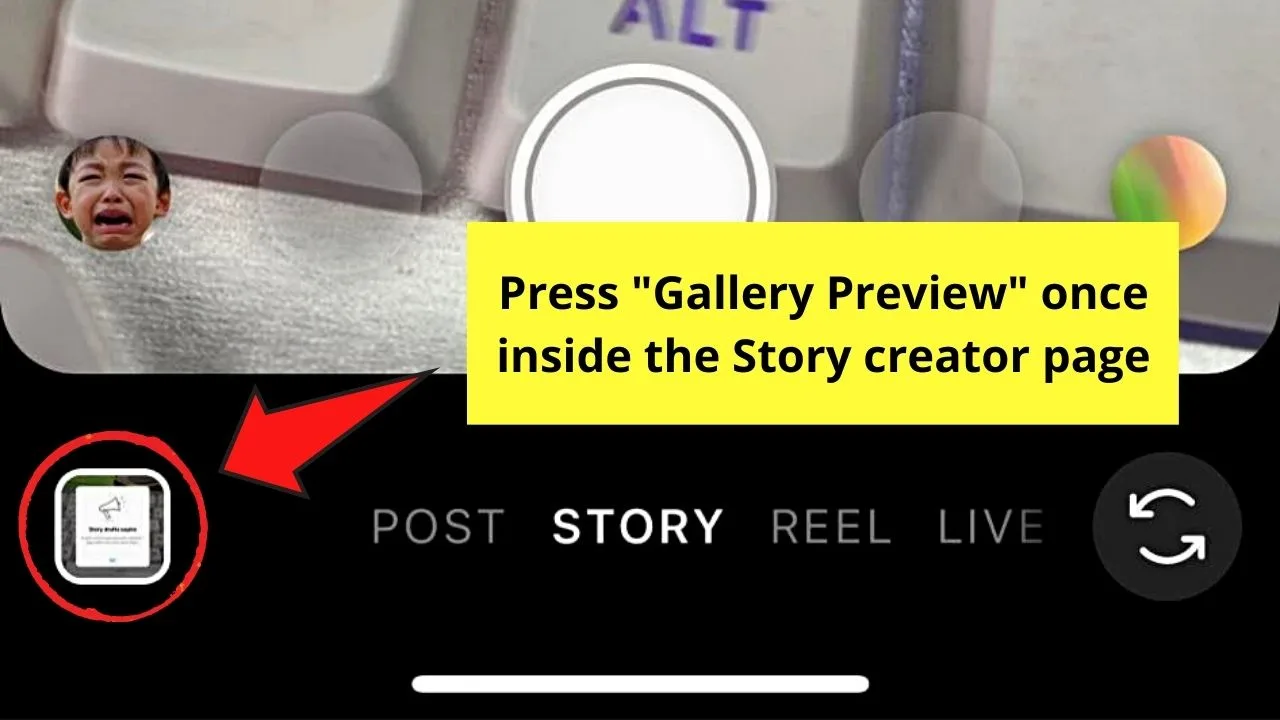
This icon appears as a rounded square with the latest image you’ve taken in it on the lower left of the creator page.
Step 3: Press “Select”

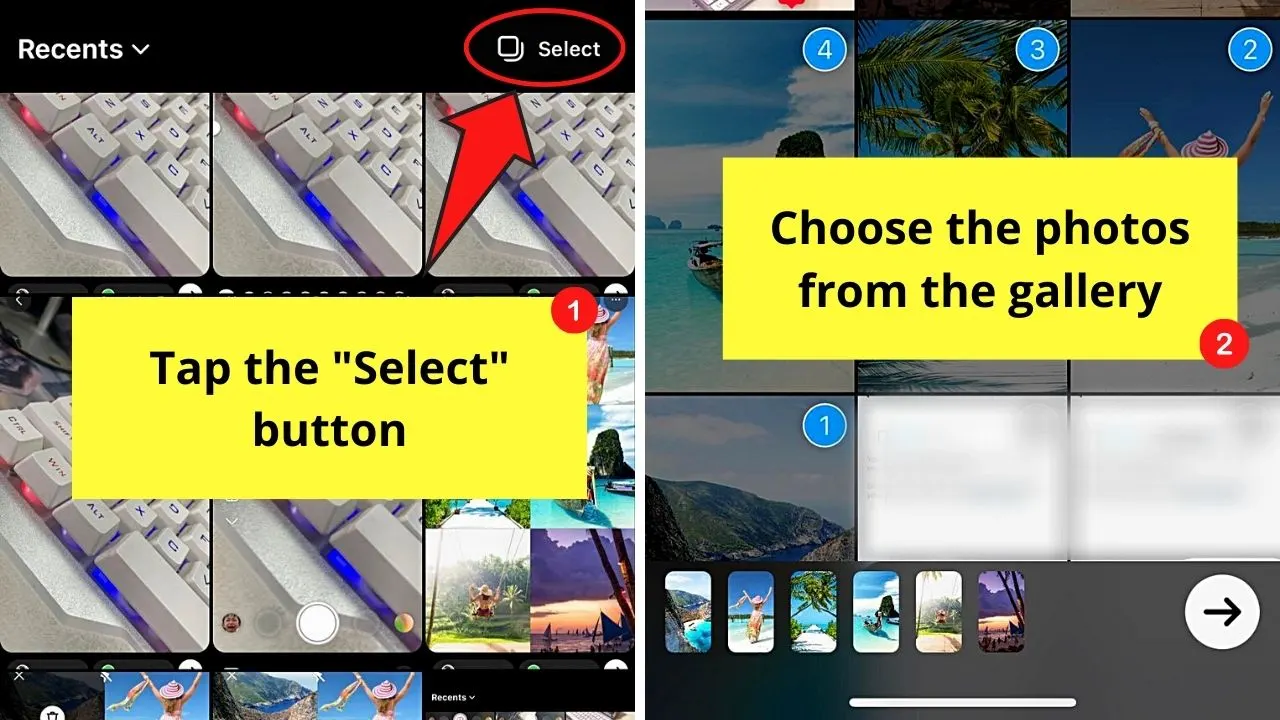
This button appears as a series of rounded squares stacked on top of each other with the word “Select” beside them.
After pressing this button, you’ll see white circles on the upper right of your images in the gallery. Go ahead and choose up to 10 photos.
You’ll know you have selected the images successfully as the circle turns blue with a number splashed in it.
Step 4: Press “→”

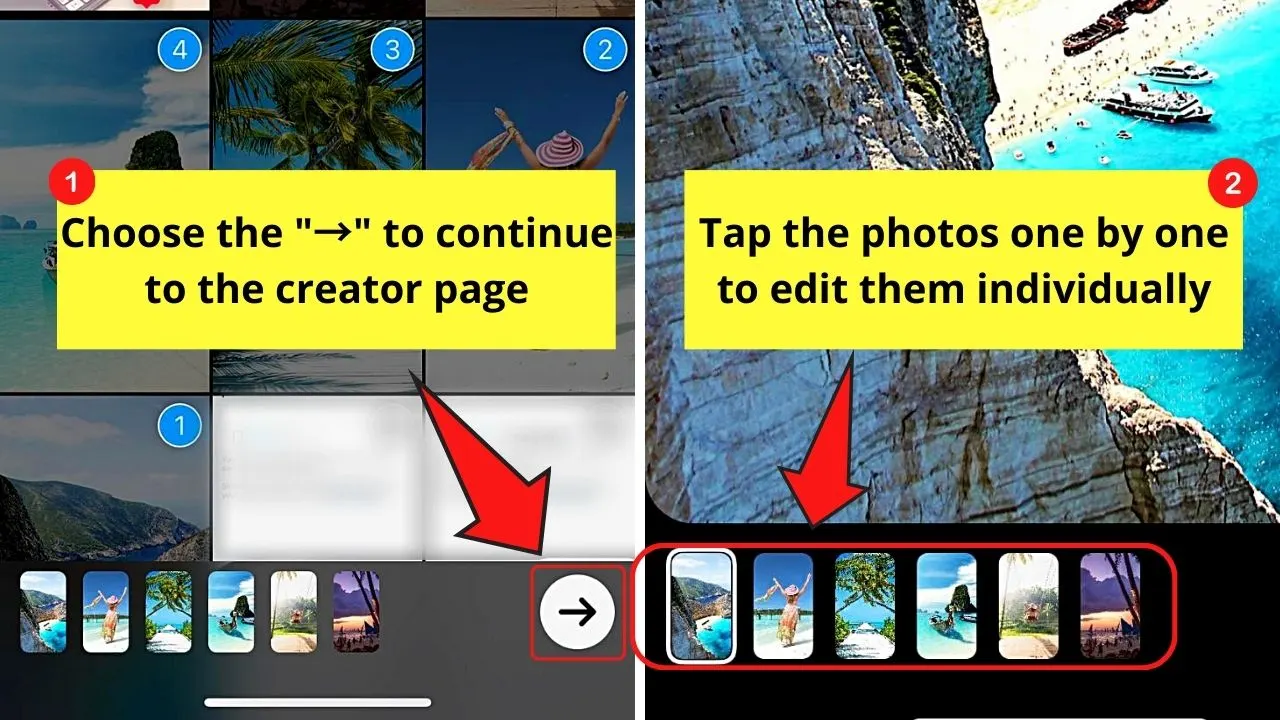
This step will redirect you to Instagram’s Story creator page.
You can then continue editing the photos individually. Just tap on the picture you’ll add stickers, effects, text, or music into.
Tap on the next photos in the IG story series one by one until you’re done editing all of them.
Step 5: Tap “→”

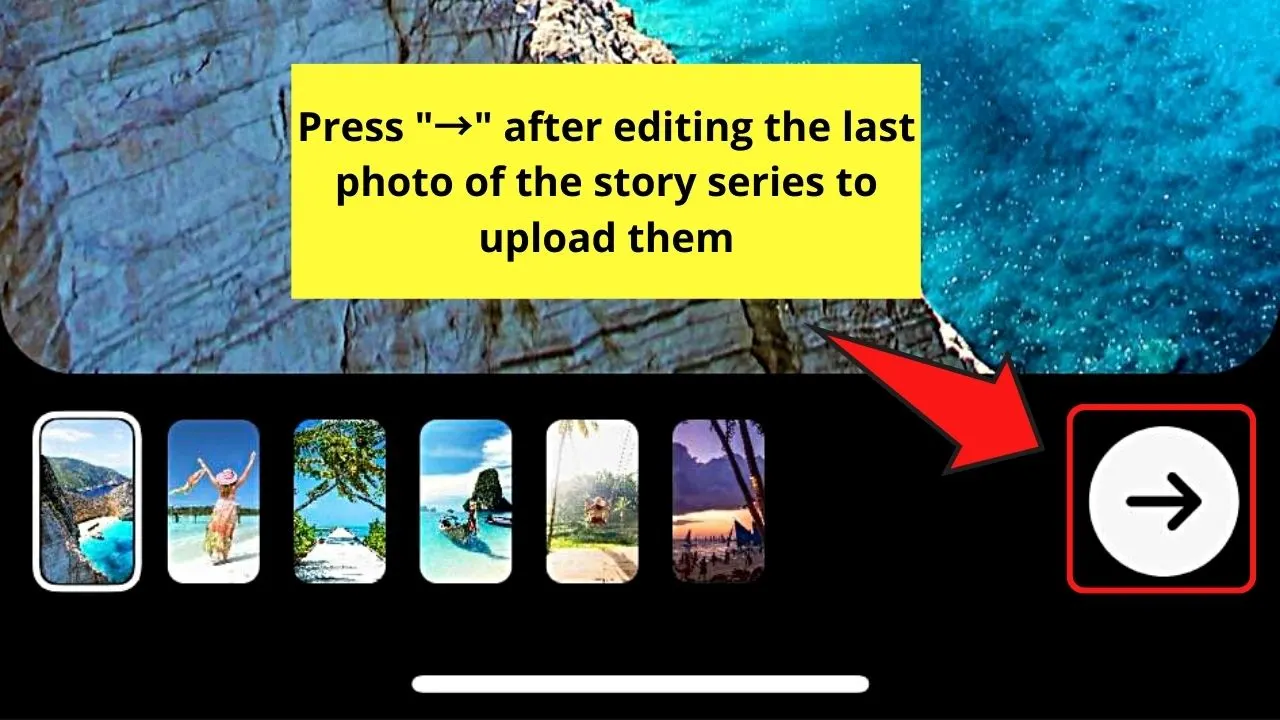
Do this step after editing the last image in your story series. The photos are then uploaded as a series of images in your Instagram Story.
Now, if you want more precise editing while not compromising on the number of images you can add at a time, the 4th method should be your go-to.
Put Multiple Pictures on an Instagram Story by Uploading a Photo Collage Made on Canva Mobile App
Note: You can use your preferred photo editor, whether online or through an app. For sample purposes, I’ll use the Canva mobile app.
There are 2 ways of putting multiple photos in an IG story on Canva: the use of a template and the use of grids.
Using a Canva Template
Step 1: Press the purple “+” button
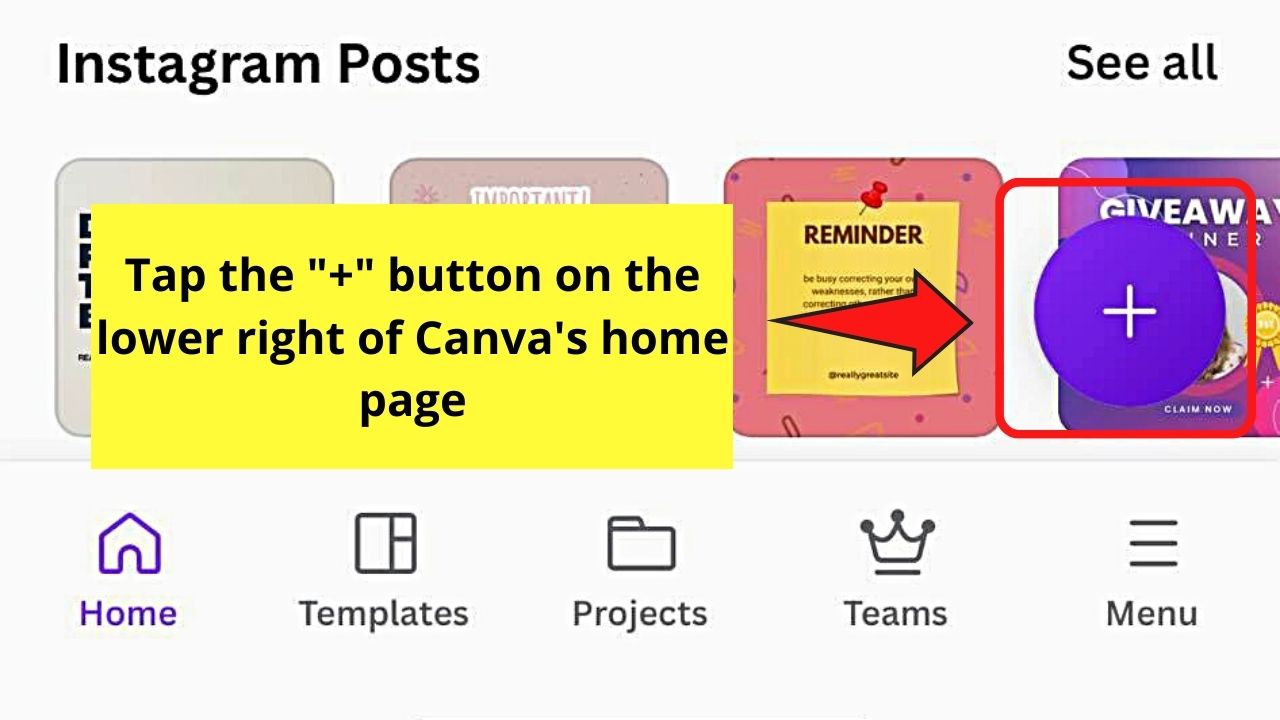
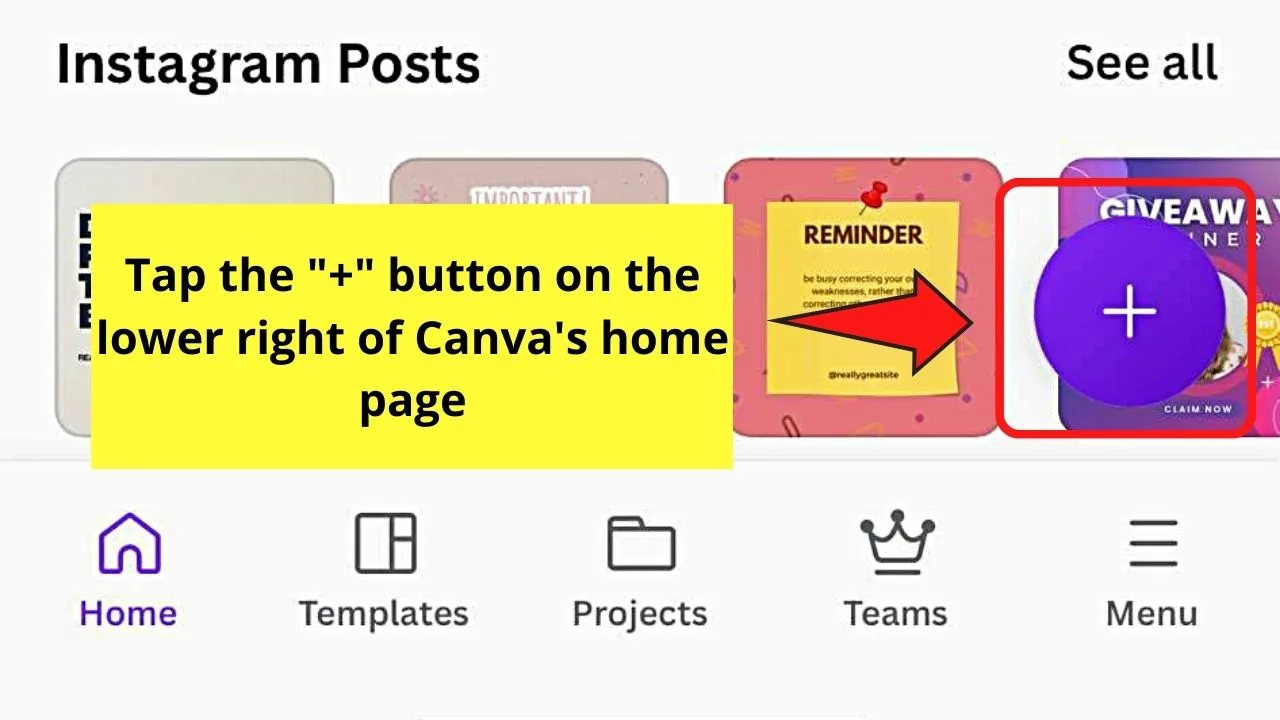
You’ll find this on the lower right of Canva’s home page.
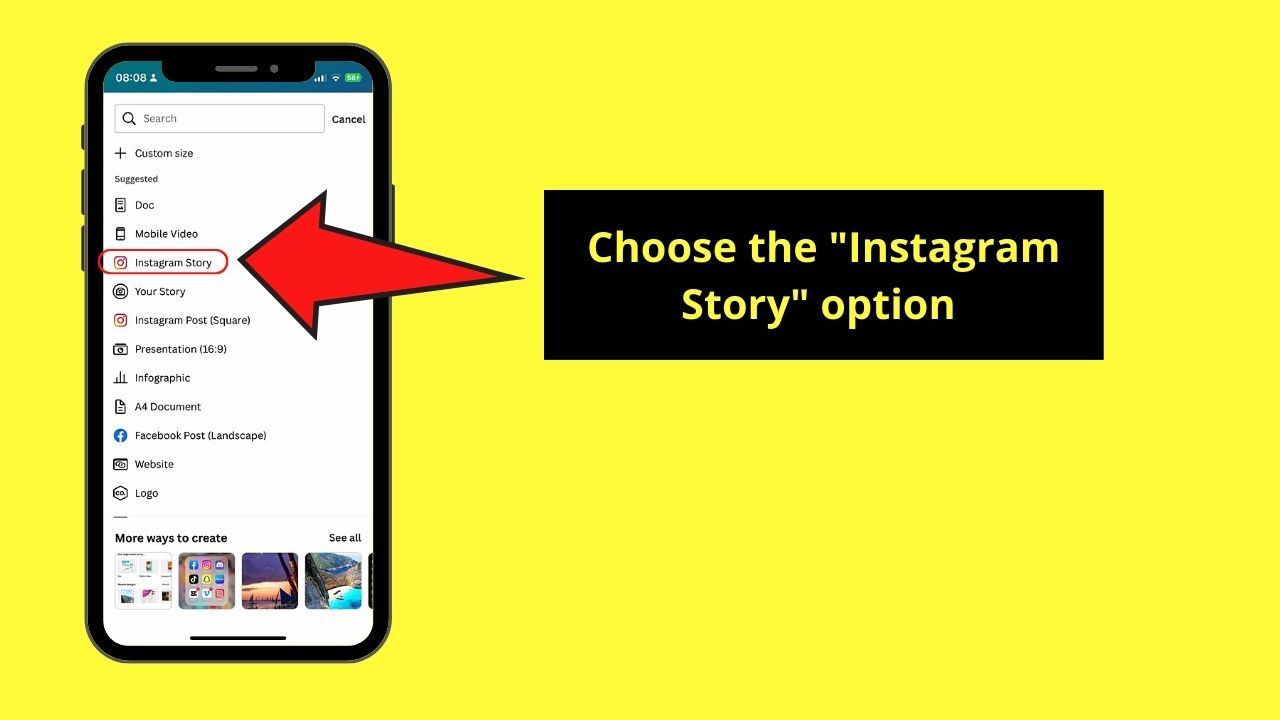
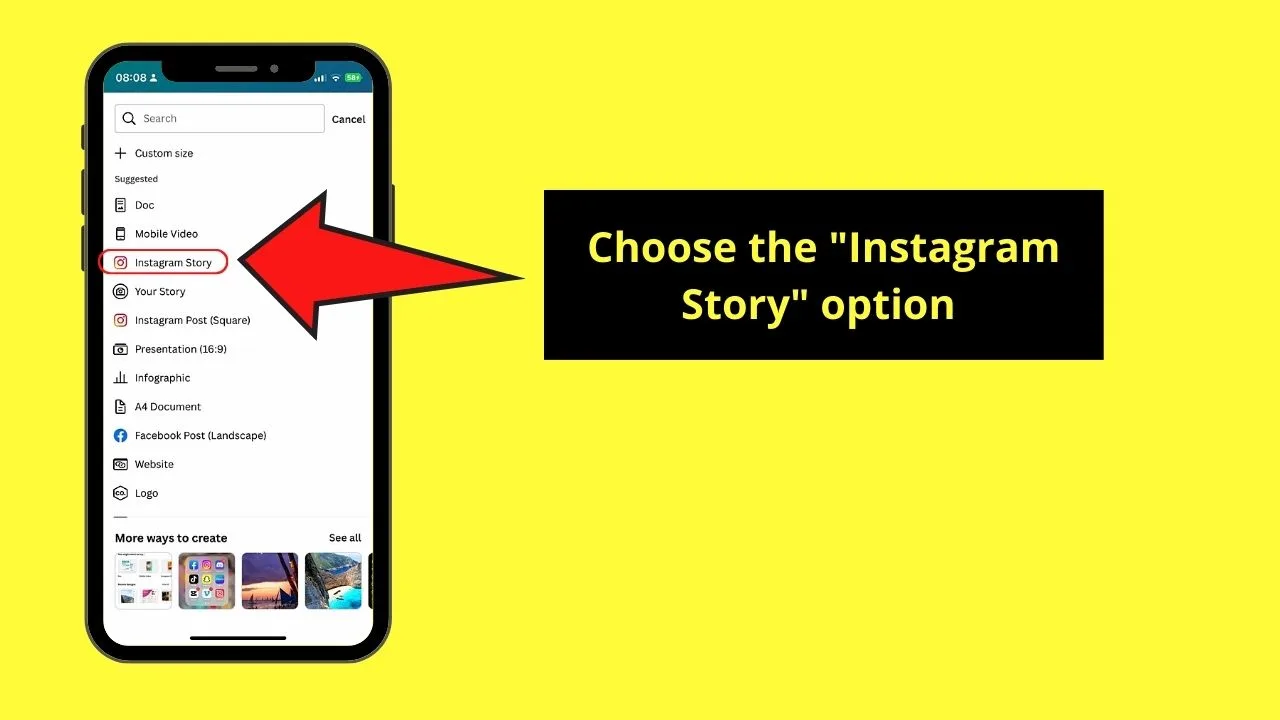
Step 2: Tap “Instagram Story”
Step 3: Choose a collage template

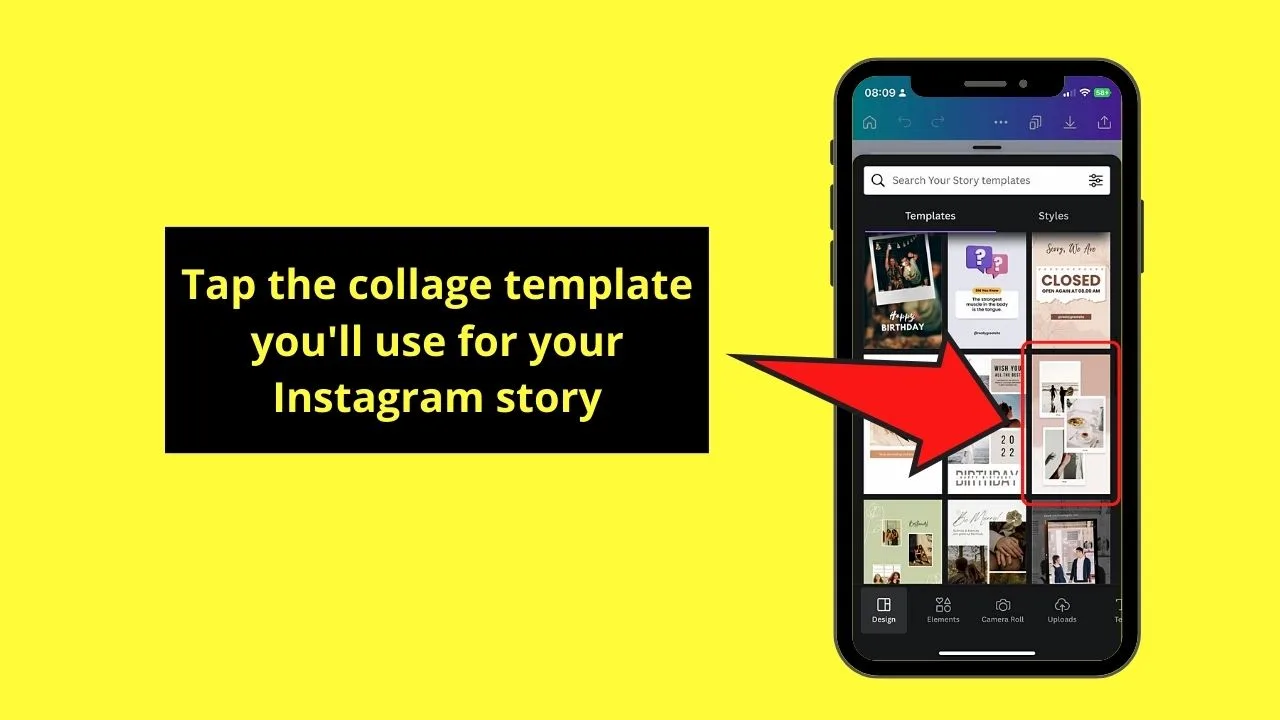
Swipe up the “Template” gallery in the “Design” section and tap on the collage style you’ll use. You’ll immediately be redirected to the editor page.
Step 4: Press one of the pictures and tap “Replace”
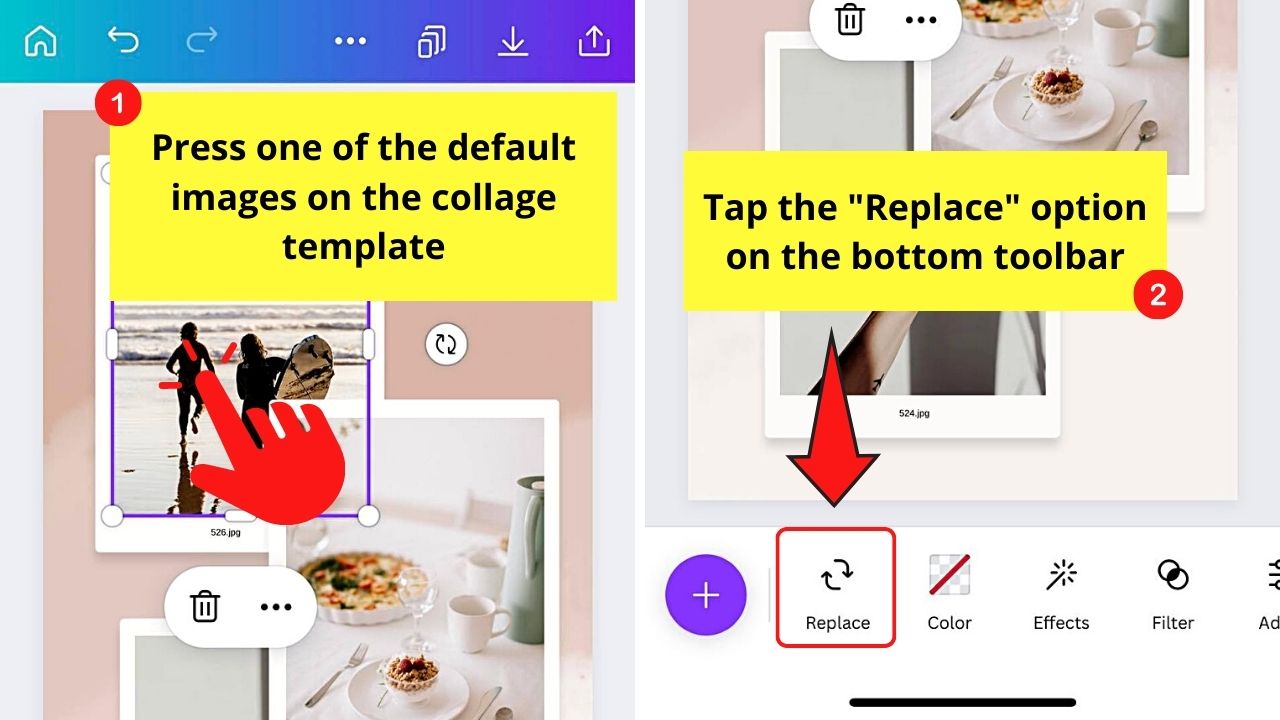

Usually, the images in templates are inside frames. Doing this series of steps allows you to change the default photo used in the template with ones from your phone’s gallery.
Step 5: Tap a photo from the gallery

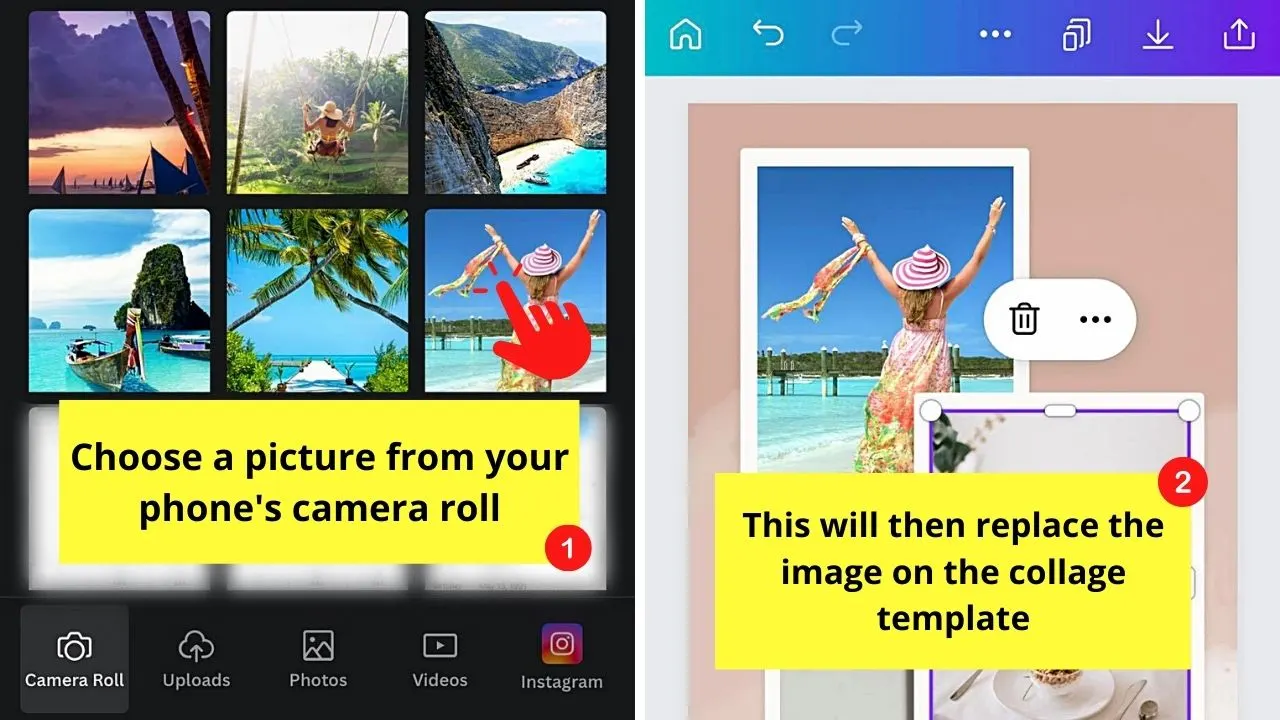
The chosen photo then replaces the default image on the template.
Step 6: Repeat steps 4 and 5
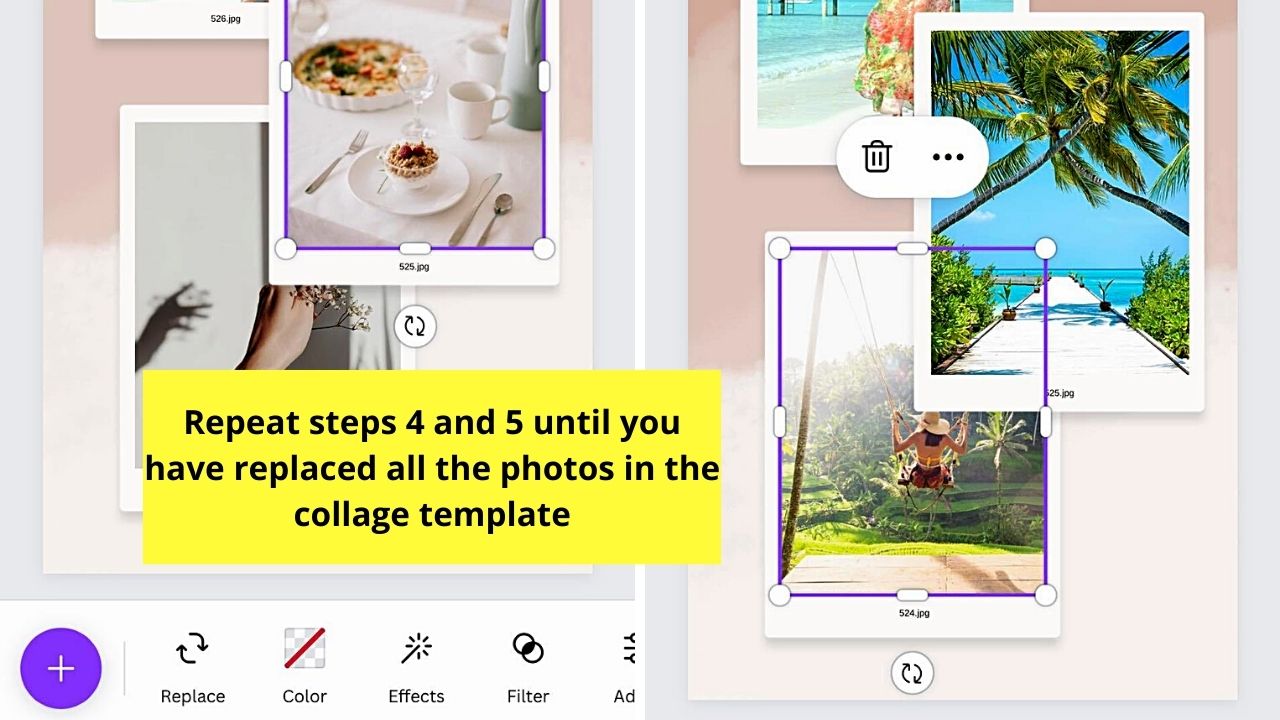

Keep doing these steps until you have changed all the images on the template.
You have to do this individually though as there currently is no feature that allows multiple replacements of photos.
Step 7: Press the “Download” button
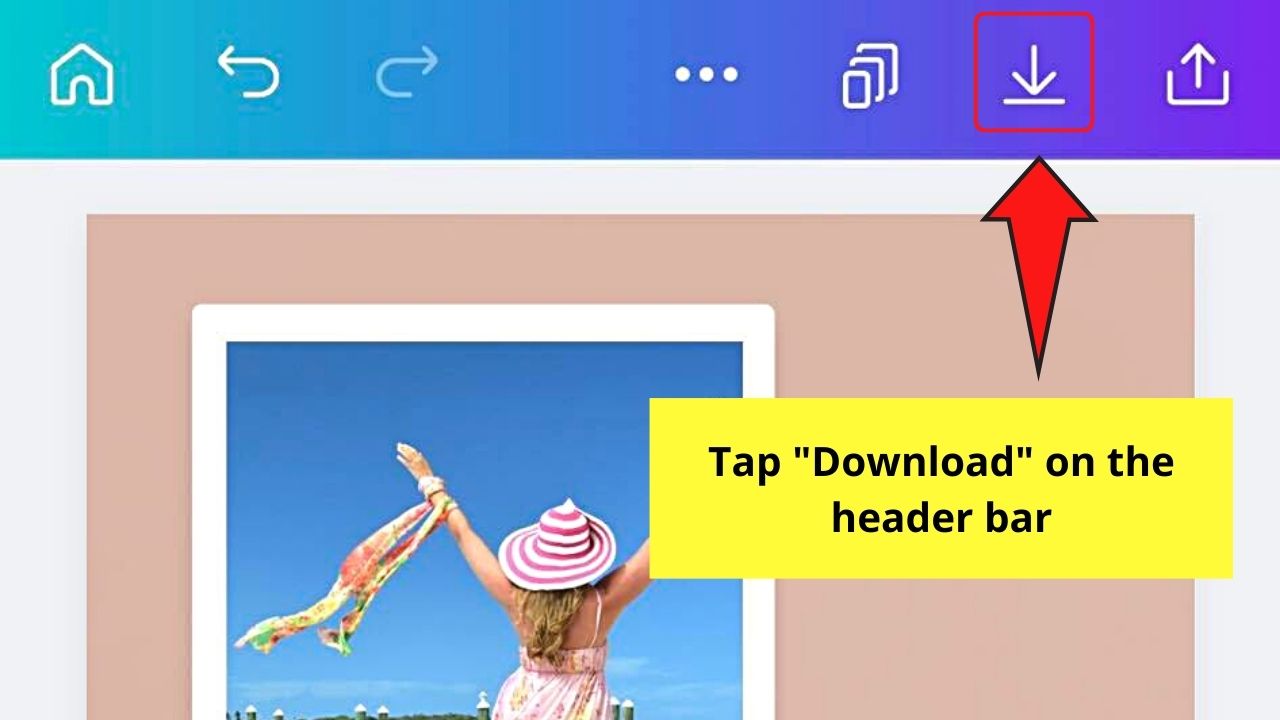

This button takes the shape of a downward pointing arrow on the header bar.
You’ll then see a notification when your project is successfully downloaded.
Step 8: Open Instagram and head to the “Story” creator page


Either swipe your finger to the right or press “+” on Instagram’s home page to reach the creator page.
Again, make sure “Story” is highlighted in the bottom menu.
Step 9: Upload photo collage and edit it
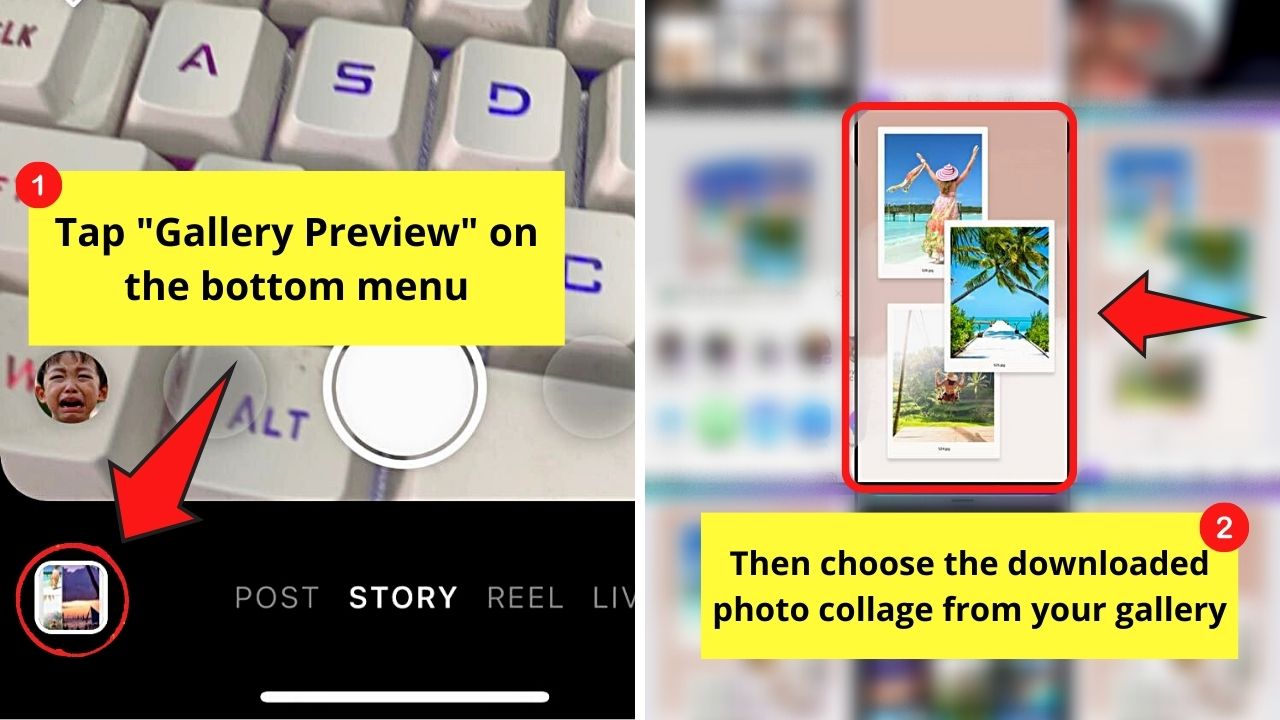

Press the “Gallery Preview” button on the lower left and choose the photo collage downloaded from Canva.
Once done, add stickers, effects, music, or even text before tapping “→” to post it as your IG story.
Using Canva Grids
Granting that you have already opened a new Canva project here are the next steps:
Step 1: Add a new page and press “+”
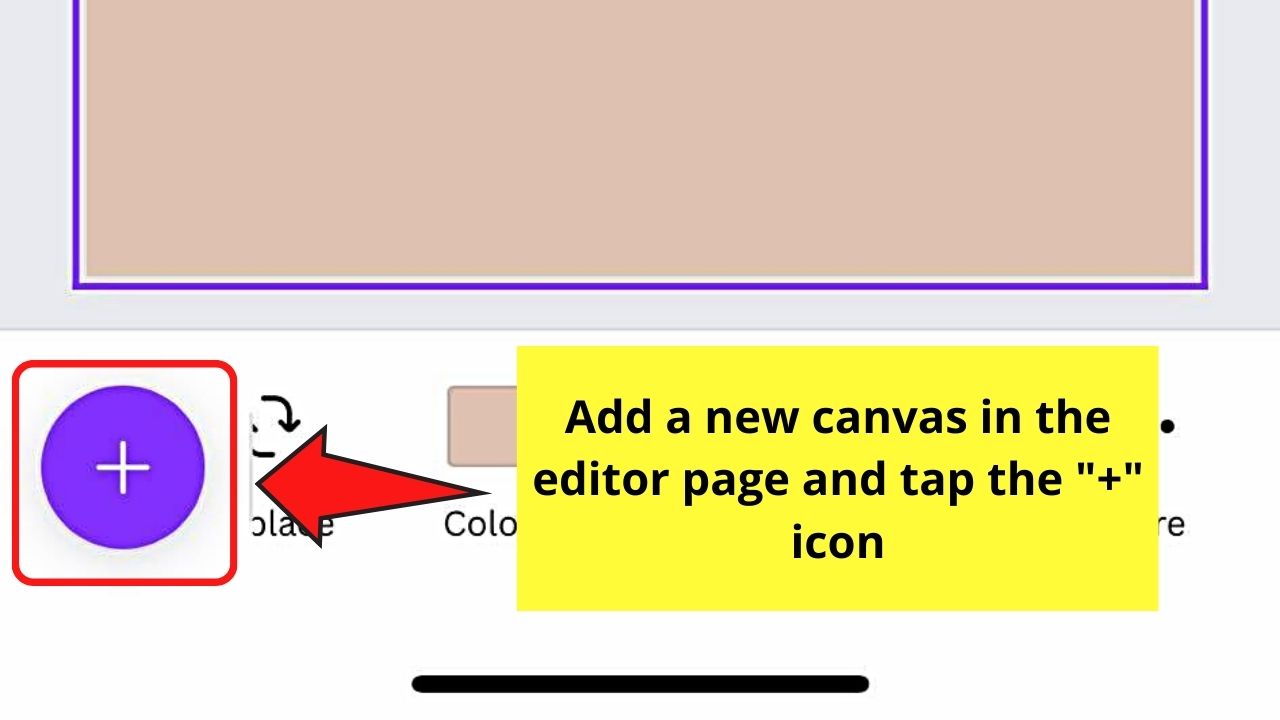

This purple circle button is found on the lower left side of the toolbar on the editor page.
Step 2: Tap “Elements”


You’ll find this tab as the second option in the bottom menu.
Step 3: Swipe up and choose “Grids”

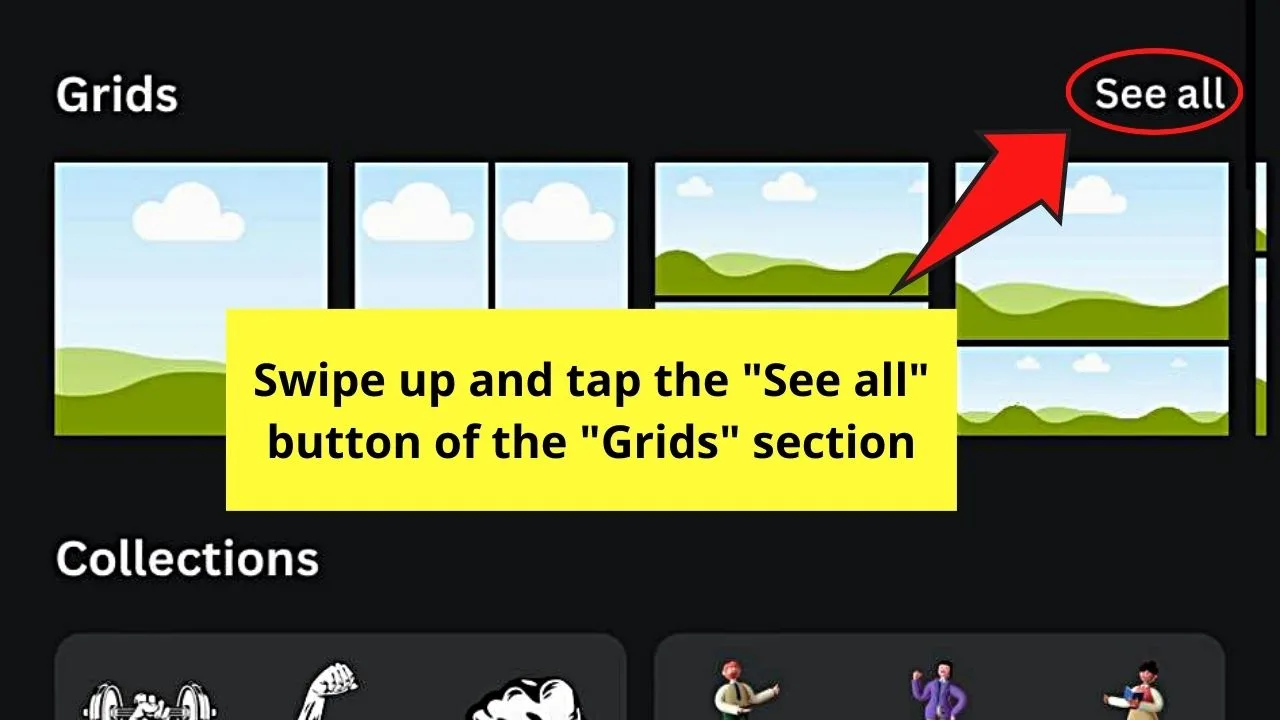
You can also tap the “See all” button on the right side of the “Grids” section.
Step 4: Tap on a grid layout

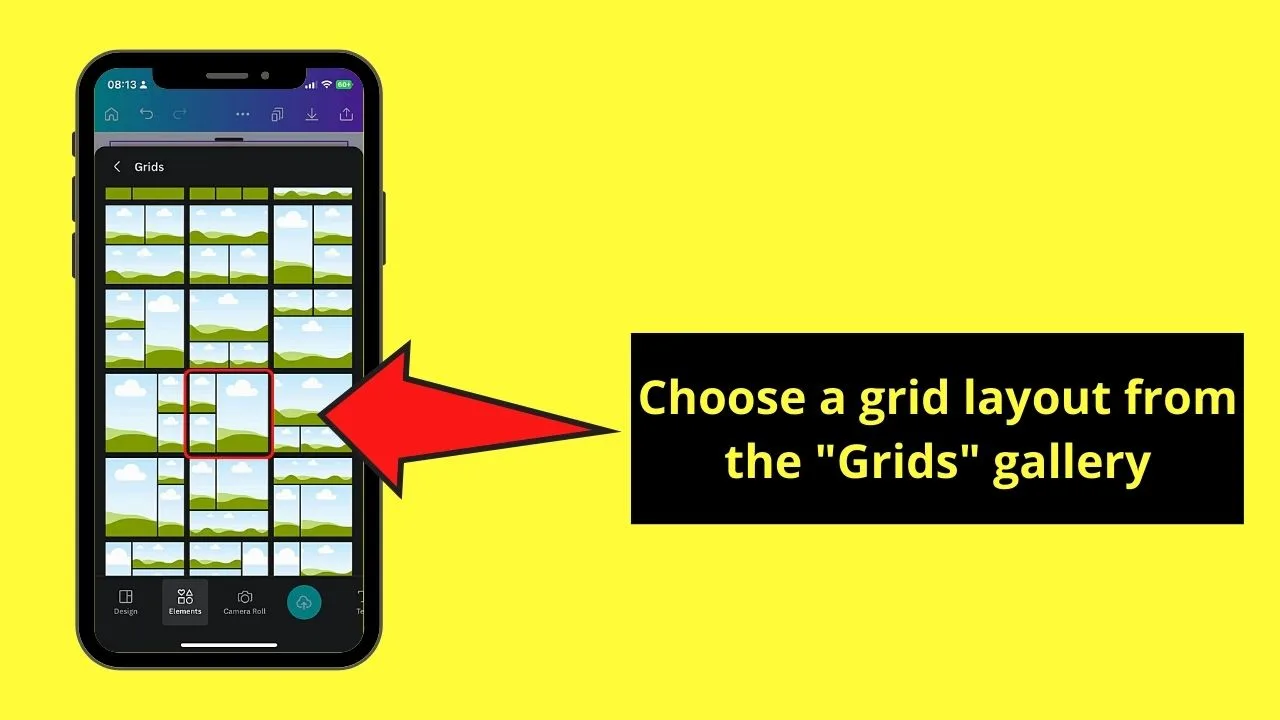
Choose one that has the same number of frames as that of the photos you’ll add.
For sample purposes, I’ll choose one that has 3 frames in it.
Step 5: Swipe the bottom menu to the left and tap “Camera Roll”
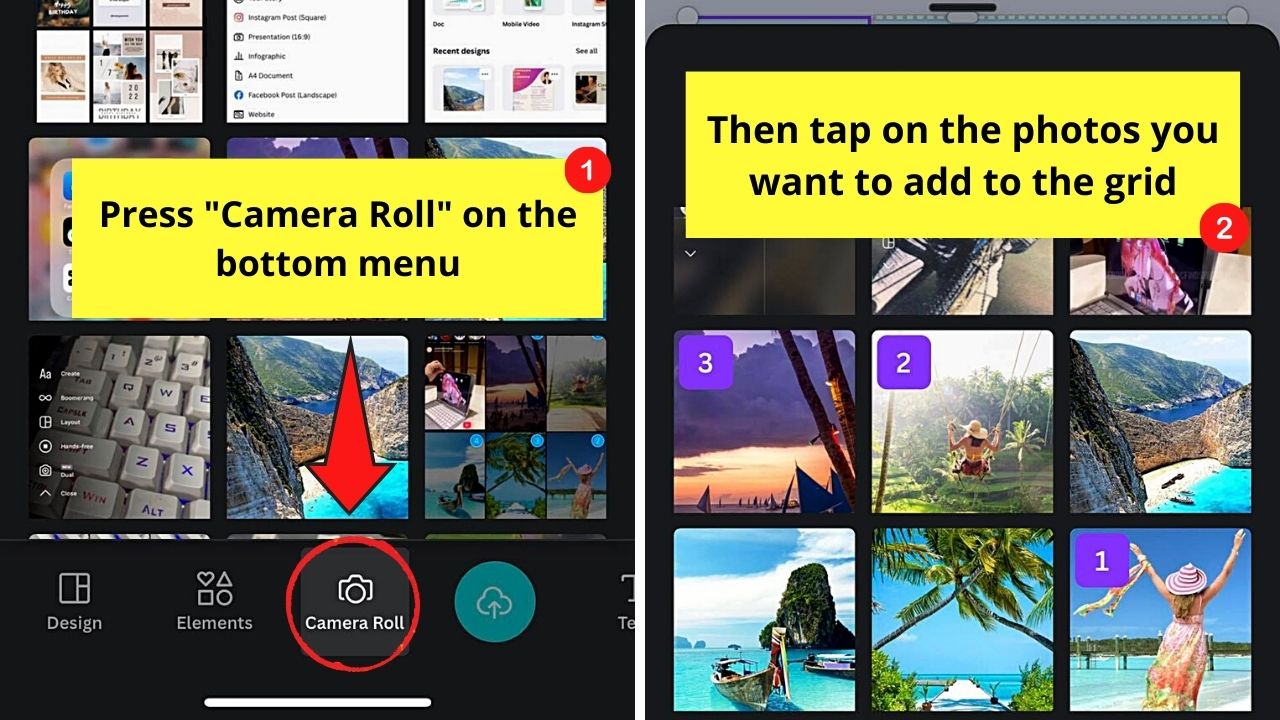

You can then choose the photos you want to add to the grid you selected earlier.
Step 6: Tap “Add to page”
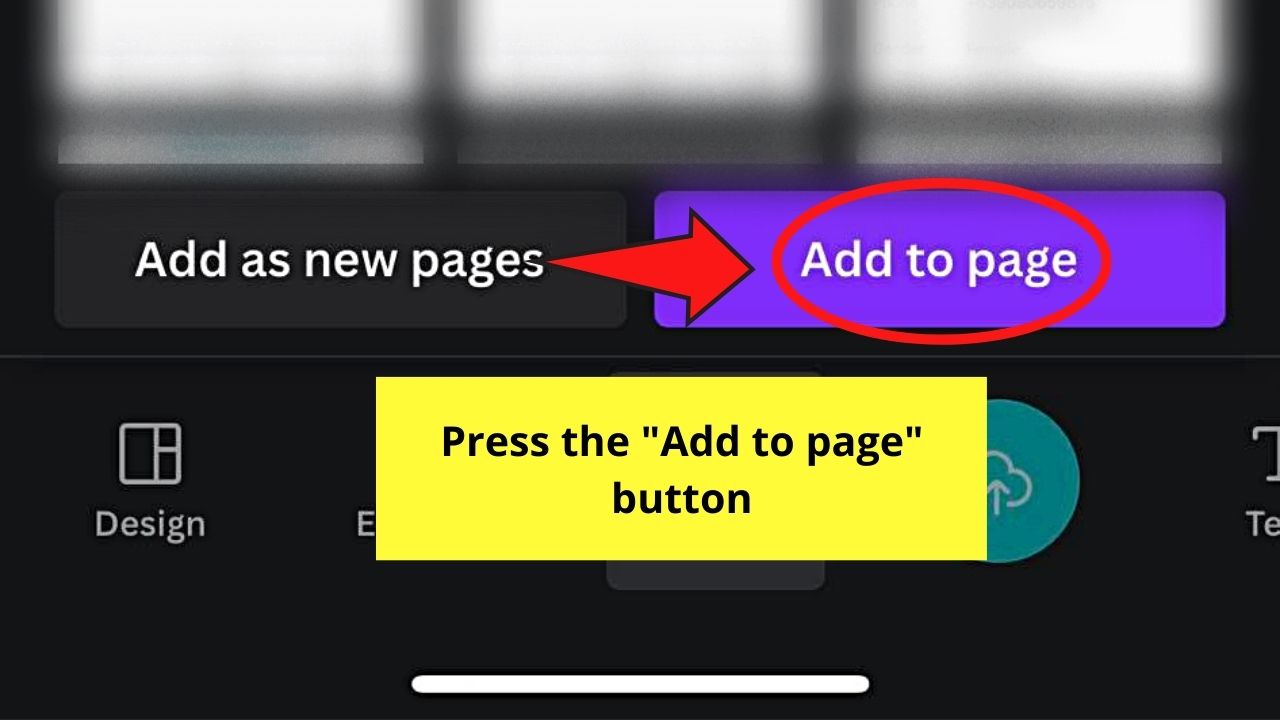

All the photos you selected will be simultaneously added to the editor page.
Step 7: Press and drag the images to the grid frames

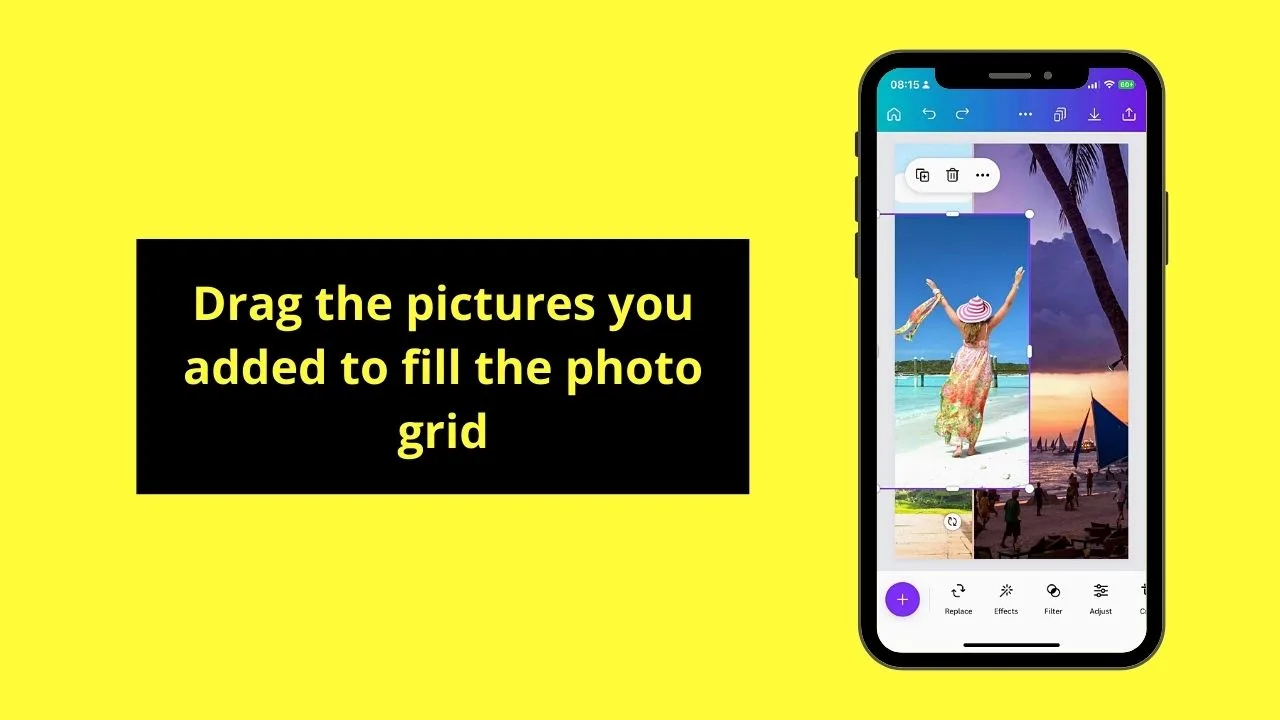
Do this individually until all the photos are inside their respective grid frames. You can even edit them accordingly if needed.
Step 8: Tap “Download”
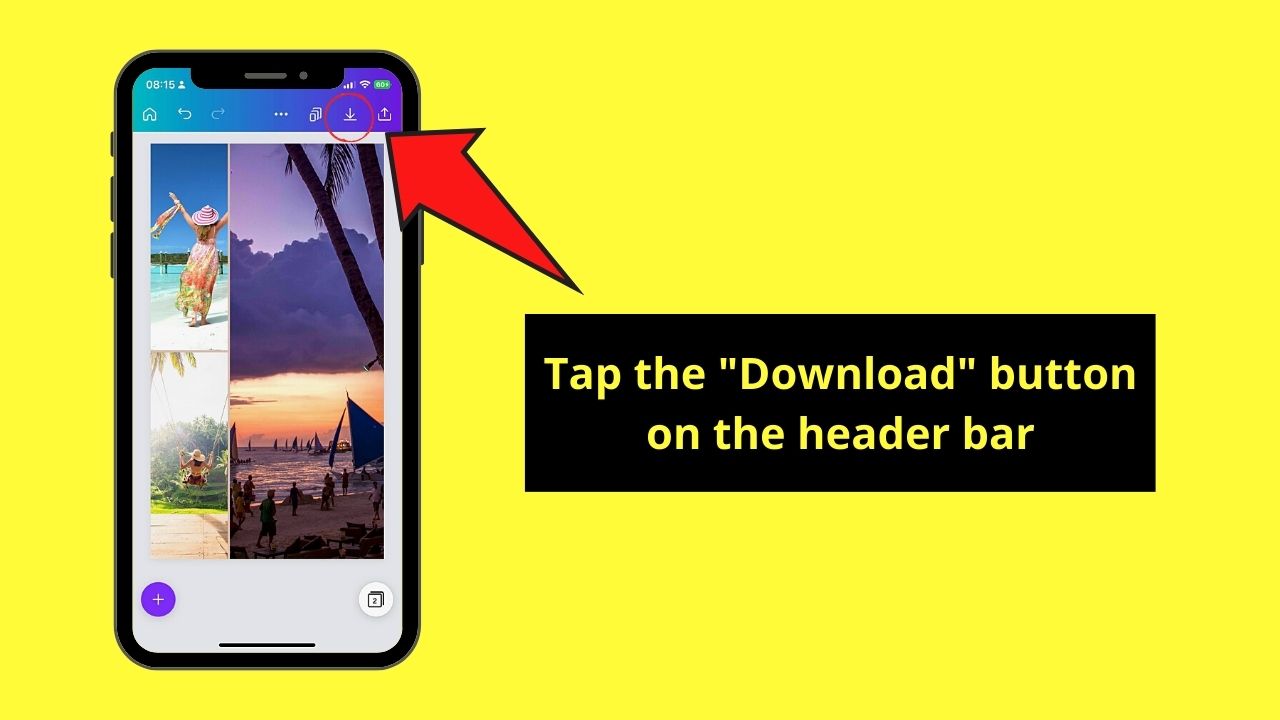
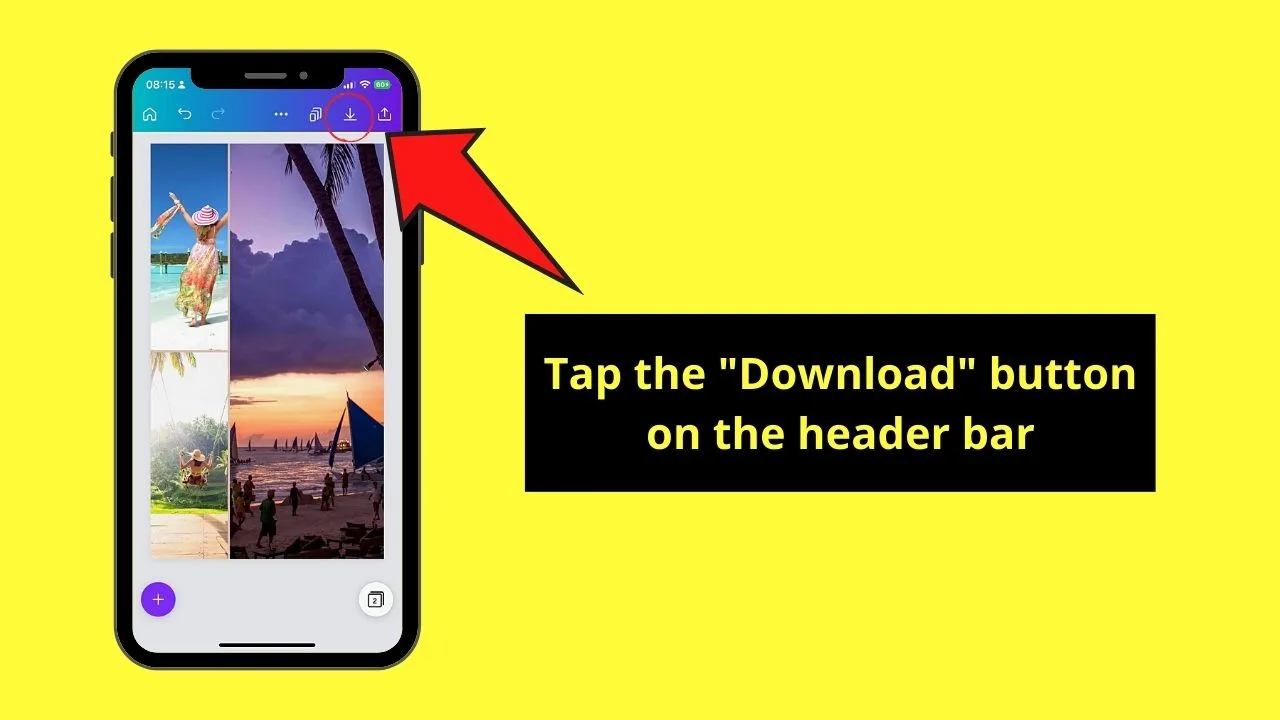
Again, this button appears as a downward-pointing arrow on the header menu.
Step 9: Upload to Instagram and edit it
After launching Instagram, tap the “+” button or swipe right on the home page to reach the creator page.
Make sure “Story” is highlighted on the bottom menu.
Then press the “Gallery Preview” icon and choose the photo you downloaded earlier. Edit it by adding text, stickers, effects, and music before tapping “→” to post it.
Conclusion
There you have it — the 4 methods of putting multiple pictures on an Instagram story.
Whether you’re using an Android device or iPhone, the same steps are applicable. Simply choose the method that works best for the IG story you have in mind so you can start creating one now!


Hey guys! It’s me, Marcel, aka Maschi. On MaschiTuts, it’s all about tutorials! No matter the topic of the article, the goal always remains the same: Providing you guys with the most in-depth and helpful tutorials!

