

Instagram’s tagging feature allows for people, products, and locations to be tagged in photos.
These tagged photos can clutter your profile, but you can hide them with privacy settings.
How to hide tagged photos on Instagram
Method 1: Automate your tagging settings to hide tagged photos on Instagram
Method 2: Manually approve photos that tag your account
How to check your pending Instagram tags
Frequently related questions to tagging on Instagram
How to hide tagged photos on Instagram
- Tap on the profile icon in the lower-right corner
- On your Instagram profile, tap the three-line icon
- Tap on “Settings”
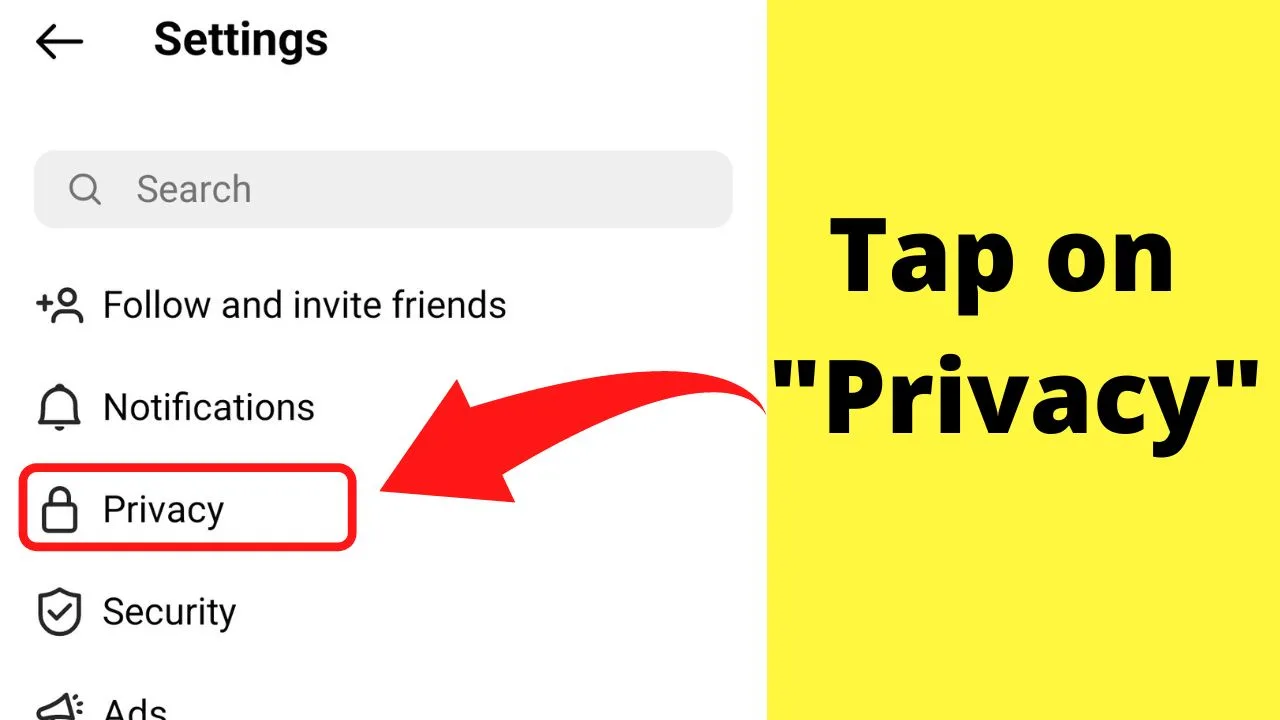
- Tap on “Privacy”
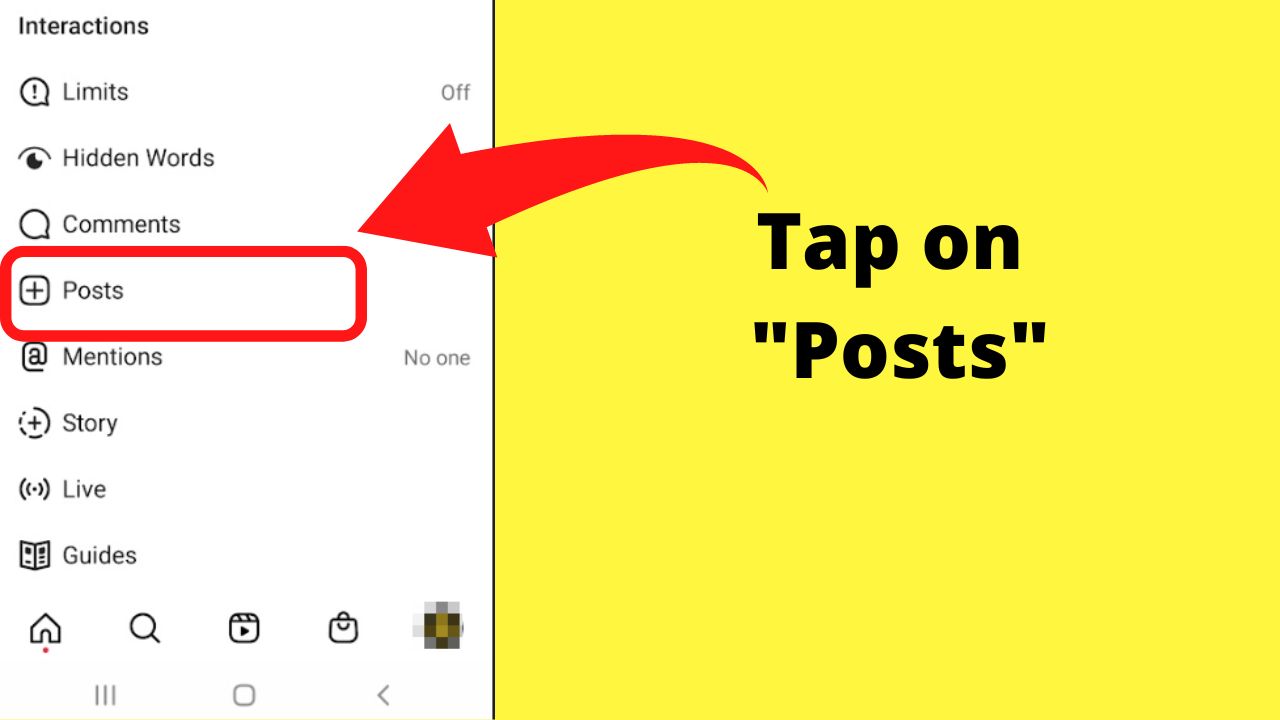
- Tap on “Posts”
- Change the “Allow Tags From” setting to “No one”
An alternative method is to “Manually approve tags.”
Method one below covers the automated process that determines what will automatically show on the tagged section of your profile.
Method 1: Automate your tagging settings to hide tagged photos on Instagram
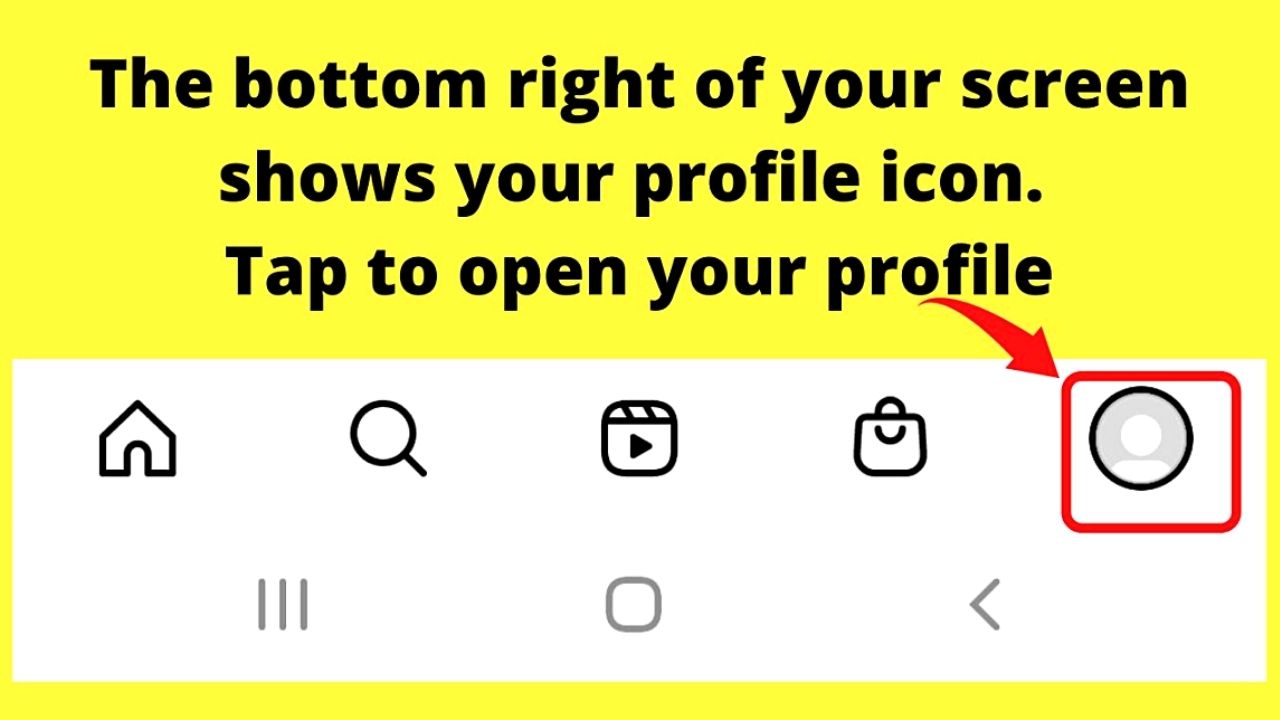
Step 1: Tap on the profile icon in the lower-right corner
The profile icon is the one with your picture on the bottom right of your screen.
Step 2: On your Instagram profile, tap the three-line icon
This will open the expanded drawer menu.
Step 3: Tap on “settings”

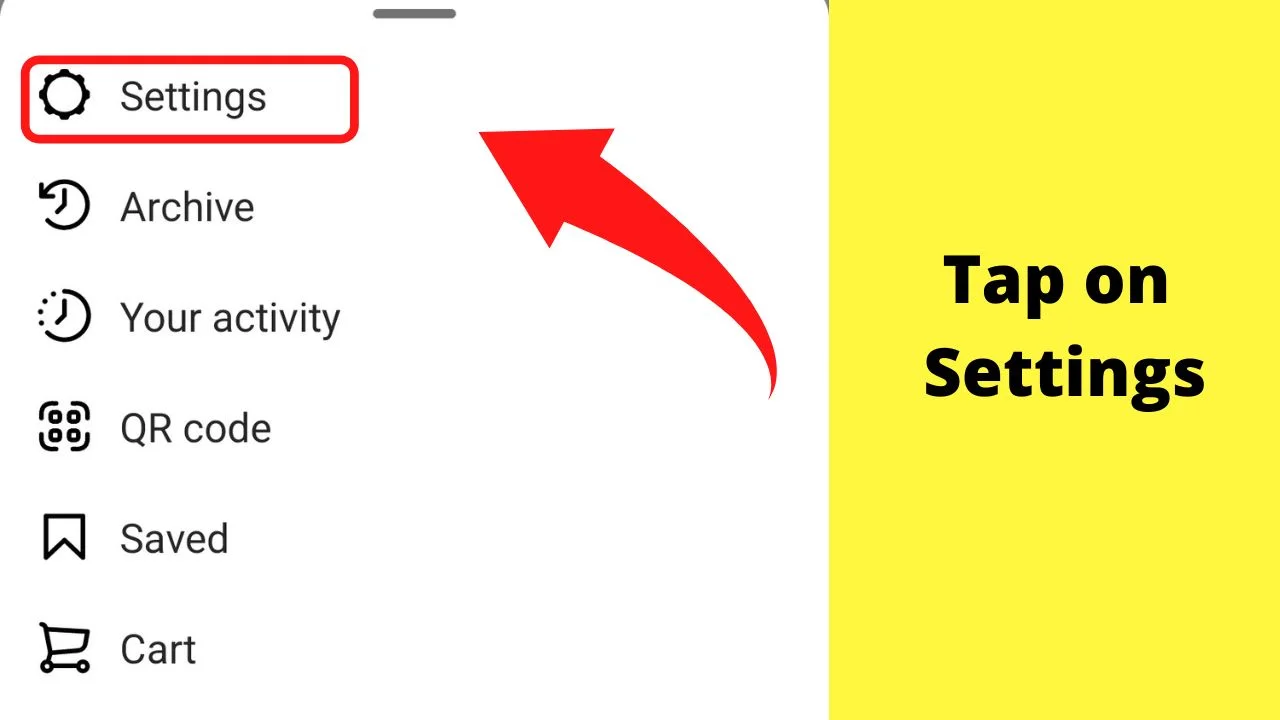
The settings for tagged photos are controlled in the privacy area.
Step 4: Tap on “Privacy”

Step 5: Tap on “Posts”

Step 6: Change the “Allow Tags From” setting to “No one”
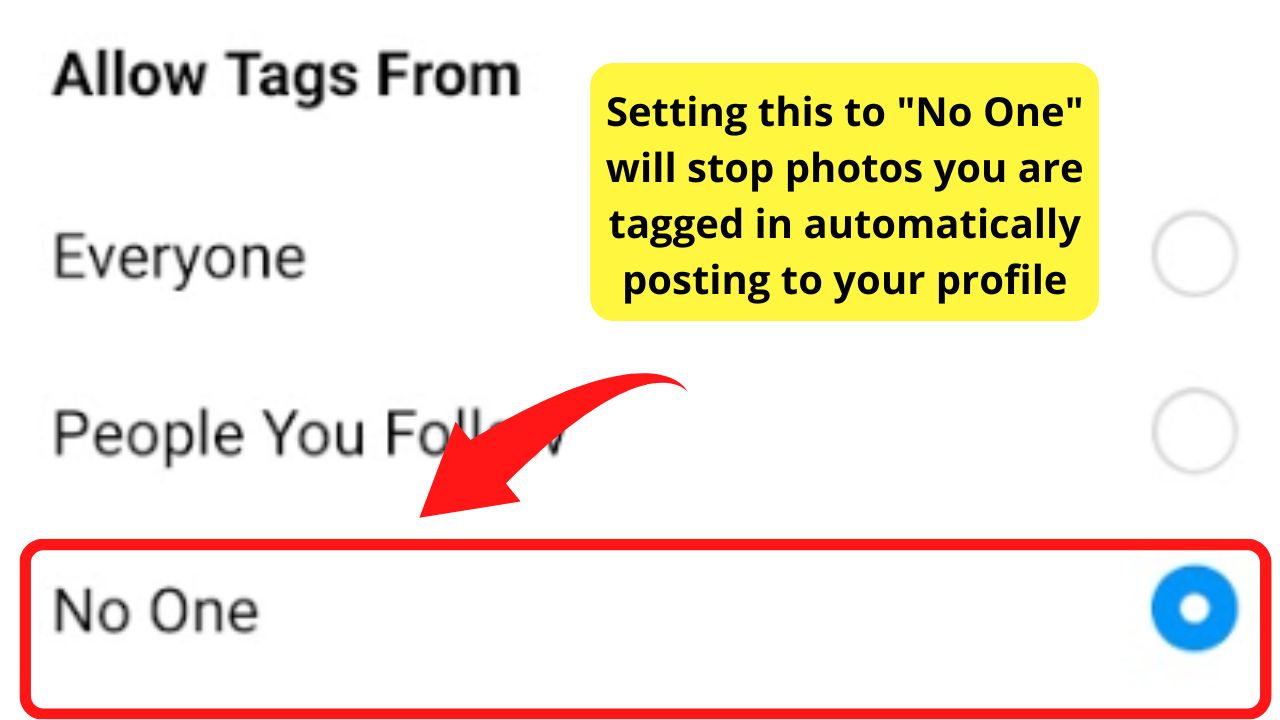

- Selecting “No One” here will disable tagging for everyone.
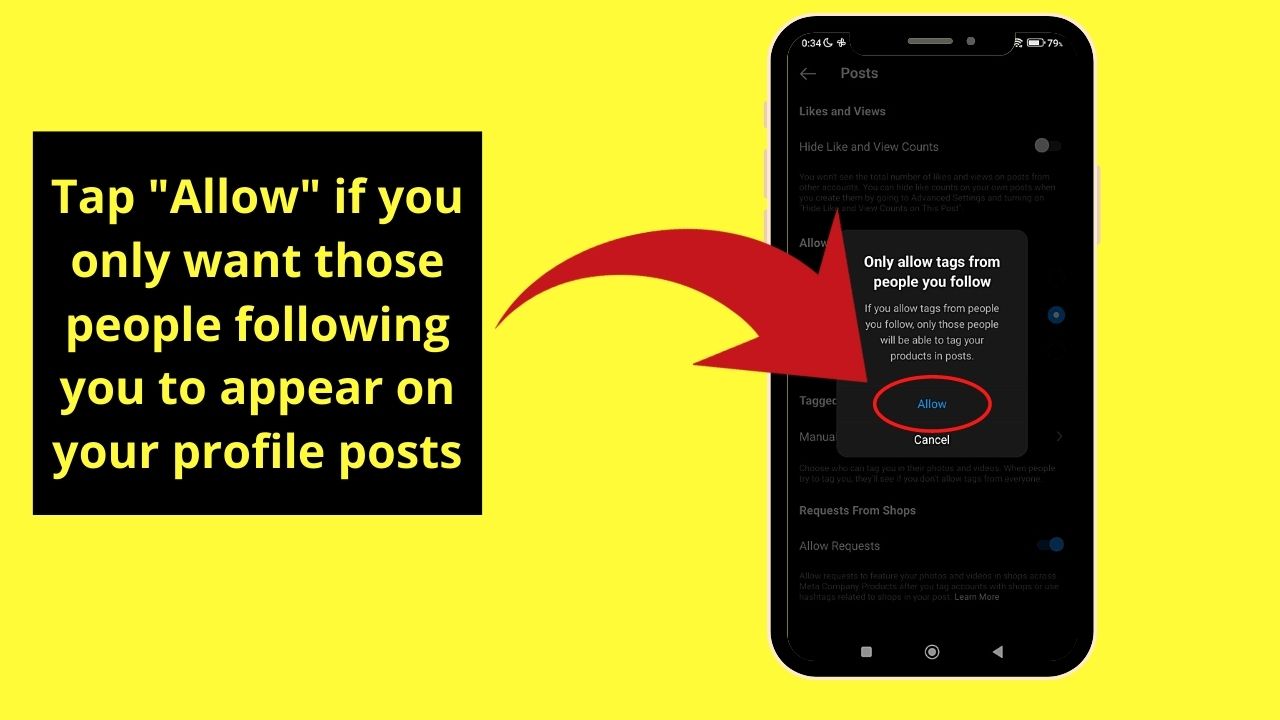
- Selecting people that you follow limits the tagging ability to only the accounts that you follow. Anyone following your account who does tag you, will not show on your profile.
- Setting it to “Everyone” is why you will have tagged photos from strangers littering your profile.
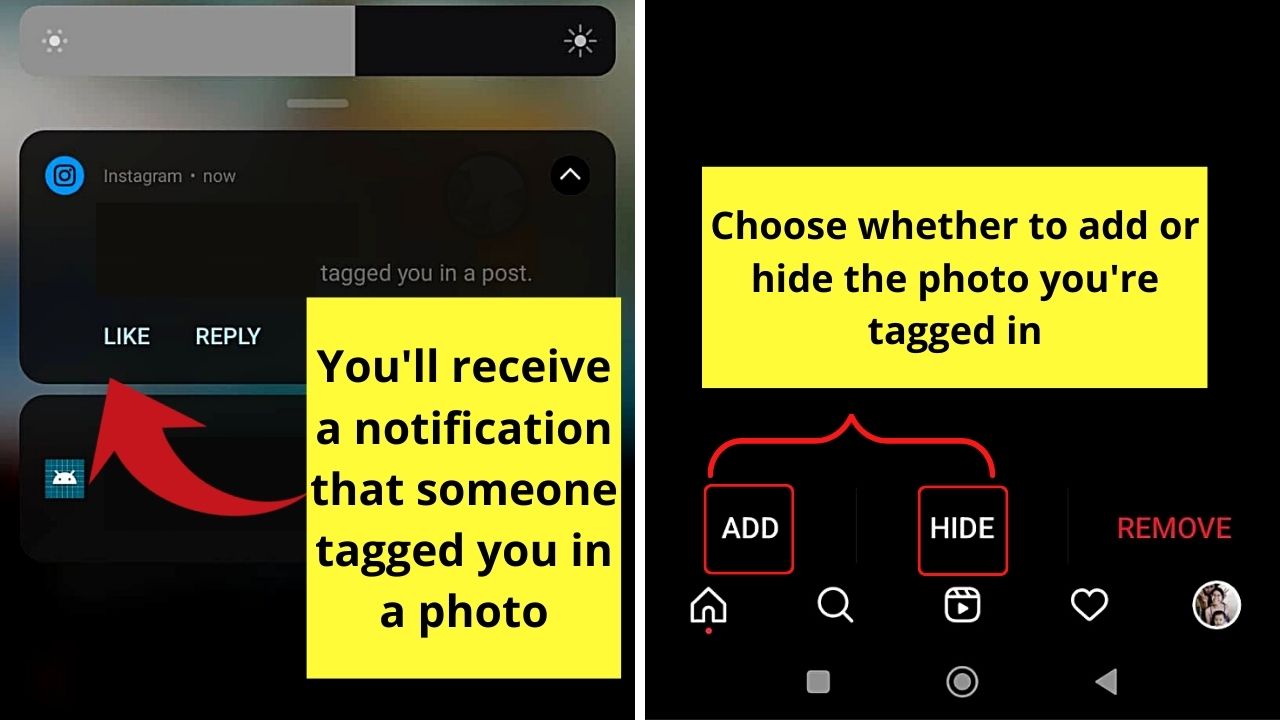
Once the settings here are adjusted, you will still receive notifications every time you are tagged in a photo.
If you set it to “No One”, you can adjust your tagging settings to let you see the posts you are tagged in, then decide if you want to approve the post or not.


Method 2: Manually approve photos that tag your account
Use this method if you would rather give nobody the ability to post to your profile.
This method is handy if you have family members or annoying friends sharing embarrassing close-ups that you are not quite ready for your followers to see.
It gives you a chance to preview a post you are tagged in, then decide if you want it to show on your profile, or you can remove the tag from the photo.
The only difference with this method is that it lets you toggle tagged photos between automatically posting or manually approving tagged photos that appear on your profile.
- Open your profile in the IG app
- Press on the three lines on the upper right
- Tap on “Settings”
- Tap on “Privacy”
- Tap on “Posts”
- Tap on “Manually Approve Tags”
- Then toggle on “Manually approve tags”
Step 1: Open your profile in the IG app

Step 2: Press on the three-lines icon on the upper right
![]()
![]()
Step 3: Tap on “Settings”
Step 4: Tap on “Privacy”
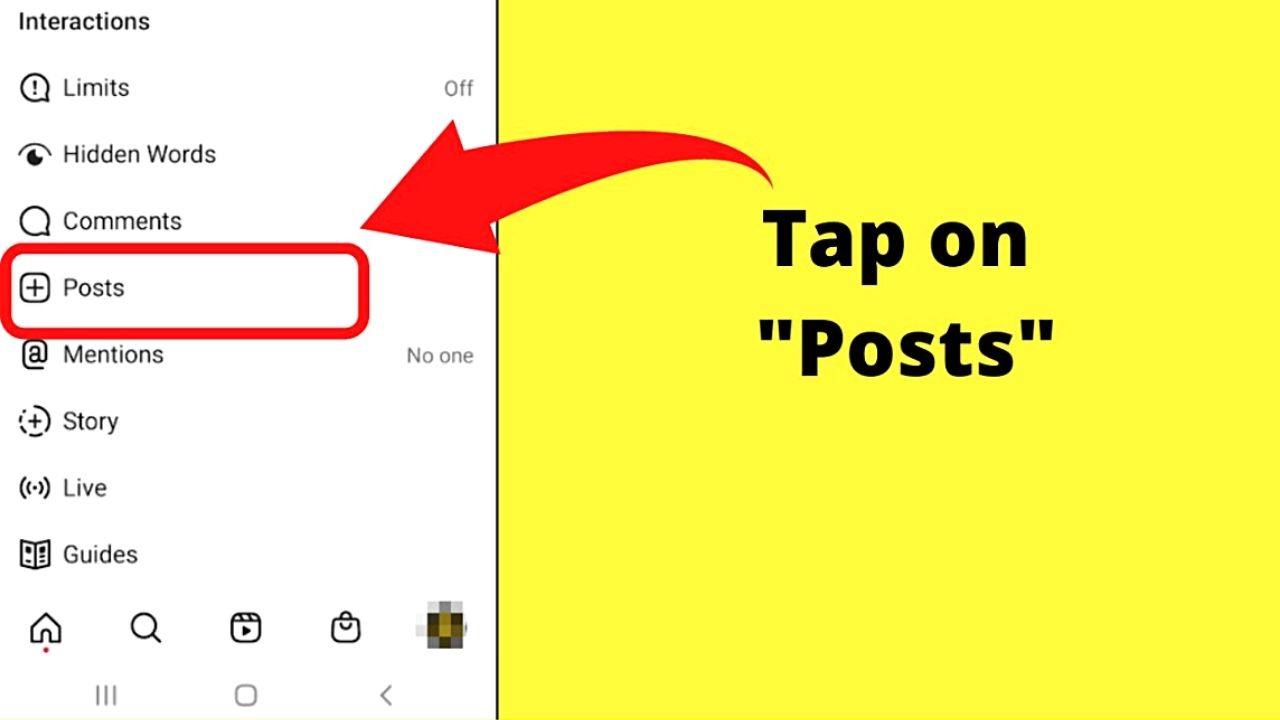
Step 5: Tap on “Posts”

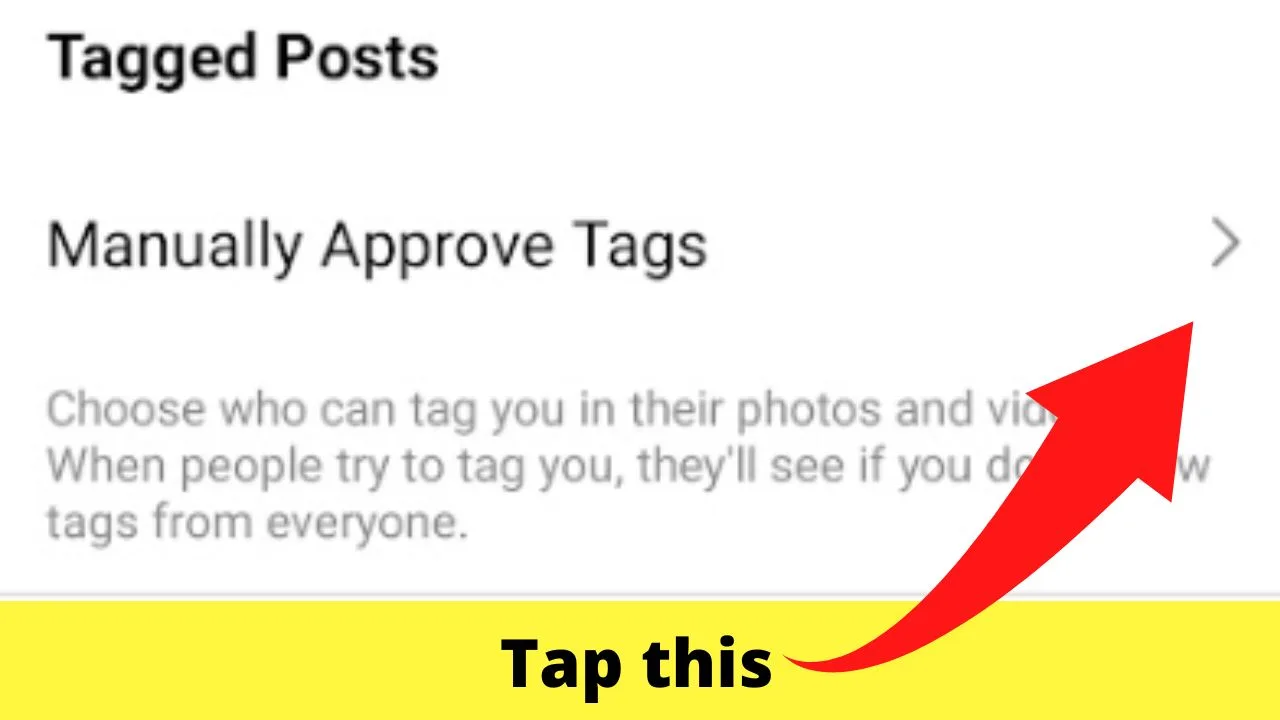
Step 6: Tap on “Manually Approve Tags”

In the next menu, toggle on “Manually approve tags” by tapping on the toggle button. Blue is on. Grey is off.
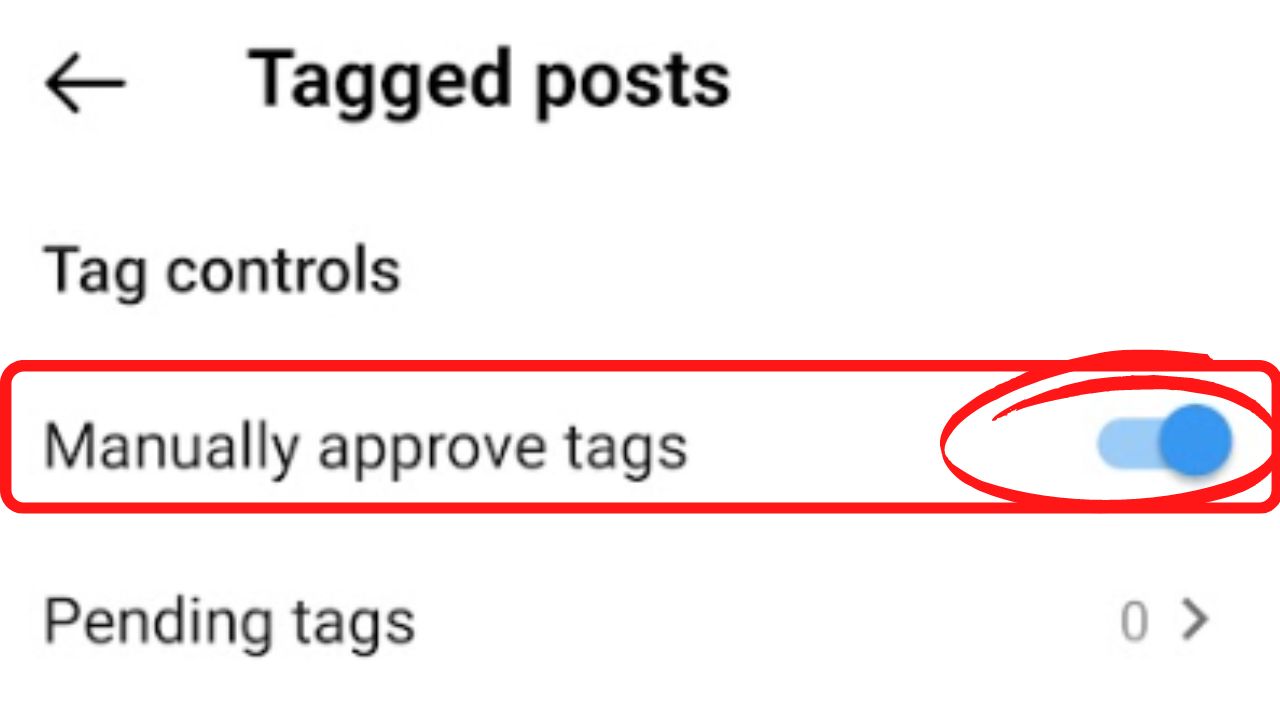

When “Manually approve tags” is selected, you will receive a notification anytime you are tagged in a post. You can choose to show or hide the tagged post on your profile manually.

Disabling this setting will mean the setting in your “Allow Tags From” will determine what automatically shows on your profile.


If you have used the first method above to allow tags from people you follow, only those you follow will appear on your profile posts.

If you have selected “No One” to allow tags, nothing will automatically post to your profile.

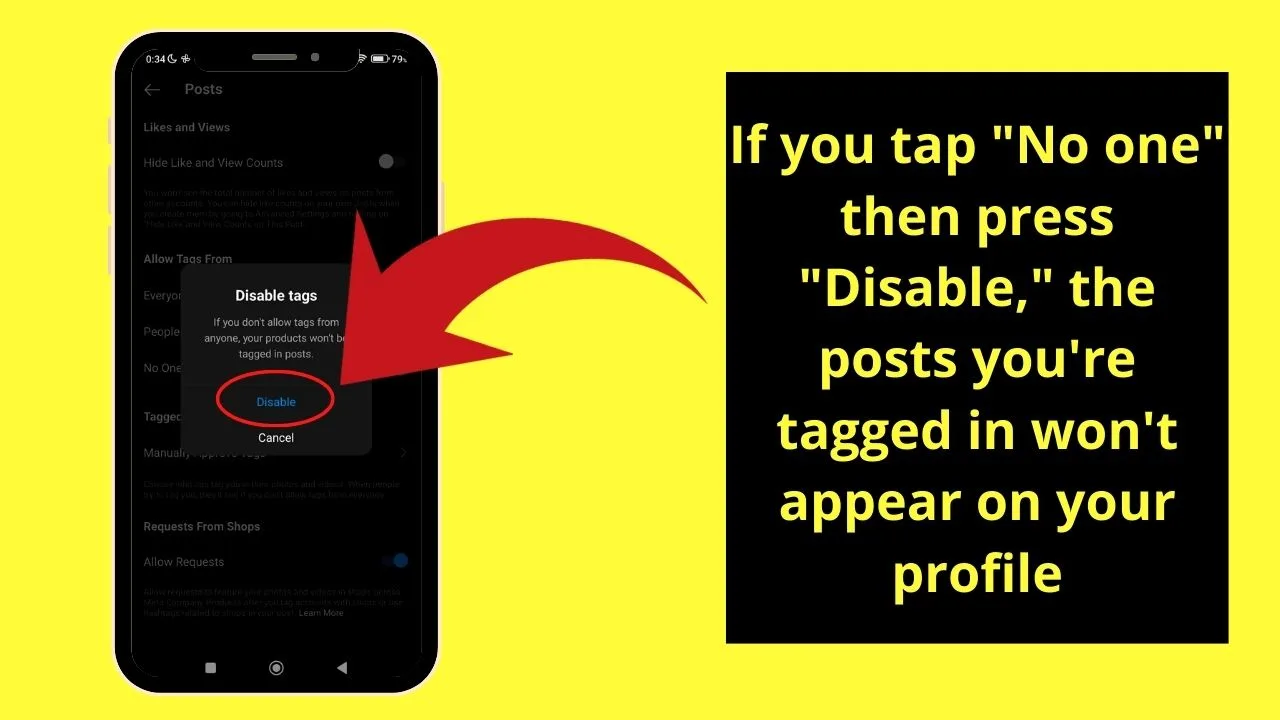
Instead, when someone tries to tag your account in a photo or video, they will see an alert telling them that you “do not allow tags from everyone.”
Strangers attempting to build their follower count will likely try to get your attention so that you follow their account in the hopes that you allow tags from “people you follow.”
If you do happen to follow a lot of accounts, it will be easier to control what tagged photos appear on your profile by using the second method of manually approving tags.
How to check your pending Instagram tags
It should be noted that if you do set your tags to be manually approved, you will not see every notification. It is impossible because there is a cap of 80 notifications.
The app is designed to be mobile. It’s not a desktop social media platform. To show every notification would run a wild amount of data on users’ phones.
To check your pending Instagram tags, follow these steps:
- Open the “Settings” on your device.
- Navigate to the “Privacy” section.
- Click on “Posts” to access post-related settings.
- Expand the “Manually Approve Tags” option by tapping on it.
- Finally, select “Pending tags” to manage pending tags for your posts.

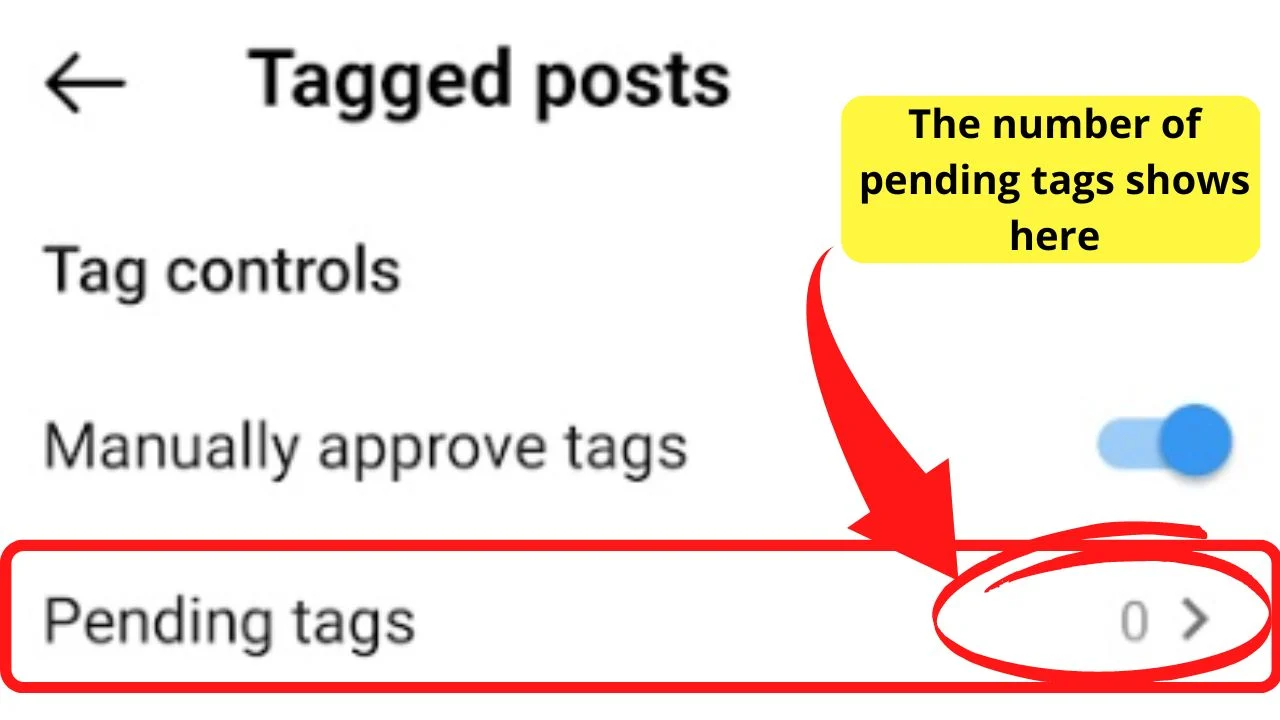
From there, you can approve or deny tagged photos on your account profile.
Frequently related questions to tagging on Instagram
How can I remove myself from tagged photos?
For photos appearing on your tagged wall that does not fit, you can delete your name from the tag. Tap to open the post, tap on the photo, tap on your name (it’ll be your account name) then select “Remove me From Post”.
What happens when someone tags you?
If you do not hide your tagged photos, every post that another user tags you in shows up on your profile. Hiding tagged photos prevents posts from strangers from showing on your profile.
Why do strangers tag you on Instagram?
To grow their own following. If you have your account privacy set to public, and have the setting on to “Allow Tags from Everyone”, just by tagging your account, their post gets shown on your profile. It increases their reach, but it fills your profile with irrelevant posts.
How do tagging and an @mention differ?
An @mention notifies the person that you mentioned them in a caption within a photo, video, or comment. It does not show on their tagged photo wall on their profile. Whether a tagged photo shows on another account’s wall depends on the privacy settings the user has set.


Hey guys! It’s me, Marcel, aka Maschi. On MaschiTuts, it’s all about tutorials! No matter the topic of the article, the goal always remains the same: Providing you guys with the most in-depth and helpful tutorials!

