

Instagram Creators use a lot of audio files. For those making many Reels and Stories, storing songs and audio tracks on your phone will hoard loads of memory.
Thankfully, there is no need. You can save songs on Instagram, and better yet, you do not even need to upload them.
Every song, soundtrack, and original audio file can be saved from within the app.
It is an in-app feature only, so you cannot save songs on Instagram when using the website in a browser. The function is available on both the iOS and Android app for the Instagram platform.
Once you get the low-down on how simple it is to save songs in your Instagram account, every video you see on the platform will likely be all the more inspiring.
For any videos that you enjoy the soundtrack playing from another creator’s Story or Reel, you can save the song to your account to use for your own creative purposes.
How to save songs on Instagram
Saving songs on Instagram is very easy. Here’s how you do it:
Step 1: Find the reel or story with the song you want to save on Instagram

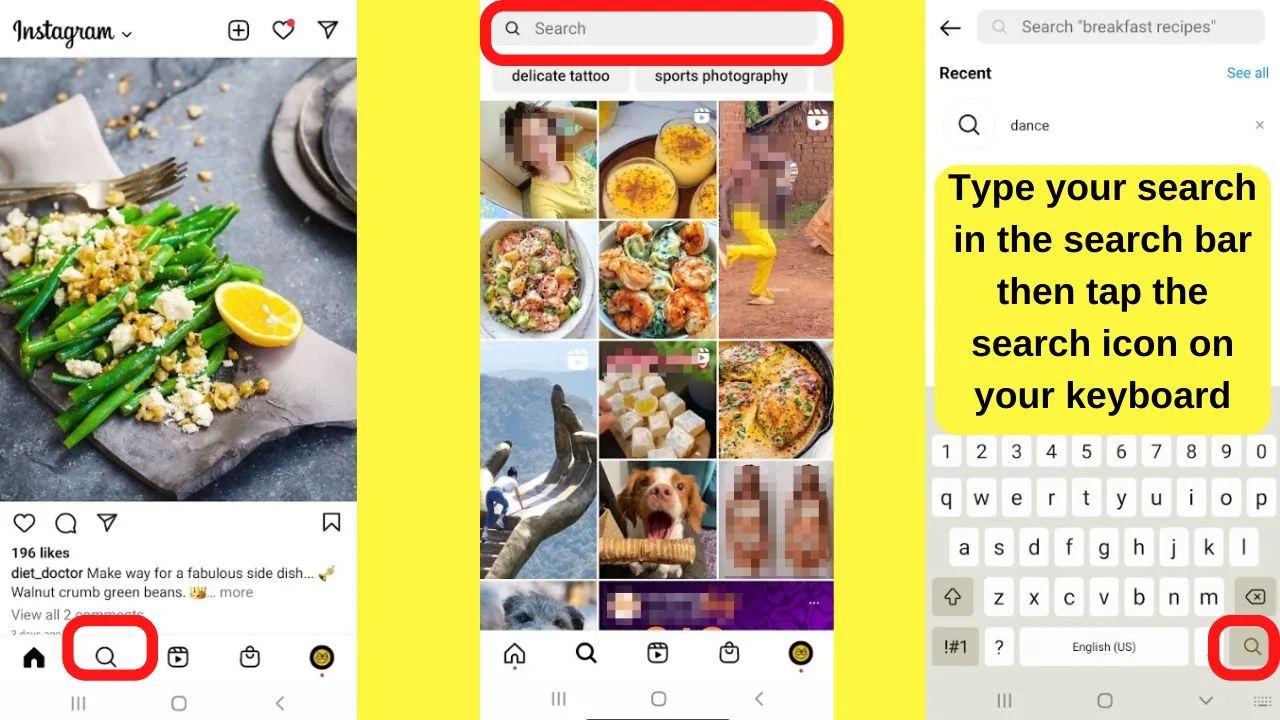
To access the search function, tap on the search icon at the bottom of the screen.
On the next screen, you can tap within the search bar to type your own search term or use the auto-suggestions displayed below the search bar.
Once done, tap on the search icon on your keypad.
Step 2: Tap on the song title
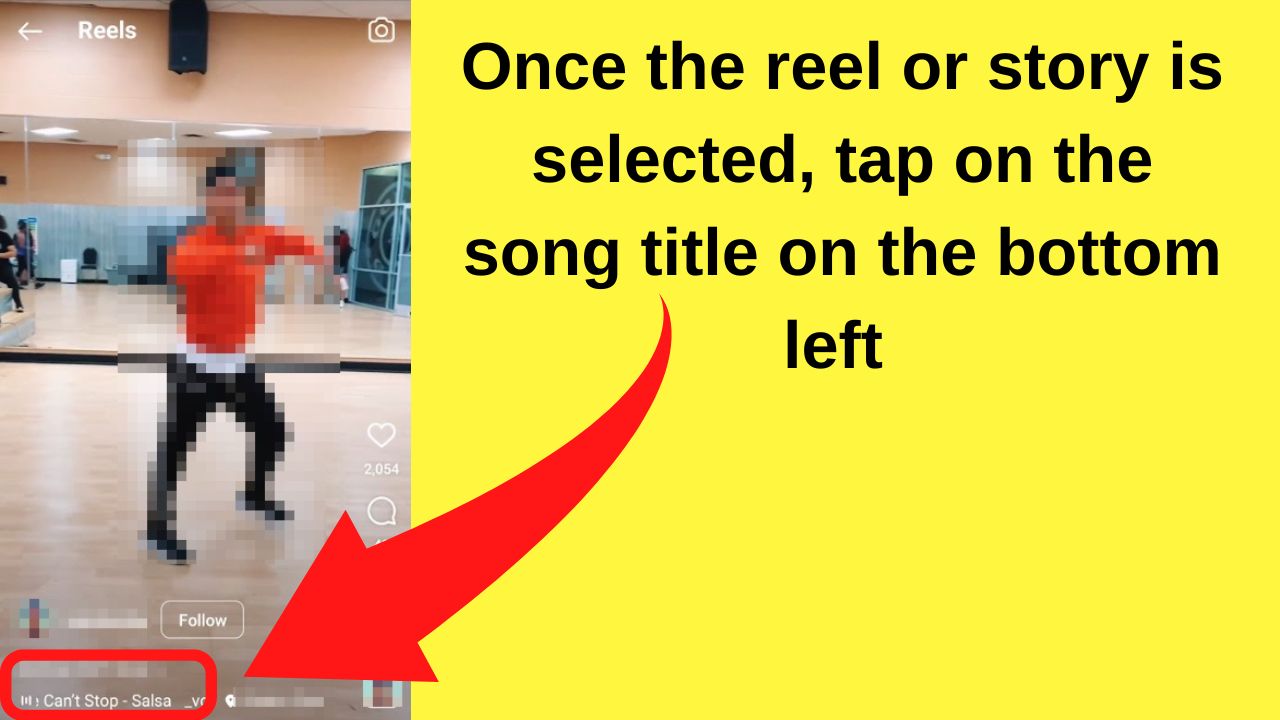

Once the video loads, the song title displays at the bottom of the screen.
It will most likely be moving text that scrolls across the bottom of the screen given the limited space available to display longer song titles.
Tap on the song title to view the details about the audio playing.
You can save original audio and songs on Instagram.


Step 3: Select “Save Audio”
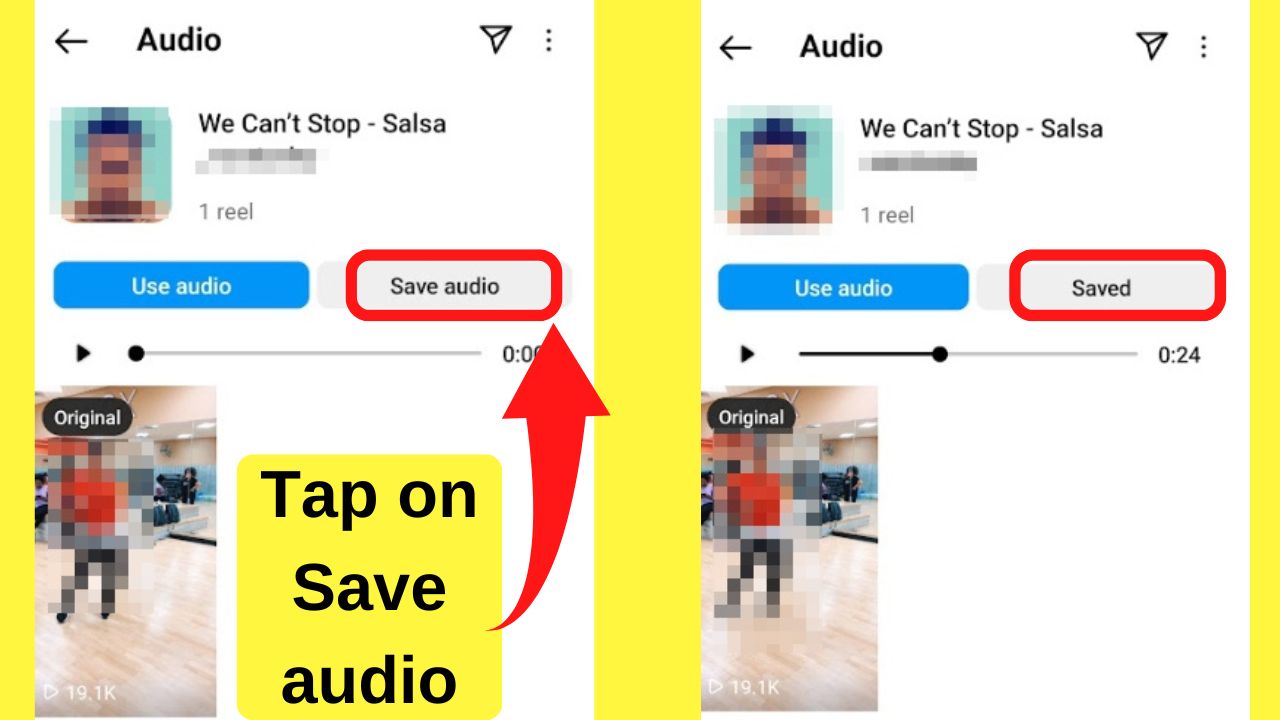

On the next screen, you can select “use audio” or “save audio”.
Tap on the save audio button and the audio file will be added to your saved folder on Instagram.
Once saved, you can go into your saved audio folder, select the song, and the “use audio” button will be there letting you use it when you are ready. No need to rush into creating a Story just to keep a song handy for later.
How to find saved songs on Instagram
Once you have saved a song on Instagram, it would be nice to actually know where this song has been stored. Nothing easier than that. Just use the below step-by-step guide to locate your Instagram songs.
Step 1: Tap on your profile (lower right of your screen)


From the home screen in the Instagram app, the profile icon has your photo or the picture you have set to use for Instagram displayed on the lower right of the screen.
The one on the top right is for quick access to share a Story.
Tap your profile icon on the lower left of your screen.
Step 2: Tap the three horizontal lines on the top right


The three horizontal lines, often referred to as the Hamburger Menu is where you will find access to various features within your Instagram account.
Step 3: Select “Saved”

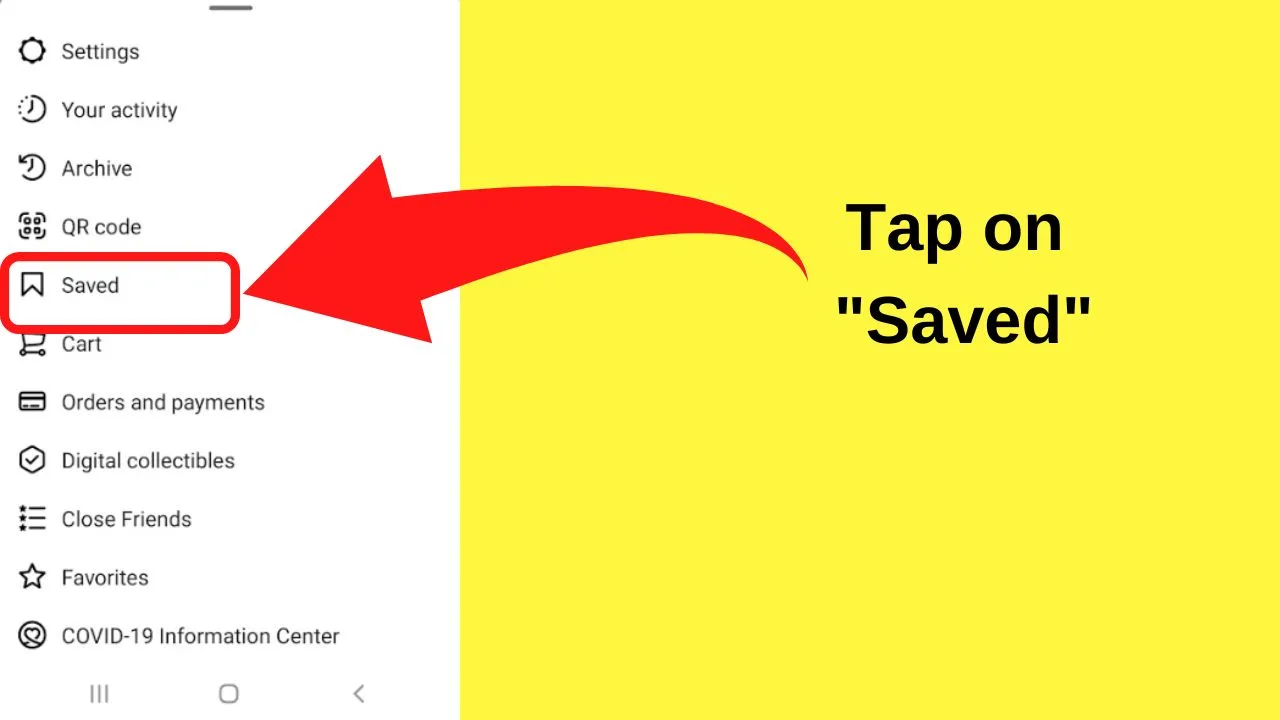
Tap on “Saved” to reveal the reels, stories, audio, and songs that you have saved on Instagram.
Step 4: Tap on “Audio”
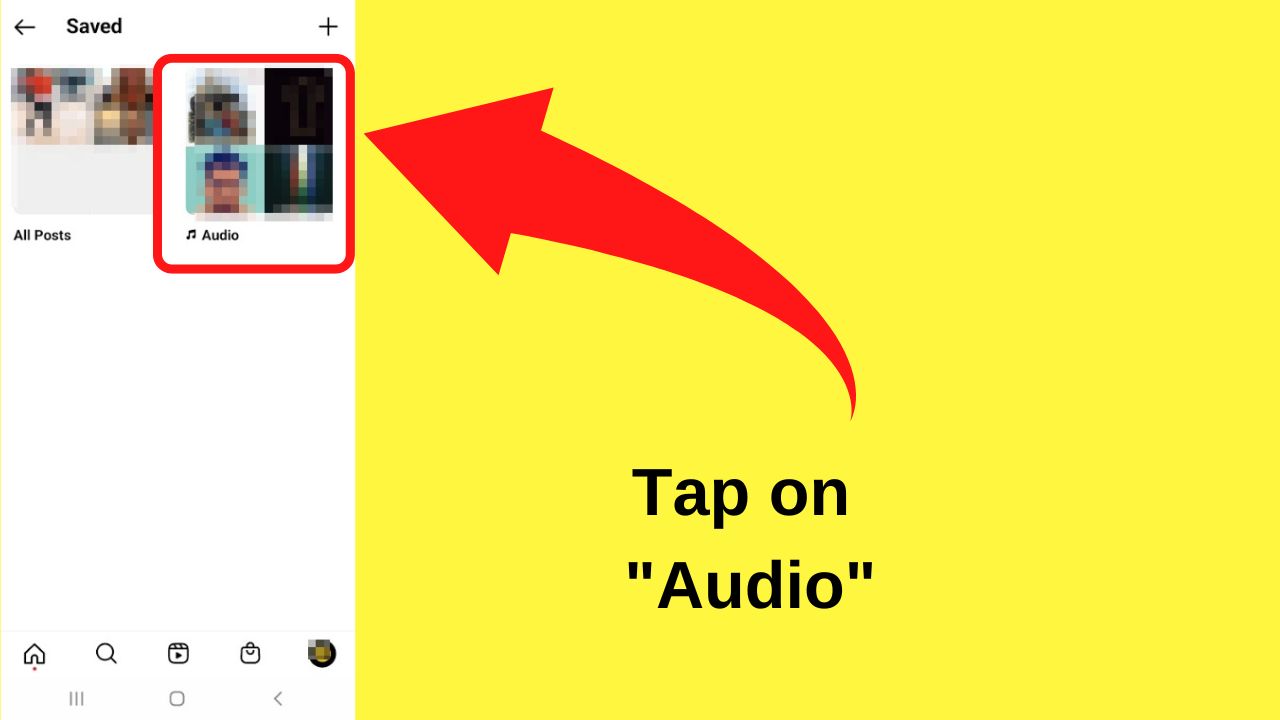
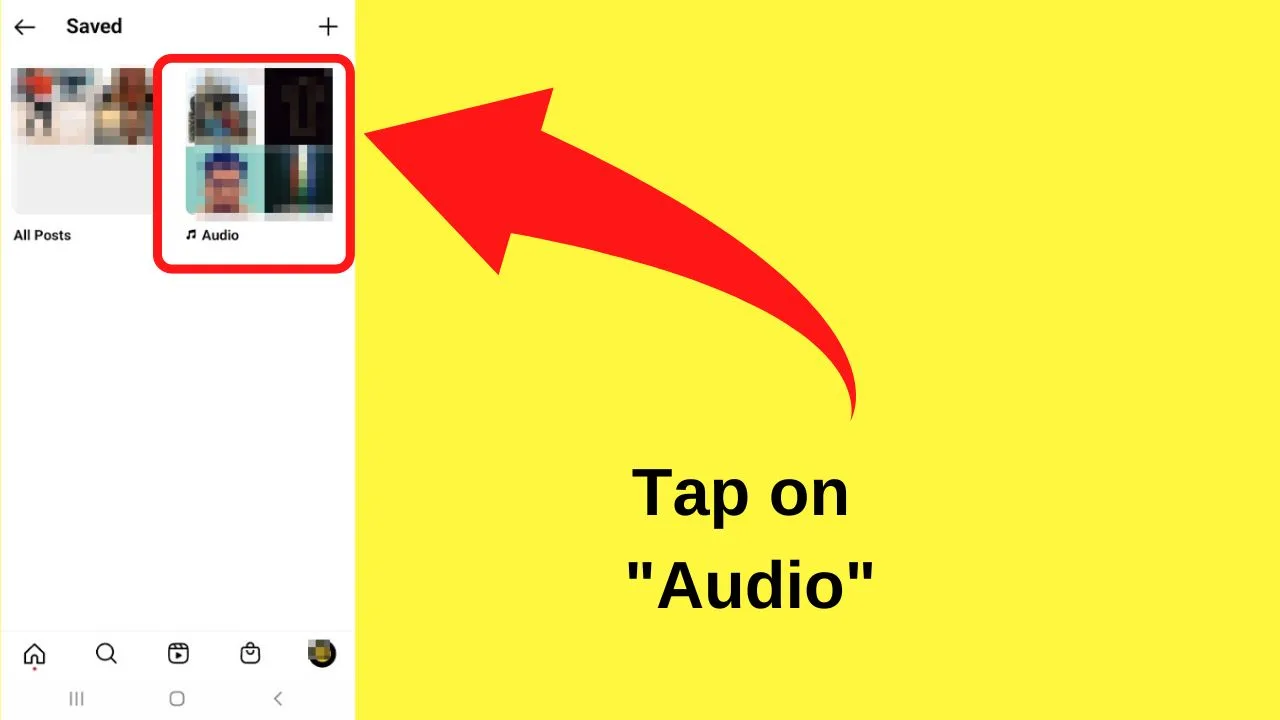
Your saved folder on Instagram contains posts and audio files. Once your songs are saved, they are located in the Audio folder.
At this stage, if there are videos that you have saved for the purposes of using the soundtrack on it, you can tap into the “All posts” folder and use the previous steps to save the song on Instagram instead of keeping the entire video in your account.
All songs saved on Instagram will be located in your Saved Audio folder.
After a while of saving songs, your saved audio list can become cumbersome.
To clean it up, you may want to remove some of the saved songs that you no longer have any use for.
The thing is, there are no buttons to delete or remove a saved song.
Instead, removing a song from your saved list is done with a few taps, although no buttons or settings explicitly have an undo or remove option.
How to delete saved songs on Instagram
In case you would like to delete songs that you previously saved on Instagram, here’s how you do just that:
Step 1: Open your saved audio folder
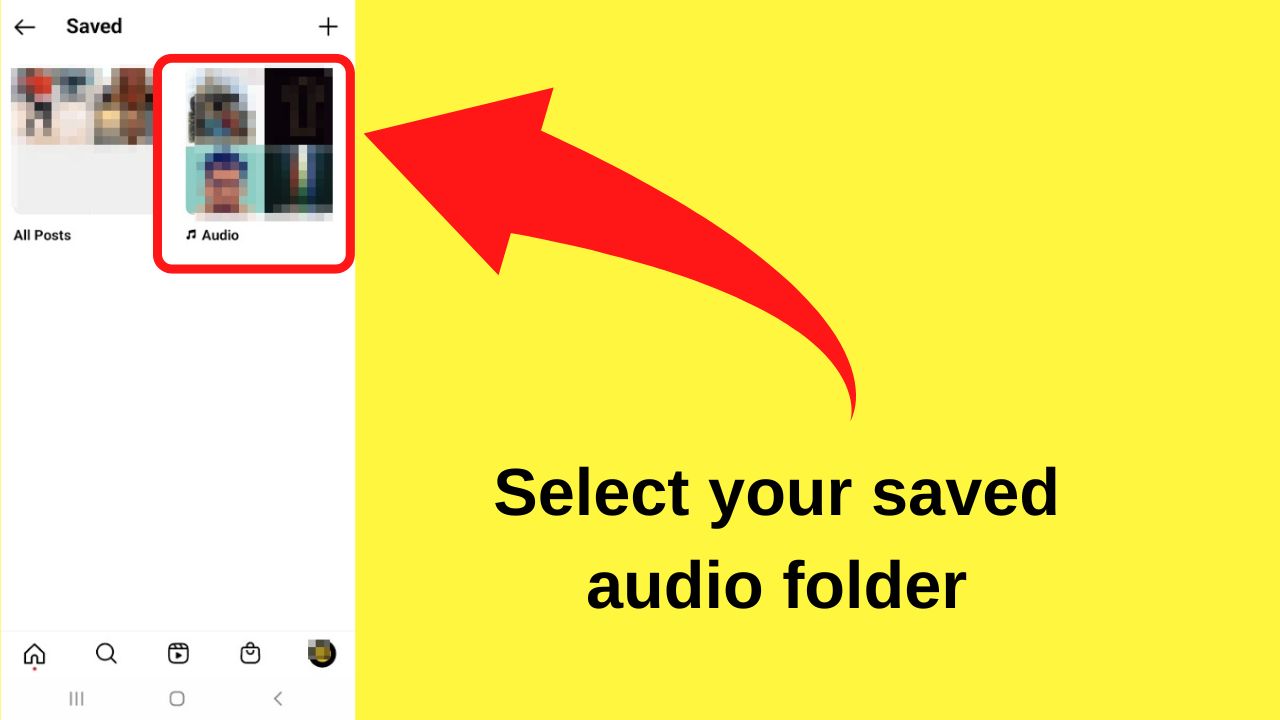

To access your saved audio, tap on your profile > Open the menu on the top right (3 lines) > tap on “Saved” > Tap on “Audio.
Step 2: Select the song that you want to remove from your saved audio folder
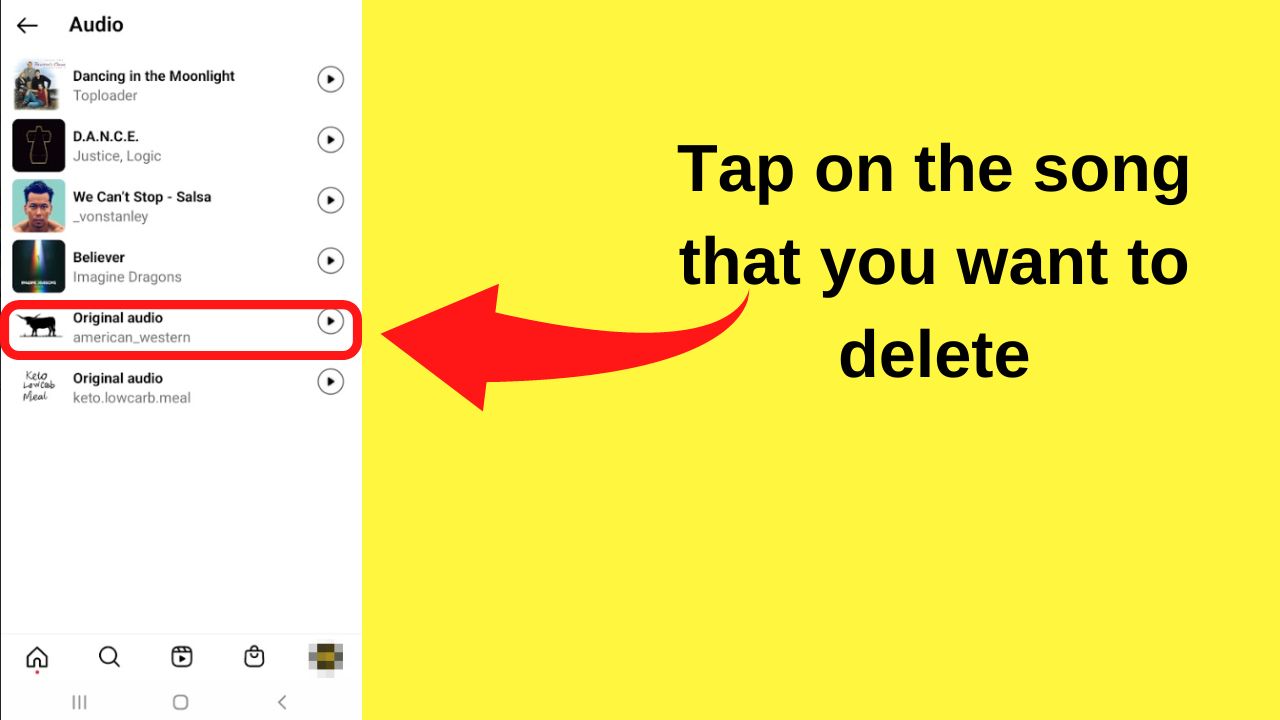

All of the songs and audio files are shown on the next screen. They cannot be unsaved in bulk so if you have a bunch of songs that you want to remove, you need to them one at a time.
Tap on the song that you want to delete from your saved audio folder and it will load the audio details screen showing all of the reels and videos the song has been used in.
Step 3: Tap on “Saved”

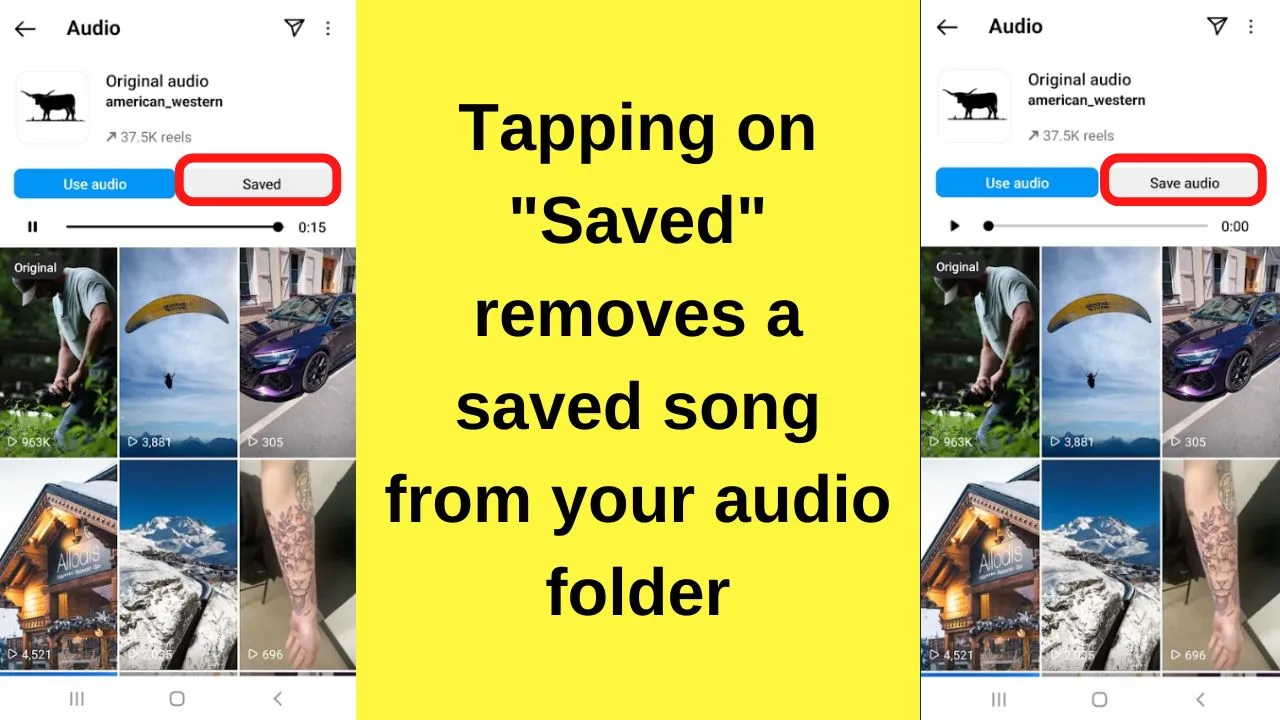
You will notice on this screen that the text shows that you can use the audio. The gray box with the text “saved” in it is an active button. Tapping it will unsave the song, at which point it will be removed from your saved audio folder.
Once you tap on the “Saved” button, you will notice the text changes from “Saved” to “Save audio”.
Frequently asked questions related to saving songs on Instagram
How can I download songs from Instagram?
Songs on Instagram cannot directly be downloaded to your device from within the Instagram app. The songs are saved to your Instagram account and can only be used in the app. You can share the link with friends but not the audio files.
Why can’t I use saved songs on my Instagram content?
For Copyright reasons, only Creator accounts or personal accounts have access to the song library on Instagram. Using songs for commercial purposes involves complex licensing issues. For that reason, the songs feature on Instagram is locked to business accounts.


Hey guys! It’s me, Marcel, aka Maschi. On MaschiTuts, it’s all about tutorials! No matter the topic of the article, the goal always remains the same: Providing you guys with the most in-depth and helpful tutorials!

